
topics
Snag Repair Needles
ผลิตภัณฑ์
By Steve Butler
What is it?
It’s always your new sweater, coat, blouse or pants. The dreaded snag. An unruly thread pulled free and right there for everyone to see. You can pat it down but you know it’ll come back. Cut it off and you leave a hole in its place. That’s no answer either. How can we make it better? Come to think of it, are there other occasions when we face the same dilemma? A loose thread that doesn’t belong? Yup, sewing in general.
Sewing is full of circumstances where we have loose thread ends to deal with. But, as they say, the devil is in the details. Plain English please. The details of any project are usually the most problematic. Whether dealing with a troublesome thread pull from a snag or just loose thread ends naturally occurring from some sewing operation, we have to make them go away like they were never there. That’s the detail part.
And sometimes we have a devil of a time making that happen. Do not despair though. There’s help. Clover’s Snag Repair Needles are designed for the details of what we do, both unintentional and intentional.
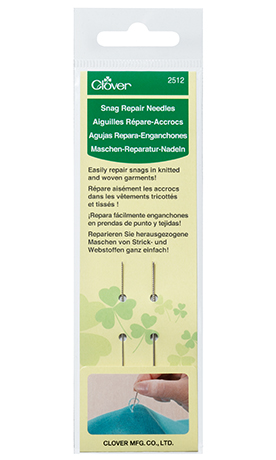
Snag Repair Needle
Art. No 2512
------------------------------------------------------------------------------------
What does it do?
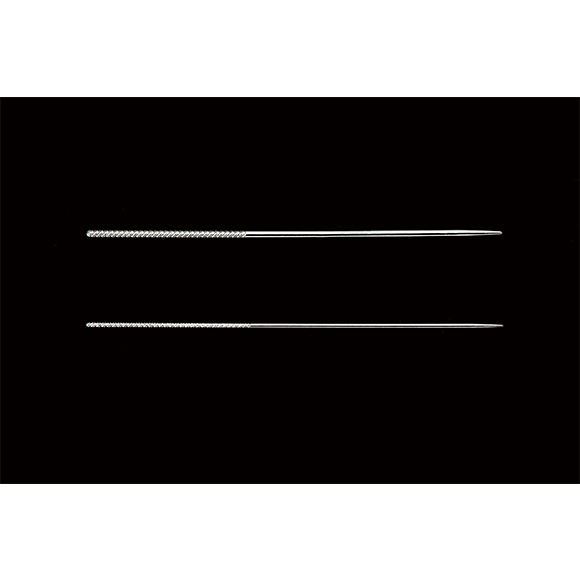
Clover’s Snag Repair Needles are designed for the detail side of snag repair or finishing stitches off cleanly. Two sizes of needles are provided. The thicker size is ideal for loosely woven or knit fabrics. The finer size is perfect for densely woven or finer fabrics. Each needle sports a fine ball point that allows us to manipulate our fabric without having to worry about splitting fibers. This is especially important when repairing snags on fine fabrics. Additionally, Snag Repair Needles are the new “go to” tool for hiding loose thread ends associated with machine quilting, embroidery, punch needle, needlepoint, Sashico or tapestries. Here’s how it works.
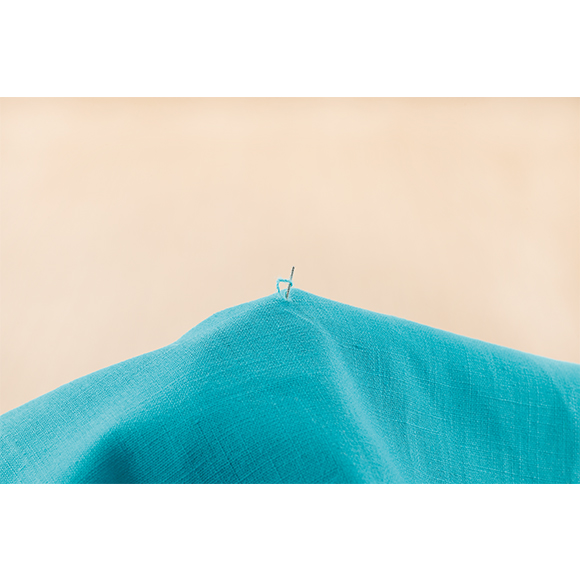
Snags
Unsightly snags ruin the feel of anything. Fix it or forget it, right? Fixing is better. Simply select the snag repair needle size for the fabric being repaired. Remember, always use the finest needle possible. Insert the point into the exact spot from where our errant thread was pulled. Attach those loose fibers or threads to the “grippy” edges on the end of the needle by wrapping them around the shaft while simultaneously twisting the needle. Once the connection is made, just pull the needle with the attached fibers through the fabric to the wrong side and remove the needle. Problem solved.
Loose Thread Ends
Machine quilting, for example, leaves us with loose ends to deal with. Top thread and bobbin thread ends. The first step in the hiding process is to get both threads on the same side of the quilt. Simply pull the top thread upwards which reveals a bobbin thread loop. Use the point of the needle to pull the now exposed bobbin thread loop through to the top of the quilt. Tie the two threads together with an overhand knot. Now insert the Snag Repair Needle into the fabric where the bobbin thread came through. Move it horizontally between the quilt layers for about an inch and then back through the quilt top.
Always check to make sure your needle didn’t exit the back of the quilt at any point. Remember, we want to hide the thread ends between quilt layers. Now attach the loose thread in the same manner you would for a snag repair and pull it through the quilt to the exit point on the top fabric.
Clip the thread close to the top fabric and the loose end will pull back inside the quilt and out of sight forever. The same technique can be used when we run out of bobbin thread. Just hide the ends as described, insert a full bobbin and continue stitching. Seamless stops and starts. How cool is that? And this general principle applies to everything we do in sewing that leaves us with loose thread ends to deal with.
กลับไป