
Yo Yo hair accessories

ขนาดเมื่อทำเสร็จแล้ว
approx. 60mm
ผลิตภัณฑ์

Materials
• Tulle fabric: 15 x 15 cm
• Ribbons(10cm width in your colour choices (we used organdy)):20 cm lengths x 3
• Elastic hair band
• Beads and small felting pompoms: approx. 5 of each
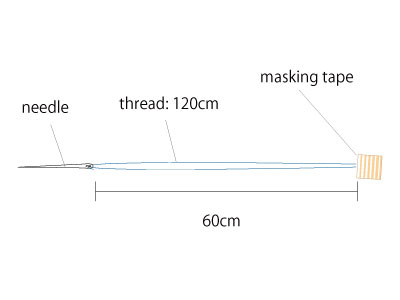
• Sewing thread: 120 cm
• (masking) tape

วิธีทำ
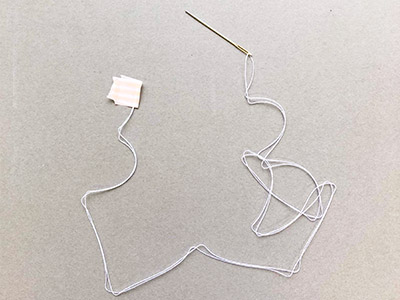
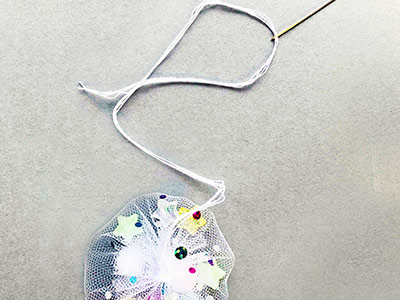
Thread the darning needle with sewing thread as shown in the diagram. Attach masking tape to the thrad ends(see image). This will prevent the thread from going through the coarse tulle fabric.
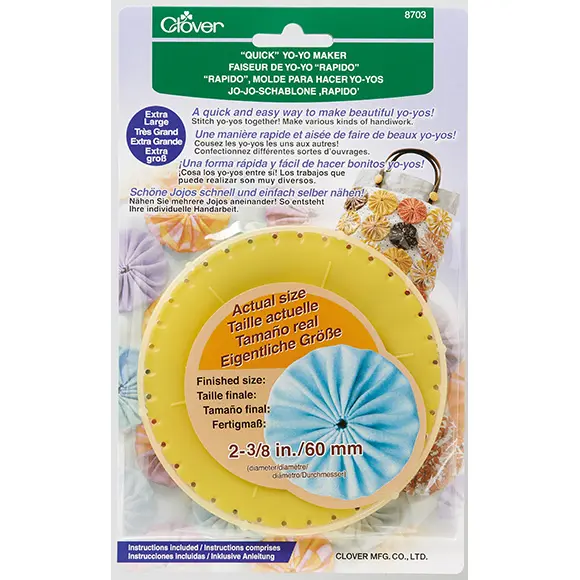
Insert the tulle fabric into the Quick Yo Yo Maker. Follow the instruction sheet included inside the product pack or check the link below. Sew a running stitch around the template.
https://www.instagram.com/tv/CU66NkFpmsx/?hl=en
*When finished, do not forget to stitch over the first hole.
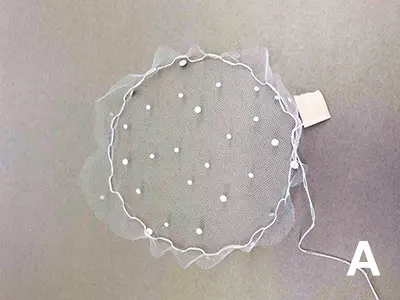
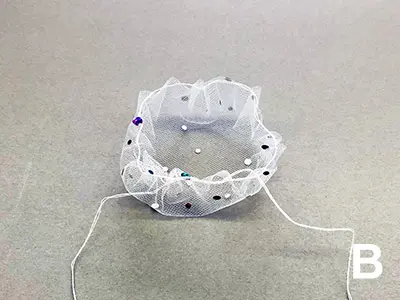
Remove the fabric from the Yo Yo Maker.(A) Pull up the thread ends gently to from a "bowl" shape. *Adjust the thread ends so they are the same length.(B)
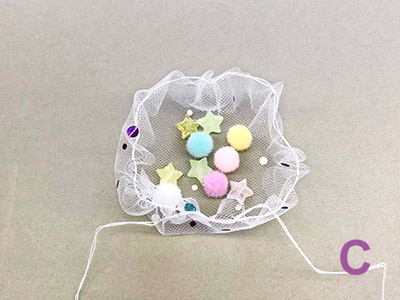
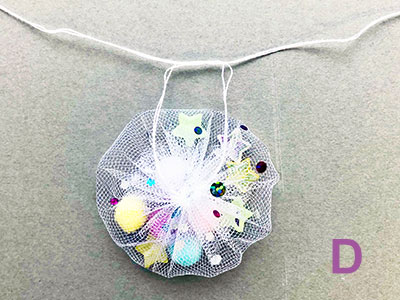
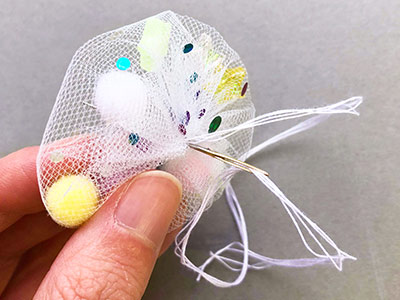
Insert beads and pompoms inside the Yo Yo.(C) Pull up both thread ends simultaneously. Tie tightly, pushing in all raw edges.(D)
Thread both loose ends into the darning needle and pull them through from the front of the yo yo to the back, dispersing the pom pom and charms evenly inside the tulle.
The thread is positioned on the centre front of yo yo.
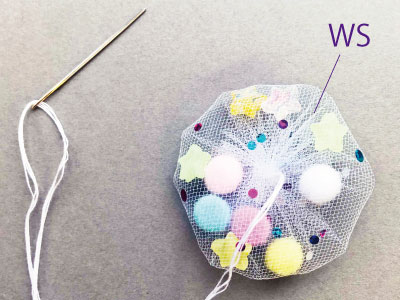
Bring the needle to the wrong side of Yo Yo.
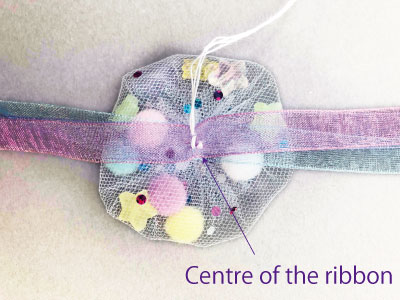
Lay 3 strands of organdy ribbon centrally on the wrong side of the Yo Yo. Using the threads from step 5, sew the ribbons securely in place at the centre of the Yo Yo.
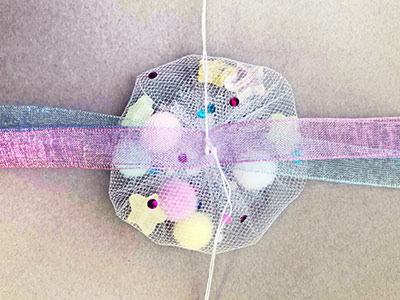
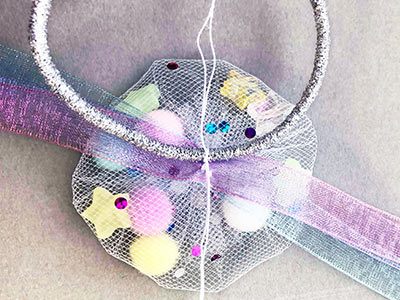
Tie thread ends securely around the elastic hair band to attach it to the Yo Yo.

Cut the thread leaving 5 mm ends. Apply craft glue to the knot.
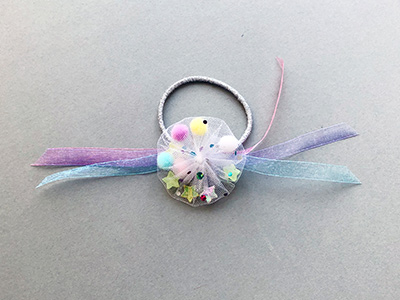
Finished!