
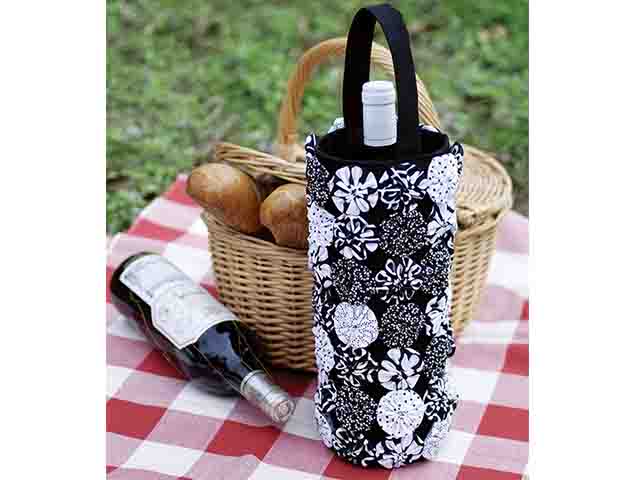
Wine Bottle Sack
ผลิตภัณฑ์
Materials
• fabric for Yo-Yo <Large> approx. 12 cm x 12 cm for 1 pc. 63 pcs.
• fabric for sack
วิธีทำ
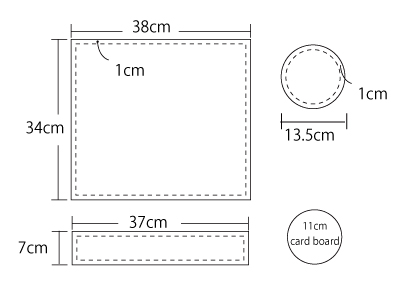
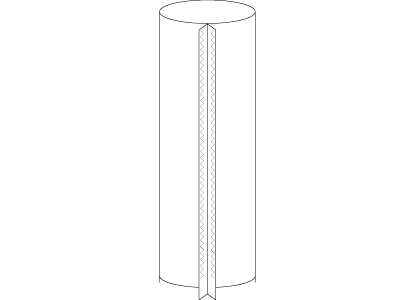
Sew side together with 1 cm seam allowance.
Press seam allowance open.
Mark bottom edge of tube into quarters. Press bottom fabric into quarters in wrong side. Sew seam allowance 1 cm.
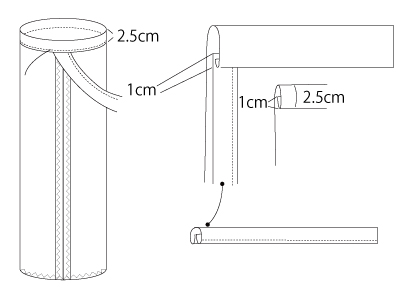
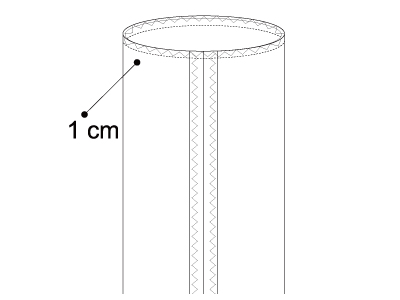
Top edge of tote. Turn 1 cm under-Press. Turn again 2.5 cm and press.
Tuck edges
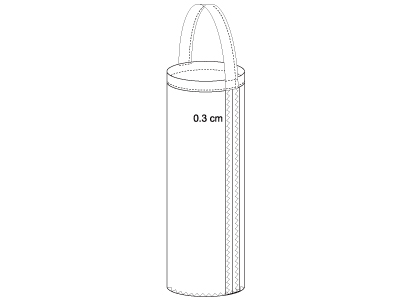
Stitch 0.3 cm bottom edge of tuck. Fold handles up; Top stitch - top edge 0.3 cm

Turn it over to right side and put the card board on bottom plate.
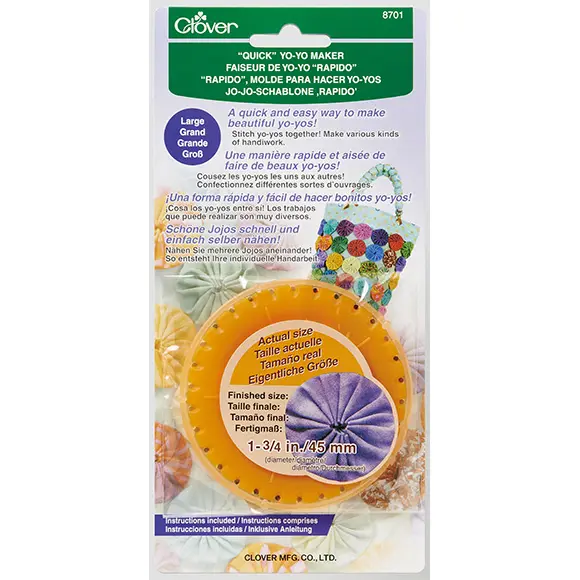
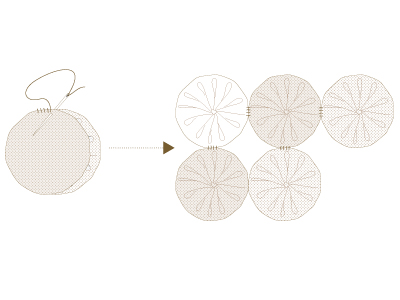
Use Yo-Yo Maker Large size (Art No. 8701 ). Make 63 yo-yo patches.

Stitch all yo-yo patches together before attaching to the surface of bag. This can be done with zig zag stitch using sewing machine
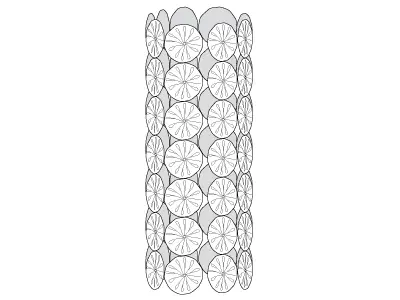
Stitch both ends of yo-yo patches.
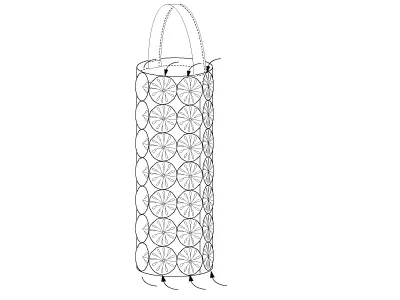
Insert sack. into yo-yo patches. Stitch the top and bottom end. No need to stitch the other parts.
You're done!
Top end 8 places
Bottom end 8 places