
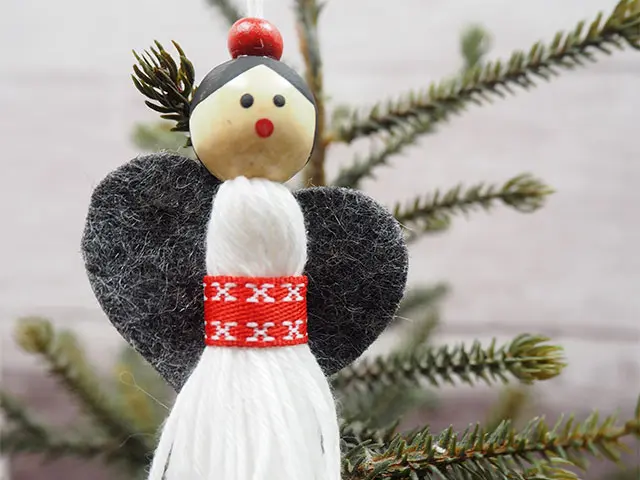
Tassel Christmas Angels
ออกแบบโดย
Debbie von Grabler-Crozier
ผลิตภัณฑ์

Your usual crafting needs including: small paint brush, cloth and water, hot glue gun, clear drying all-purpose glue
Materials
To make 10 angels
• 7 skeins white stranded embroidery cotton
• 10x 20mm Trimmits plain beech wood beads
• 10x 6mm red wooden beads
• 25cm sq. grey wool felt
• 50cm 1.5cm wide red ribbon
• Acrylic paint: lamp (ebony) black, Tuscan red

วิธีทำ
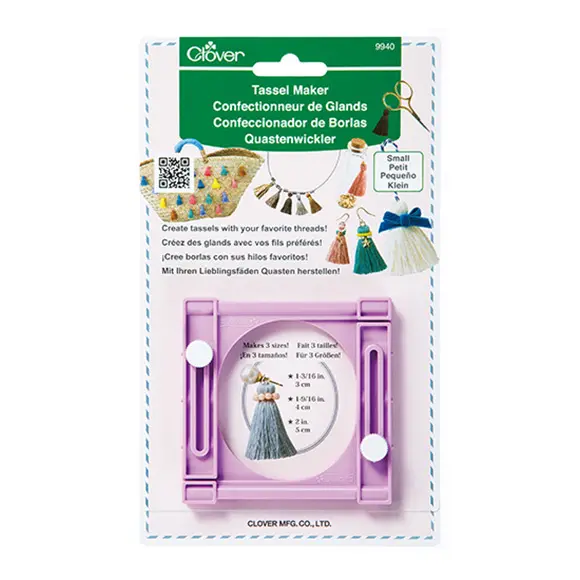
NB: Please read all instructions through and assemble the equipment before beginning. To make a tassel, first enlarge the tassel maker to its longest setting.
TIP: There are three marks on each side, make sure that these match up so that you know that everything is straight.
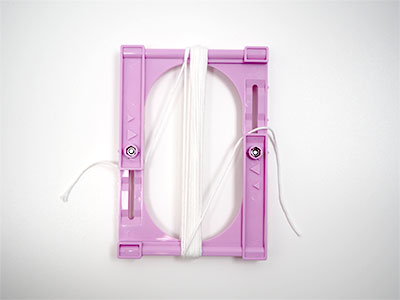
Take some white embroidery cotton and wind it around the tassel maker 20 times IMAGE 1.
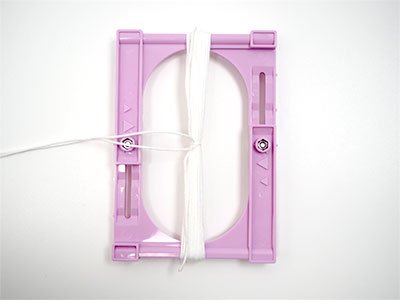
Cut a piece of cotton 30cm long and tie the middle with a double knot IMAGE 2.
TIP: The instructions for using the tassel maker tell you to ‘bury’ this thread in the tassel. In this case, do not do this. Instead leave the threads long and keep them apart from the tassel. They will form the hanging loop and help to attach the angel’s head.
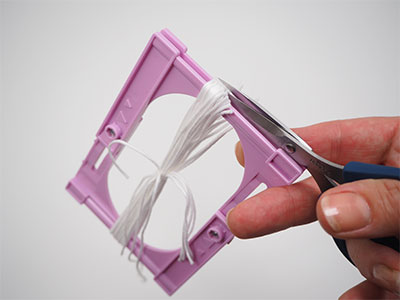
Using the grooves at each end, cut the tassel from the tassel maker IMAGE 3.
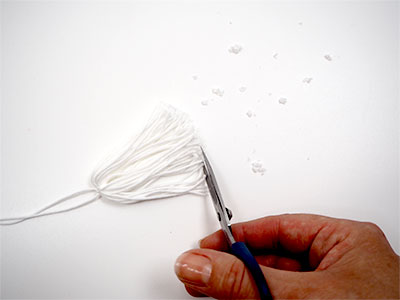
Fold the tassel over (keeping the two long threads to the top). Trim the bottoms level if necessary IMAGE 4.
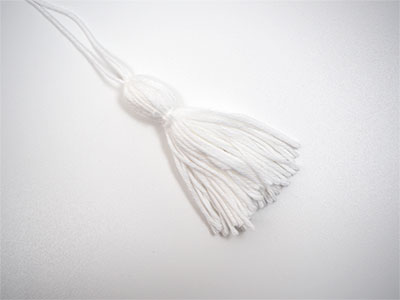
Tie the tassel off about 1.5cm down from the top. Trim this tie IMAGE 5.Make another nine tassels the same way.

Paint the angel’s hair on with the colours next. Simply use the acrylic paint to colour the back of the head and perhaps form a little fringe at the front as though her hair were tied in a bun. Make two dot eyes in black or brown and a red dot mouth IMAGE 6.
TIP: Making a dot is easy – simply dip the brush end into the paint and dab it where you want the dot to be. Then reload and dab again. For best results, keep the brush very upright. If the brush end is too large, a chopstick end or a stylus will also work brilliantly.
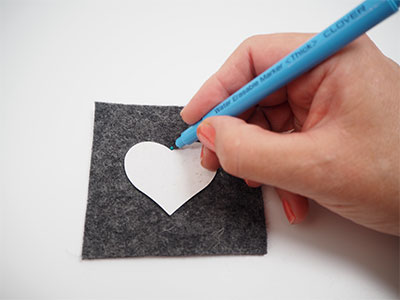
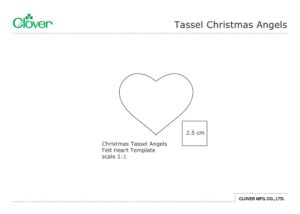
Cut 10 grey hearts from the felt using the template and sharp scissors.
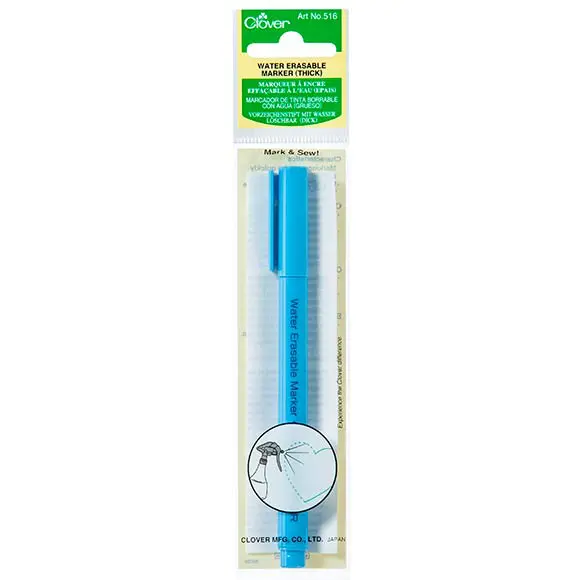
TIP: I like to make a thin cardboard shape using the template and then trace around it onto the felt with a water erasable marker IMAGE 7. This is quick and it works well when you are making more than one heart.
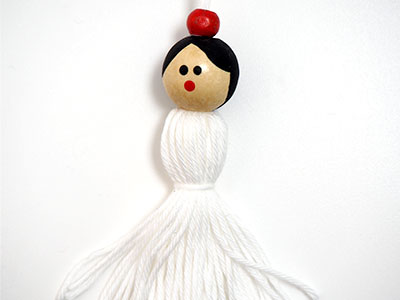
To assemble an angel, take the tassel and thread a head onto the top. Put a red bead on top of that and a small amount of clear drying glue to stop it from sliding IMAGE 8.
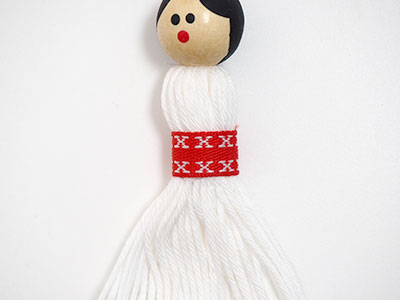
Take a small piece of ribbon (about 5cm long) and hot glue it around the part that you tied and trimmed IMAGE 9. Make sure that the join is at the back ready for the next step.
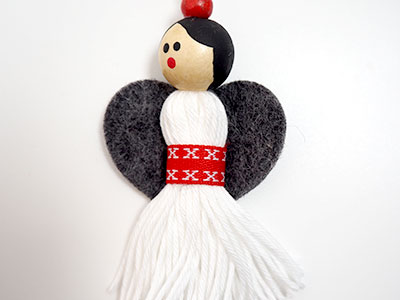
Take the heart (this will be her wings) and hot glue it to the angel’s body IMAGE 10. Tie the two long strands together to form a hanging loop.