
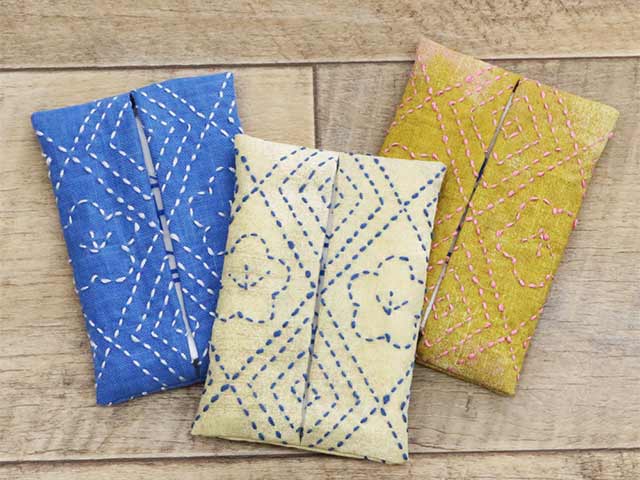
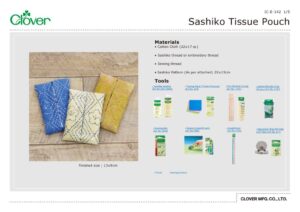
Sashiko Tissue Pouch
ขนาดเมื่อทำเสร็จแล้ว
13 x 9 cm
ผลิตภัณฑ์

Materials
• Cotton Cloth (22×17㎝)
• Sashiko thread or embroidery thread
• Sewing thread
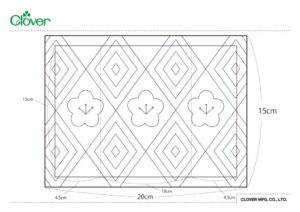
• Sashiko Pattern (As per attached) 20x15cm
วิธีทำ
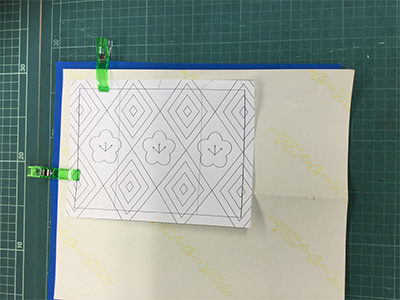
Lay fabric on a hard, flat surface.
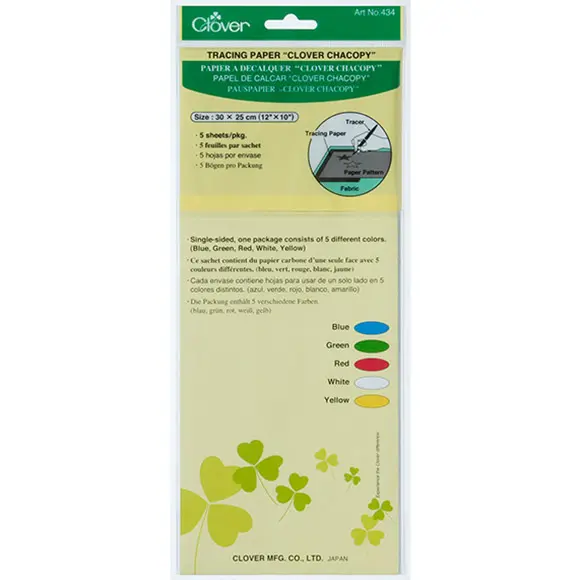
Cover with "Clover Chacopy", chalk side facing down on fabric.
Place pattern piece centrally on top with 1cm margin around all sides. Trace the design lines with a tracer.
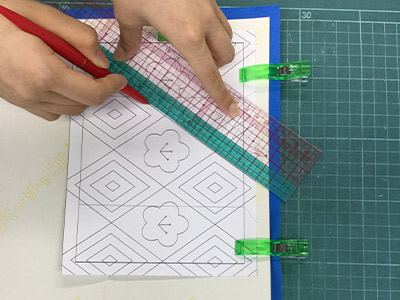
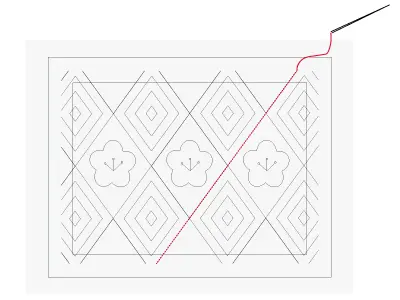
With the pattern now transferred to the fabric,
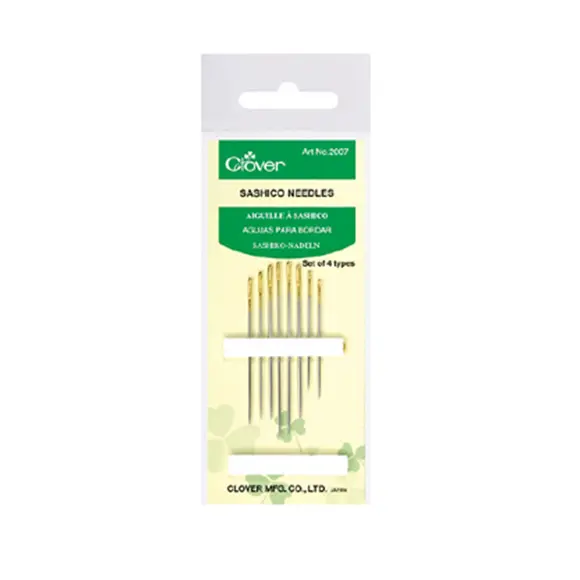
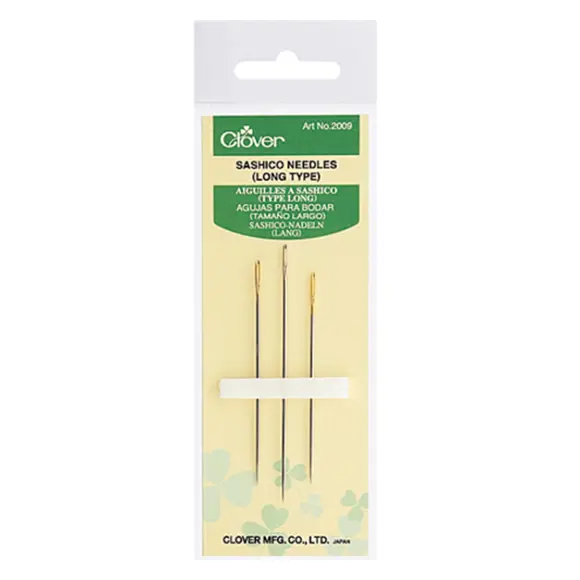
stitch along the design lines using Sashiko Needles.
Tip; Work the straight lines first, using the longer Sashiko needle. Keep stitches even and avoid tension. Using the shorter Sashiko needle and working fewer stitches at a time, sew the curves and finer detail.
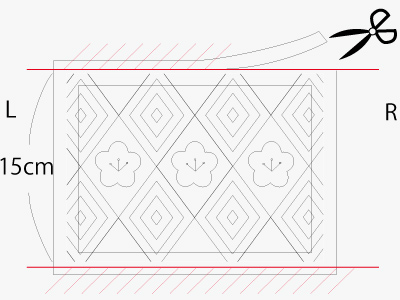
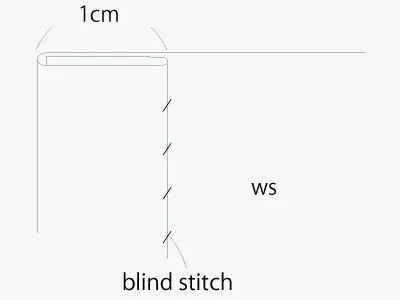
Leave a 1cm unembroidered margin along L and R sides, (see image), trim top and bottom raw edges to give a 15cm length, taking great care not to cut into embroidered areas.
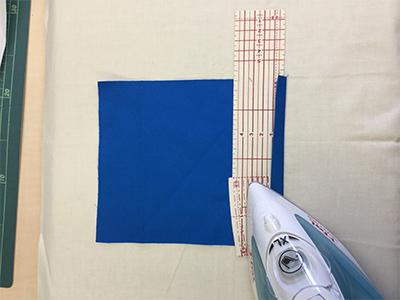
Along L and R sides, fold the 1cm of plain fabric to wrong side followed by 1cm of embroidered fabric, making a double fold hem. Blind stitch with sewing thread.
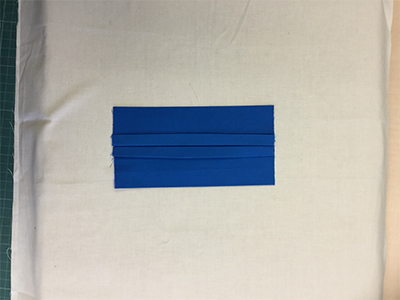
Fold the fabric as shown in the image. (WS out with hems facing together centrally)


Work a half-back stitch or machine along the 2 remaining sides.
Finish raw edges with a blanket stitch.
Turn the pouch to RS.