
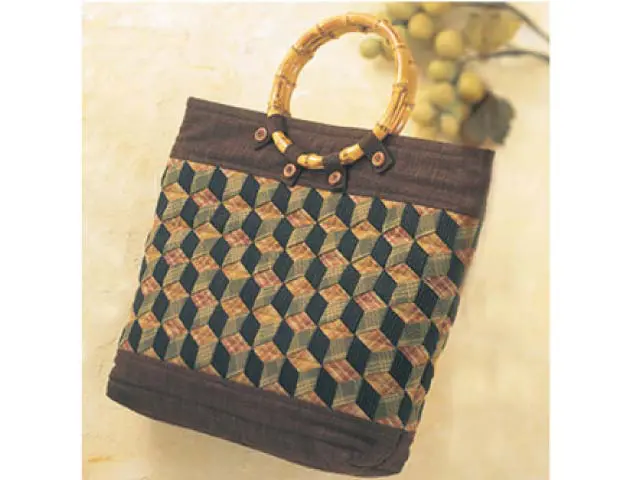
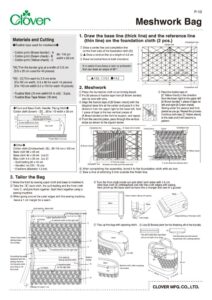
Meshwork Bag
Materials
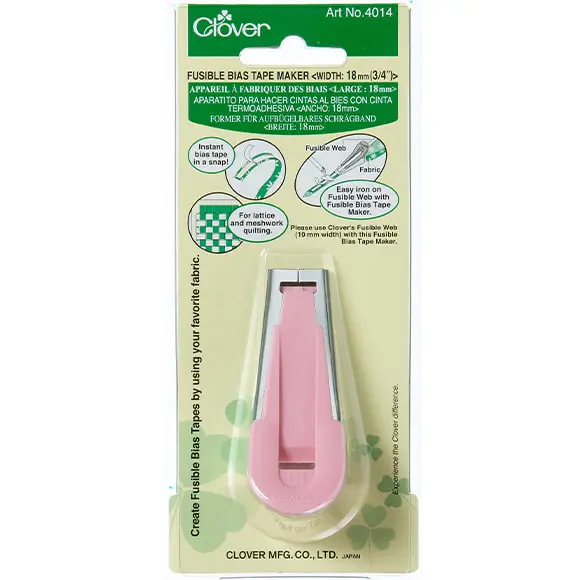
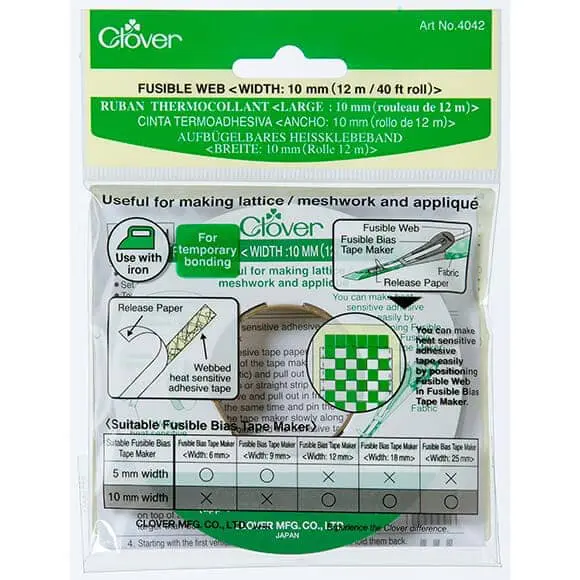
♦Fusible tape used for meshwork♦
• Cotton print (Brown border) – A 90- 110 cm width x 50 cm
• Cotton print (Green check) – B
• Cotton print (Yellow check) – C
*[A] Trim the border grip at a width of 3.5 cm (3.5 x 25 cm used for 40 pieces)
*[B] · [C] Trim each to 3.5 cm wide
(For 90 cm width, 3.5 x 90 for each 14 pieces)
(For 110 cm width 3.5 x 110 for each 10 pieces)
วิธีทำ
Draw the base line (thick line) and the reference line (thin line) on the foundation cloth (2 pcs.)
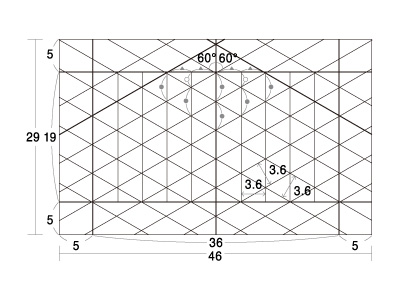
Draw a center line and completion line on the front side of the foundation cloth [E]
Draw a vertical line at a length of 3.6 cm
Draw horizontal lines in both directions
*It is useful if you have a ruler or protractor that can draw an angle of 60 °.
Meshwork
Place the foundation cloth on an ironing board.
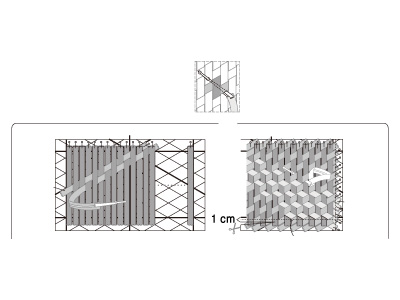
Fix 20 pieces of fusible tape from [A Brown border]side by side with pins.
Align the fusible tape of [B Green check] with the diagonal base line at the center and pass it in the direction from the upper right to the lower left. Add 1 piece of tape to the two vertical pieces of [A Brown border] on the front for support, and repeat.
From the second piece, pass through the vertical strips as shown in the digram below.
Pass the fusible tape of [C Yellow check] in the direction from the lower right to the upper left [A Brown border] 1 piece of tape on left and right [B Green check] Sliding under the second and third pieces as you go. Repeat the process. Continue with step [C Yellow check] to the side and it will become a pattern.
After completing the assembly, bond it to the foundation cloth with an iron.
Sew a line of stitching 5 mm outside the finish line.
Tailor the Bag
Make the front by sewing upper cloth and base to meshwork.
Take the [E] back cloth, the quilt batting and the front cloth from 1. and pile them together. Quilt them together using a sewing machine.
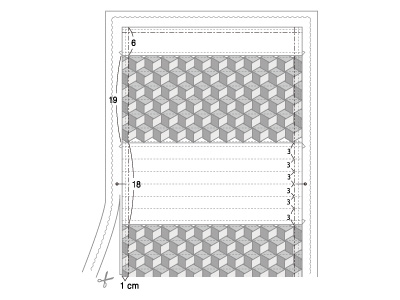
When going around the outer edges with the sewing machine, leave a 1 cm margin for a seam.

Turn the front cloth inside out and stitch both sides with 4.5 cm wide bias cloth [E Unbleached] and tidy the cloth edges with piping. Next pinch up the base cloth corners into a triangle and sew in a gusset.
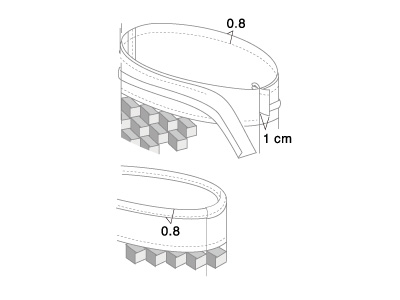
Tidy up the bag with opening cloth.

Use [D Brown] cloth for the finishing off of the handle.