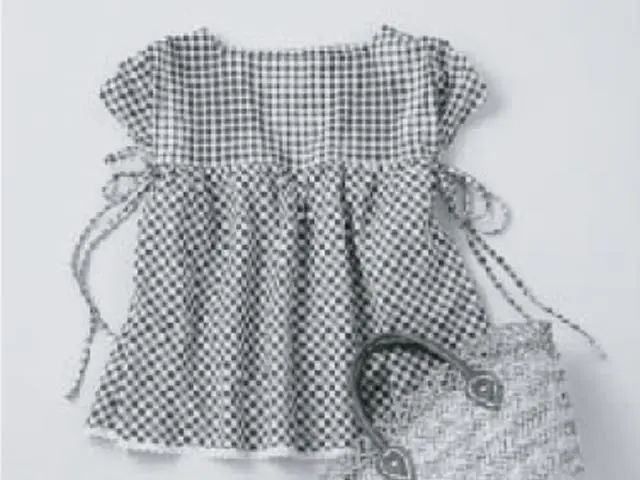
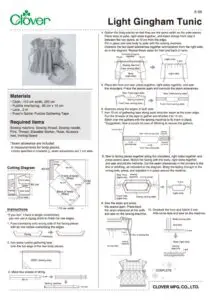
Light Gingham Tunic
ผลิตภัณฑ์

Materials
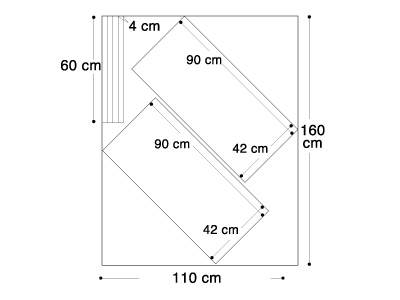
• Cloth…110 cm width, 220 cm
• Fusible interfacing…80 cm x 15 cm
• Lace…2 m
• Fuse’n Gather Fusible Gathering Tape
วิธีทำ
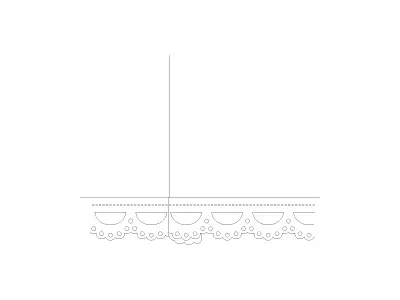
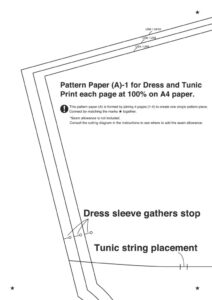
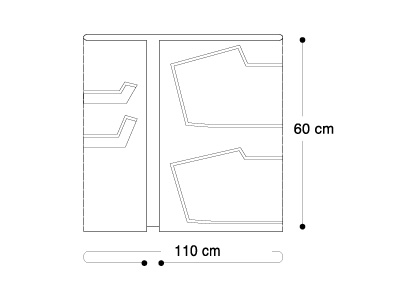
Cutting Diagram
*Seam allowance are included in measurements for body pieces.
Unless specified in brackets (), seam allowances are 1 cm wide.
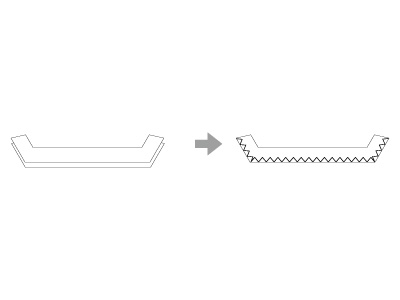
*If you don' t have a serger (overlocker), you can use a zigzag stitch to finish the raw edges.
Fuse interfacing onto wrong side of the facing pieces with an iron before overlocking the edges.
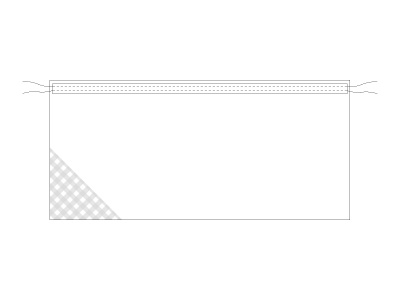
Iron some fusible gathering tape onto the top edge of the two body pieces.
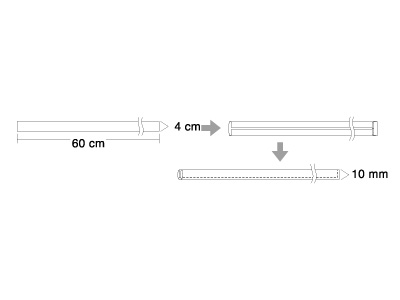
Make four pieces of string.
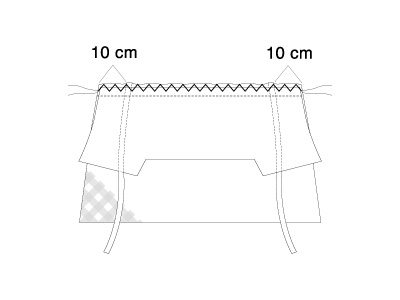
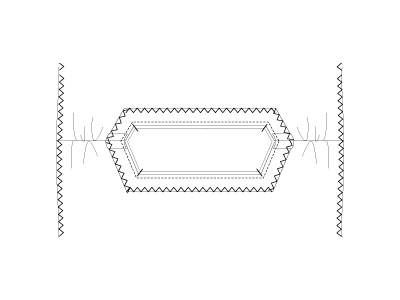
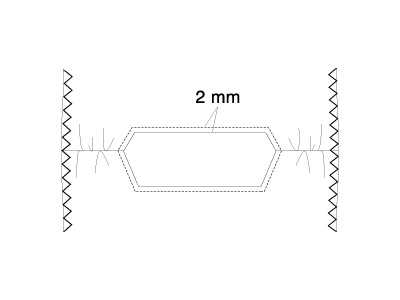
Gather the body pieces so that they are the same width as the yoke pieces. Place body to yoke, right sides together, and insert strings from step 3 between the two layers, at 10cm from the edge. Pin in place and sew body to yoke with the sewing machine. Overlock the two seam allowances together and topstitch from the right side, as in the diagram. Repeat these steps for front and back of tunic.

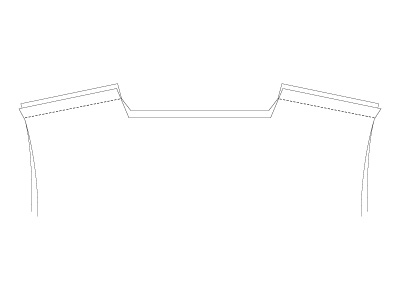
Place the front and rear yokes together, right sides together, and sew the shoulders. Press the seams open and overlock the seam allowances.
Overlock along the edges of both side.
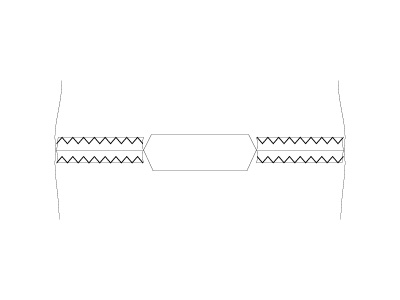
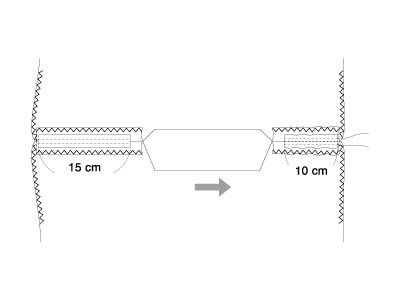
Iron 15 cm of gathering tape along each shoulder seam at the outer edge.
Pull the threads of the tape to gather and shorten it to 10 cm.
Stitch over the gathers with the sewing machine to fix them in place.
*Suggestion: Sew a couple of rows of stitching to secure the gathers.
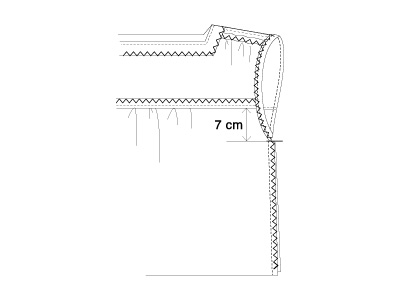
Sew to facing pieces together along the shoulders, right sides together and press seams open. Match the facing with the body, right sides together, and sew around the neckline. Cut the seam allowances in the corners to the line of stitching, as indicated in the diagram. Bring the facing through to the wrong side, press, and topstitch it in place around the neckline.
Sew the sides and press the seams open. Press back the seam alloeance at the cuffs and sew on the sewing machine.
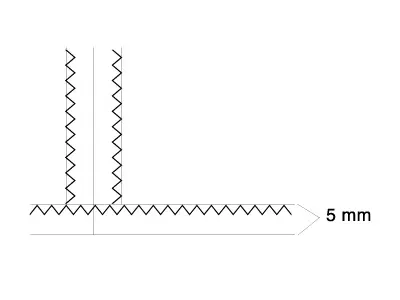
Overlock the hem and fold in 5 mm.
Affix some lace and sew on the machine.