
Knitting Basket With Eyelets

ออกแบบโดย
Debbie von Grabler-Crozier
ผลิตภัณฑ์
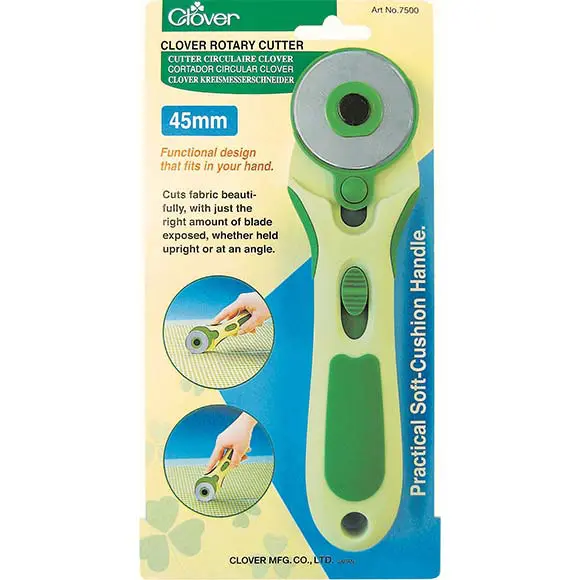
cutting mat
fabric glue
Materials
• outer fabric (40 x 114cm)
Designerʼ s comment: I have used a pretty canvas which doesn’ t need too much interfacing.
• lining fabric (40 x 114cm)
• interfacing (50 x 73cm)
• silver eyelets (4 x 14mm )
*Designer’ s favourite: style-vil foam (Vlieseline)
วิธีทำ
Cutting
NB: Seam allowances are all ½ cm unless otherwise stated. Please read all instructions through and assemble the equipment before beginning.
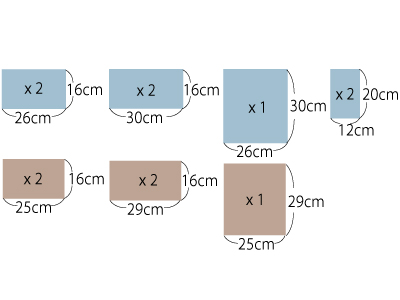
From the outer fabric:
・2 panels 26cm wide x 16cm deep for the front and back outer panels
・2 panels 30cm wide x 16cm deep for the side outer panels
・1 piece 26cm wide x 30cm long for the base outer panel
・2 pieces 12cm wide x 20cm long for the handles
From the lining:
・2 panels 25cm wide x 16cm deep for the front and back lining panels
・2 panels 29cm wide x 16cm deep for the side lining panels
・1 piece 25cm wide x 29cm long for the base lining panel
tip: There are no cutting notes for the interfacing. Instructions will be given as we go along but the basic idea is to press the piece to be interfaced and then pin to a slightly larger piece of foam interfacing. Use a machine basting stitch to attach the panel to the foam, gently keeping a taut tension on it. Then trim the excess foam away.
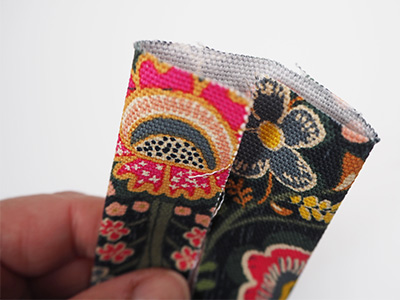
Make the handles first. Fold the strip in half lengthways and press to obtain a centre crease. Fold the raw edges in to the centre crease and press again.
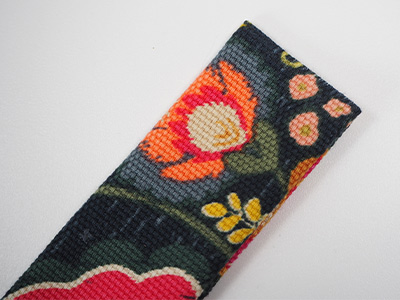
Fold the ends in, trim away any excess fabric and then glue the ends with fabric glue to keep them neat. Repeat this for the other end and the other handle. Topstitch around the handle to decorate it and hold the layers closed. Attach the outer panels to style-vil as directed above. (step 1, tip)
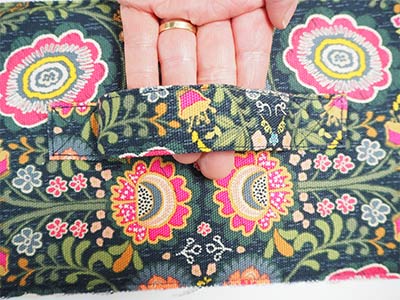
Attach a handle to each of the side panels 6cm down from the top and 7cm in from each side.
tip: The handles are designed to sit out a bit so that you can get your hands in.
Designer’ s comment: I have used a classic square with a cross to affix the handles to the basket.
Sew the sides and the ends of the basket together and then add the base.
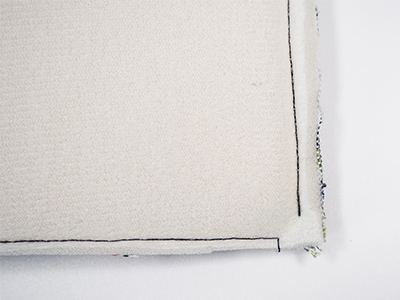
tip: When you sew, you want the corners on the bottom to be as sharp as possible. To achieve this, do not sew all the way into the seam allowance on the bottom. Stop 0.5cm before you get to the end. Do this all around and when you turn the basket out, the corners will be sharper. Don’ t forget to backstitch at the end of each seam to keep the stitching strong.
Repeat this for the lining of the basket (also avoiding the seam allowance at the bottom). This time, leave a turning gap in the base of the lining. Check the lining for fit inside the basket and increase the seam allowance if you have to in order to get a great fit. With the basket outer the right way out and the lining inside out, slip the lining on over the outer. The right sides should be facing. Sew right around the top edge of the basket leaving no gaps.
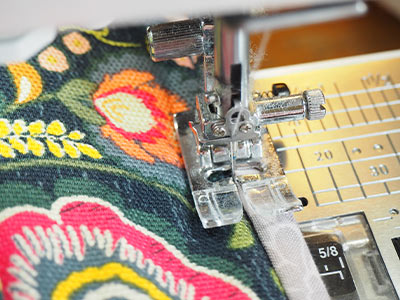
Turn your basket out through the gap in the lining and close the gap. Push the lining down into the basket and topstitch around the top edge to keep everything neat. The lining will sit naturally on the top of the basket edge and form a sort of self-binding. Allow this to happen and stitch in the ditch to keep it there.
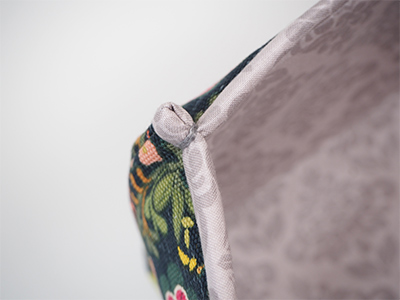
tip: Keep the lining down by hand stitching it invisibly into the corners of the basket. This also stretches it out beautifully and holds it ready for the eyelets.
tip: The sides and top edges of these baskets can sag a little. You can combat this by stitching in the corners by hand using either a matching thread or a contrast.

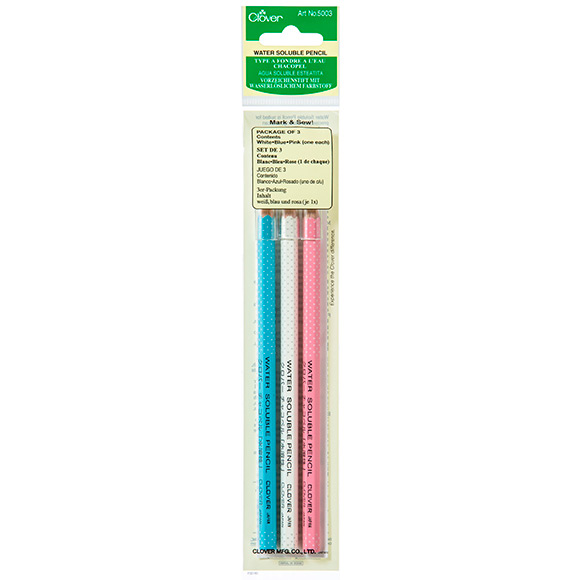
To attach the eyelets, on the ends of the basket, measure down 7cm from the top and make a mark with your Water Soluble Pencil. Now come in 7.5cm from one side and make a round dot. Measure in 7.5cm from the other side and make another dot. Repeat this on the opposite side of the basket.
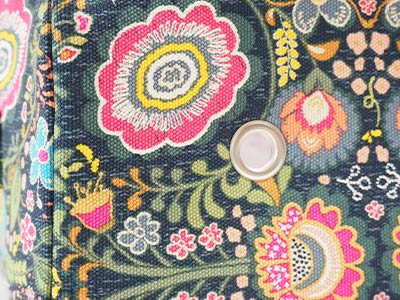
Make a hole with the tools provided in the eyelet kit and insert an eyelet at the place where you have made the marks.
tip: This basket is a great alternative to a yarn bowl and it has the advantage that it can hold several balls of yarn which is great for stranded colour work.