
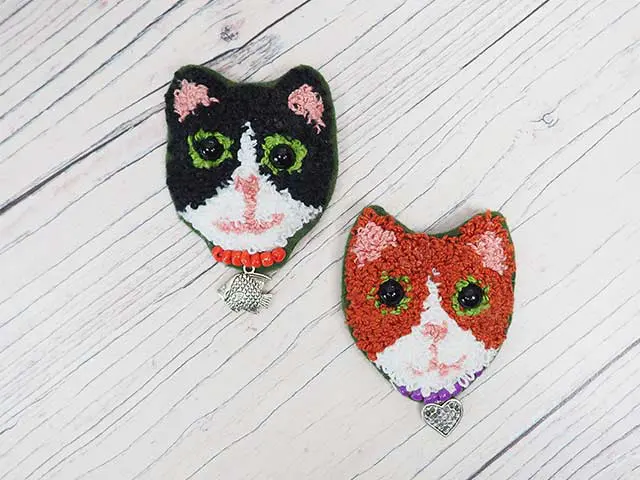
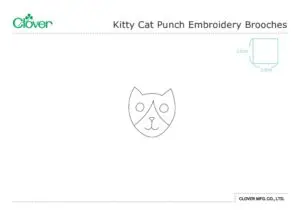
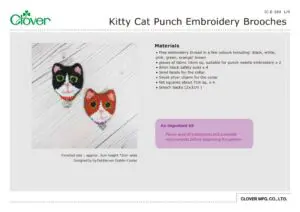
Kitty Cat Punch Embroidery Brooches
ออกแบบโดย
Debbie von Grabler-Crozier
ขนาดเมื่อทำเสร็จแล้ว
approx. 3cm height *2cm wide
ผลิตภัณฑ์

Materials
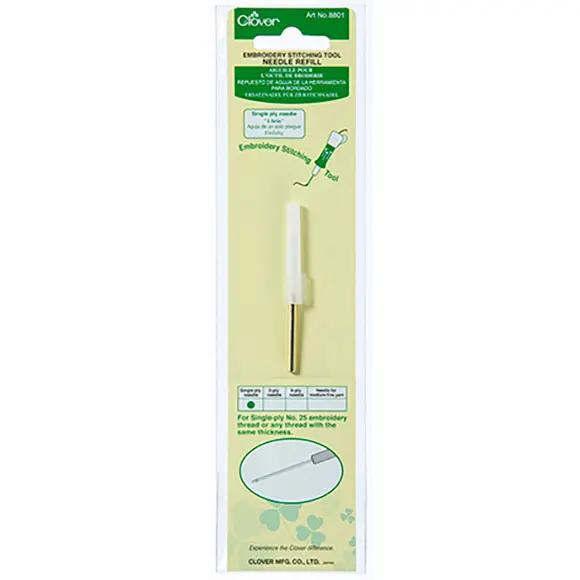
• Fine embroidery thread in a few colours including: black, white, pink, green, orange/ brown
• pieces of fabric 16cm sq. suitable for punch needle embroidery x 2
• 6mm black safety eyes x 4
• Seed beads for the collar
• Small silver charm for the collar
• felt squares about 7cm sq. x 4
• brooch backs (2x3cm )
วิธีทำ
An Important bit: Please read all instructions and assemble requirements before beginning the pattern.
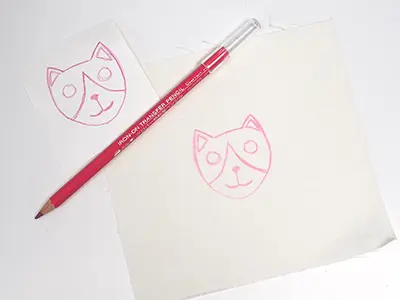
Print off the template and trace the image with the Iron-on Transfer pencil. Transfer the image onto the fabric with your iron.
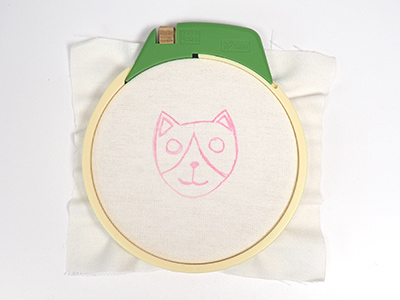
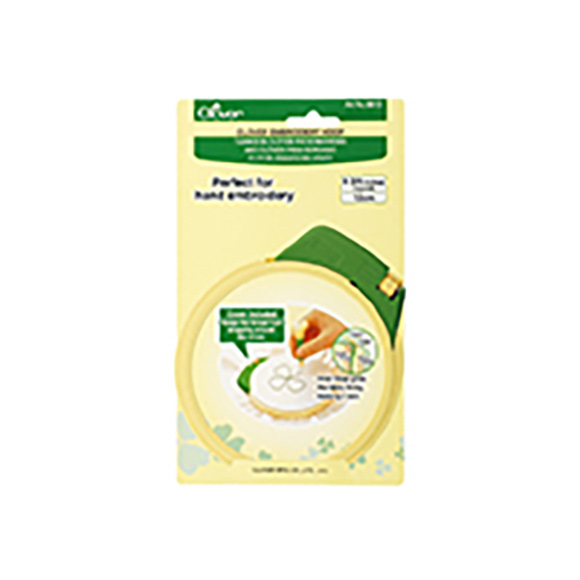
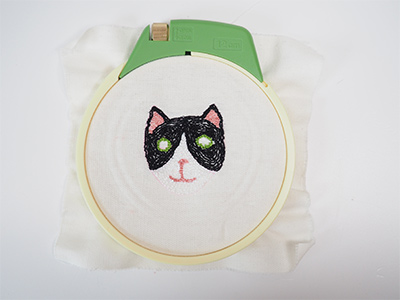
Place the fabric with the image on into the hoop so that the image is central and tighten the hoop.
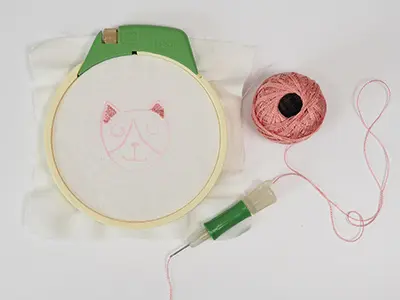
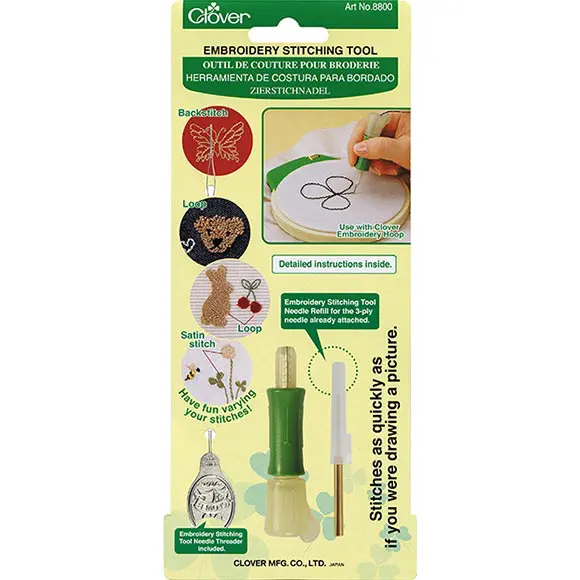
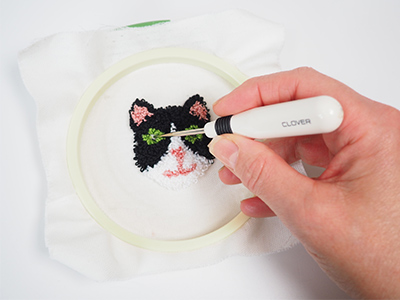
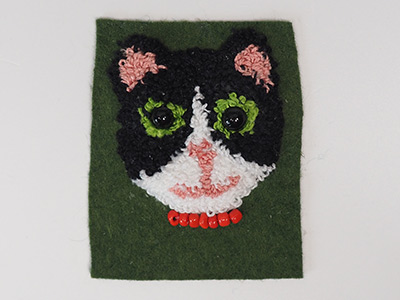
Thread the Embriodery Stitching Tool with the first colour and begin. The pink ears are the best place to start.
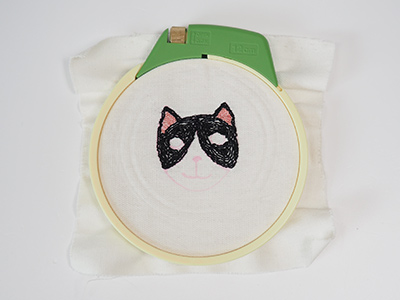
The black comes next leaving a large area for the eyes. Next the green around the eyes.

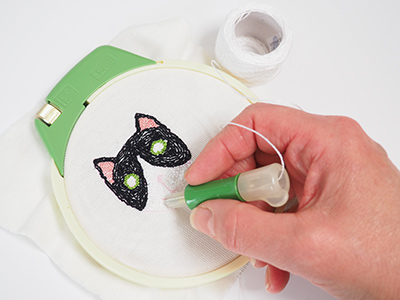
And the white area. Finally, fill in the pink mouth and nose.

Coat the back of the work with fabric glue.
tip: The best way is to put some glue on and then spread it with your finger.
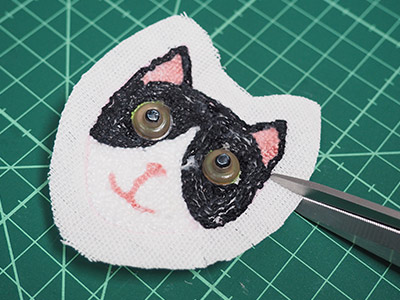
When the glue is dry, use the awl to poke two holes for the eyes.
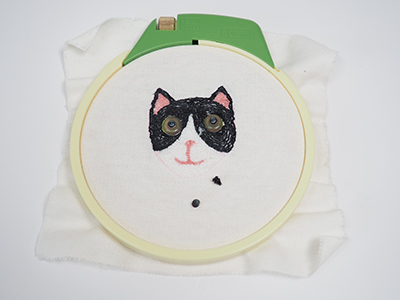
Insert the eyes and trim the excess from the back.
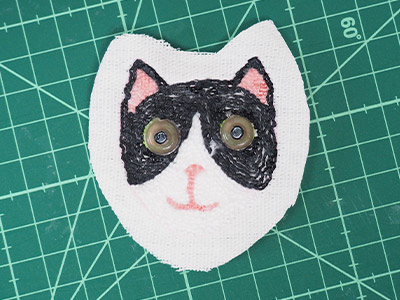
It is time to take the brooch out of the embroidery hoop. Trim the area around the cat so that about 1cm remains. Make little snips in this 1cm margin.
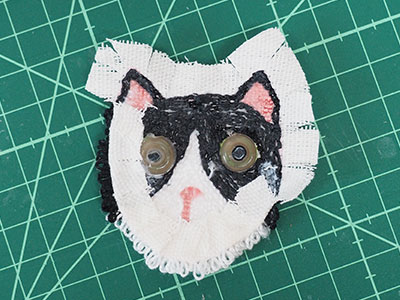
Fold the excess fabric back and glue it to the back of the embroidery. Glue the brooch onto the felt and allow it to dry. With the hand sewing needle, attach six or seven beads for a collar.
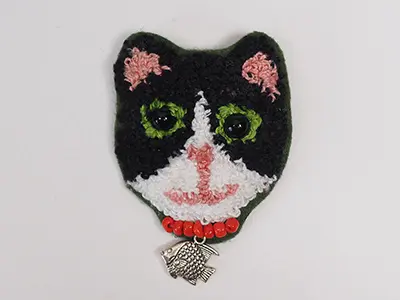
Attach the charm under the beads.Trim the felt so that there is a small amount around the edge.
Designerʼ s comment: I like to add a second piece of felt to hide the threads from the beads and charm. Trim that the same way as the first.
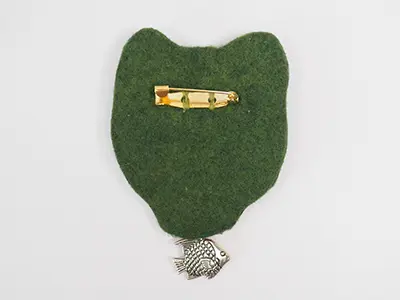
Finally, sew the brooch back onto the back about 1.5cm down from the top.