
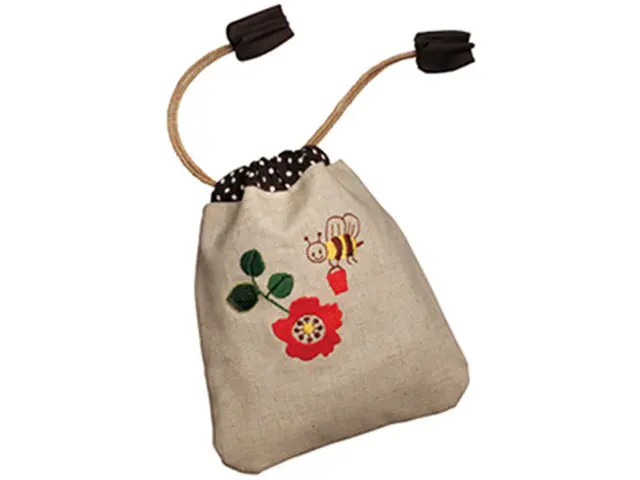
Honeybee and Flower Coin Pouch
ผลิตภัณฑ์
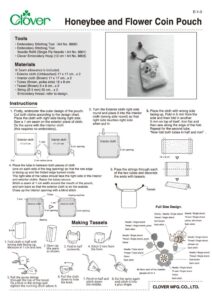
Materials
※Seam allowance is included.
• Exterior cloth (Unbleached) 17 x 17 cm…x 2
• Interior cloth (Brown) 17 x 17 cm…x 2
• Tubes (Brown, polka dots) 16 x 8 cm
• Tassel (Brown) 8 x 9 cm…x 2
• String (Φ 3 mm) 55 cm…x 2
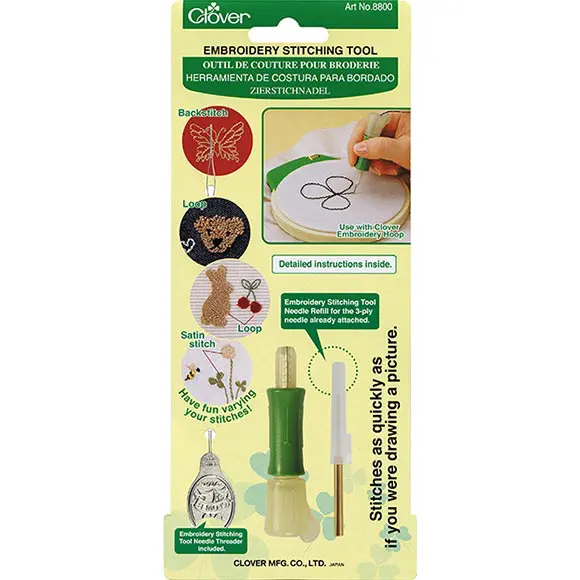
Embroidery thread: refer to design.
วิธีทำ
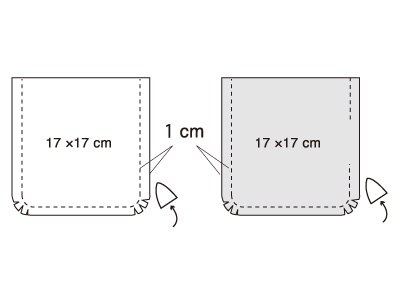
Firstly, embroider the outer design of the pouch. Cut both cloths according to the design chart. Place the cloth with right side facing right side. Sew a 1 cm seam on the exterior piece of cloth. Do the same with the interior cloth (this requires no embroidery).
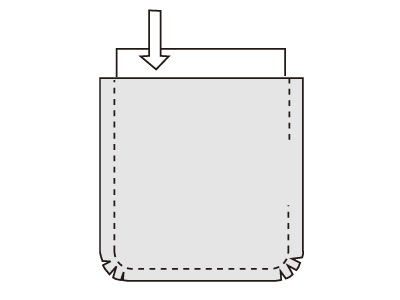
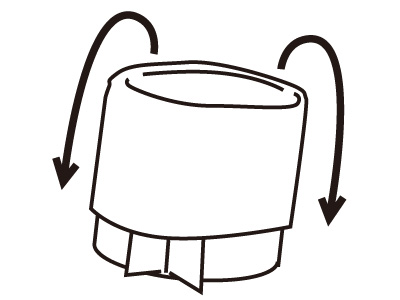
Turn the Exterior cloth right side round and place it into the Interior cloth (wrong side round) so that right side touches right side when put in.
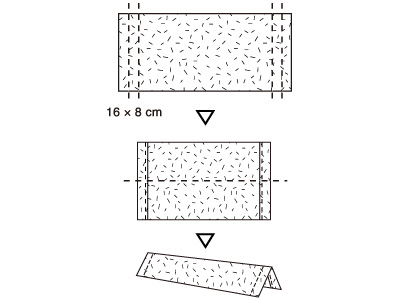
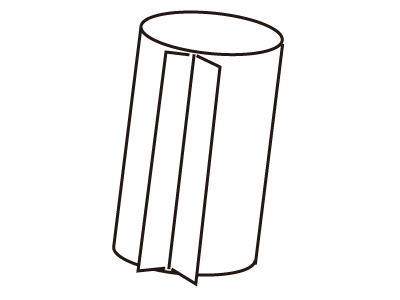
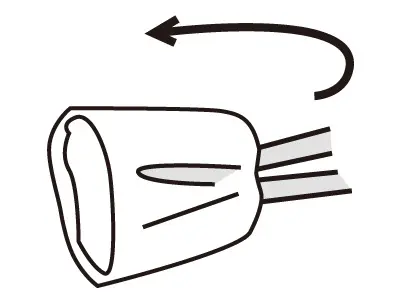
Place the cloth with wrong side facing up. Fold in 5 mm from the side and then fold in another 5 mm on top of itself. Iron flat and then sew along the edge of the fold. Repeat for the second tube. "Now fold both tubes in half and iron"
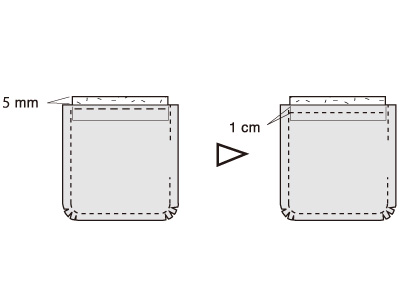
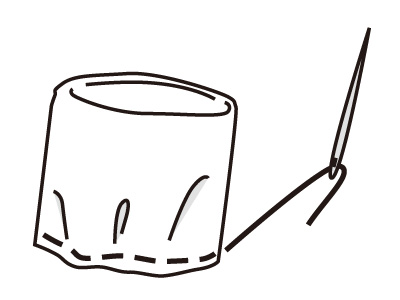
Place the tube in between both pieces of cloth (one on each side of the bag opening) so that the raw edge is facing up and the folded edge tucked inside. The right side of the tubes should face the right side of the interior and exterior cloths. Baste the tubes secure. Stitch a seam of 1 cm width around the mouth of the pouch, and turn back so that the exterior cloth is on the outside. Close up the interior opening with a blind stitch.
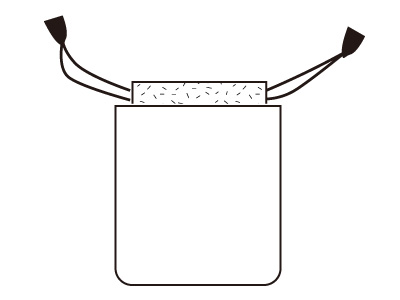
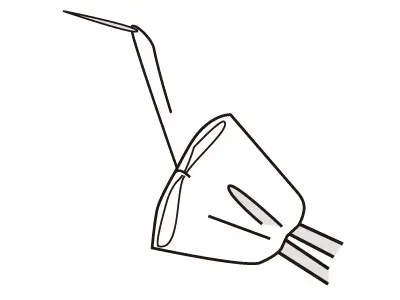
Pass the strings through each of the two tubes and decorate the ends with tassels.
Making Tassels
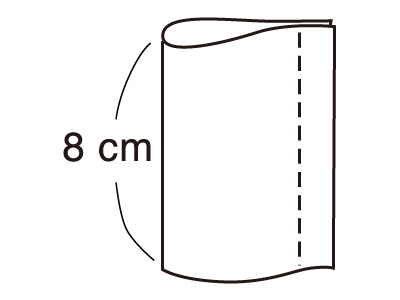
Fold cloth in half with wrong side facing up. Measure in 1 cm and sew.
Open up the seam as shown.
Fold in half outwards.
Stitch 5 mm from the hem.
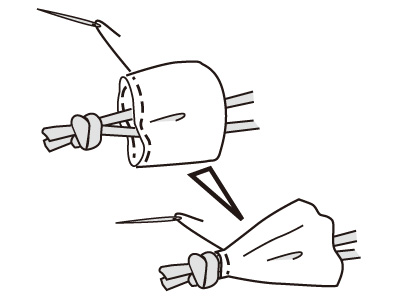
Pull the purse strings through the top of the tassel. Tie a knot in the strings and tighten the running stitch adove it.
Pull the cloth down to hide the knot.
Pinch in half and stitch down the middle.
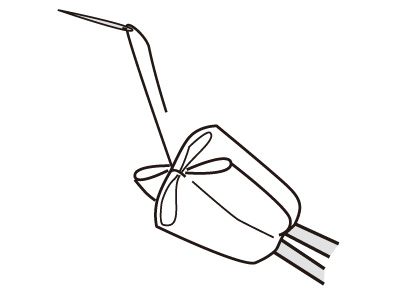
Do the same again and stitch it into a plus shape.