
Hair Pin Lace: Pullover 2
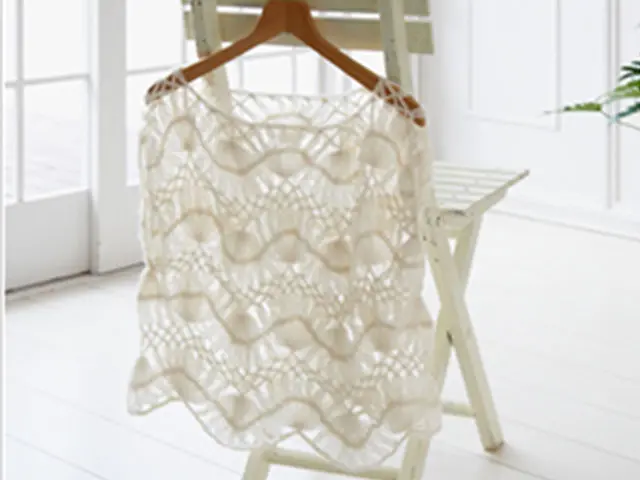
ผลิตภัณฑ์
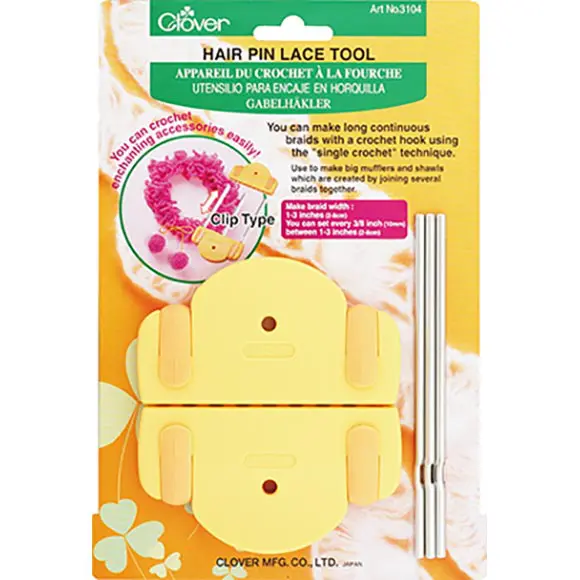
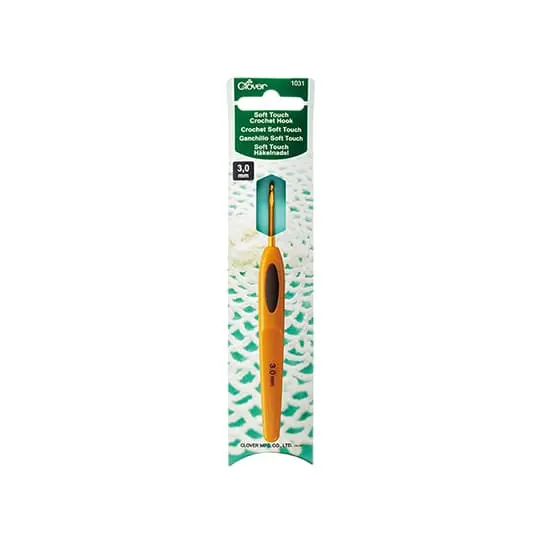
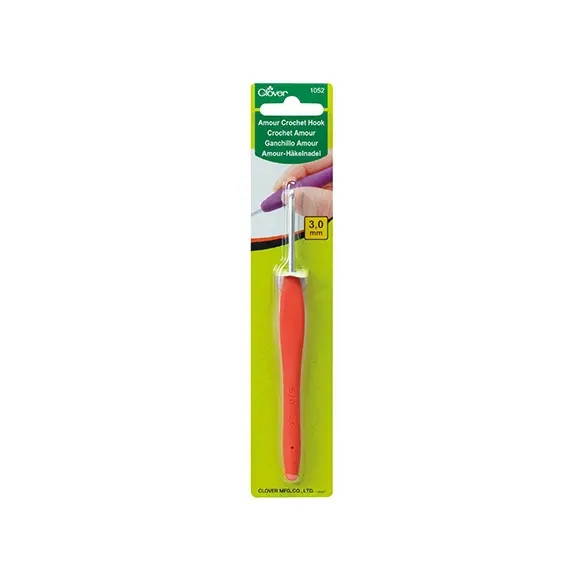
Materials
Medium yarn (100 m/25g): 90g
Gauge
With loom set to 8 cm width: 19 loops = 10 cm
Stitch key
ch (chain)
sc (single crochet)
sl st (slip stich)
Chains. The number refers to the number of chain stitches.
dtc (double triple crochet)
Join new yarn
Cut yarn
วิธีทำ
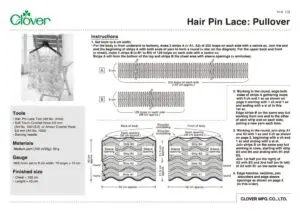
Set loom to 8 cm width.
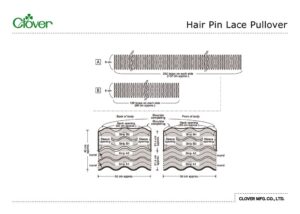
• For the body (= from underarm to bottom), make 2 strips A (= A1, A2) of 252 loops on each side with a centre sc. Join the end and the beginning of strips A with both ends of yarn to form a round (= star on the diagram). For the upper back and front (= chest), make 4 strips B (= B1 to B4) of 129 loops on each side with a centre sc. Strips A will form the bottom of the top and strips B the chest area with sleeve openings (= armholes).
Working in the round, edge both sides of strips A gathering loops with 5 ch and 1 sc as shown on page 2 starting with 1 ch and 1 sc and ending with a sl st in this 1st sc. Edge strips B on the same way but working from one end to the other of each strip and on each side, joining a new yarn each time.
Working in the round, join strip A1 and A2 with 1 sc and 3 ch as shown on page 2, beginning with a ch and 1 sc and ending with a sl st. Join strips B on the same way but working in rows, starting with strip B3 and B4 and ending with B1 and B2. Join 1st half (on the right) of A2 with B3 and 2nd half (on the left) of A2 with B1 on the same way.
Edge hemline, neckline, join shoulders and edge sleeve openings as shown on page 3 (in this order).
Cut yarn
Join new yarn
Row 2: join new yarn and make 1 round as shown below, with 5 chains or 6.
Row 1: Row 1 = 4 distinct parts at 4 places: to be crocheted first.
B4
Row 2: Cut yarn
B2
Row 2: Join new yarn
shoulders
Edging the hemline
Join new yarn and make 1 round as shown on the left, with repeats of 2 ch and 1 sc, ending with a sl st in this 1st sc. Cut yarn and fasten off.
Completing the shoulders
Close the right shoulder on the same way but symmetrically. Crochet from the neck opening to the sleeve opening.
Edging the sleeve openings
To be done after completing the shoulders. Edge the right armhole on the same way but symmetrically.