
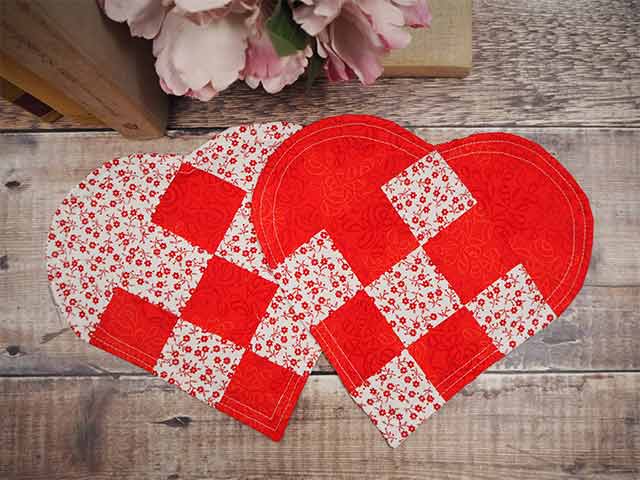
Danish Heart Mat
ออกแบบโดย
Debbie von Grabler-Crozier
ผลิตภัณฑ์

Materials
• Fabric:
Fat 8th red fabric
Fat 8th red and white fabric
FQ pretty fabric for backing
• Interfacing:
FQ H630 fusible wadding (Vlieseline)
วิธีทำ
NB: seam allowances are all ½ cm (1/4"" ) unless otherwise stated. Please read all instructions through and assemble the equipment before beginning.
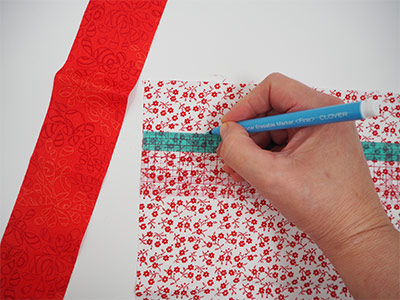
Begin by marking and cutting two strips from each of the F 8ths
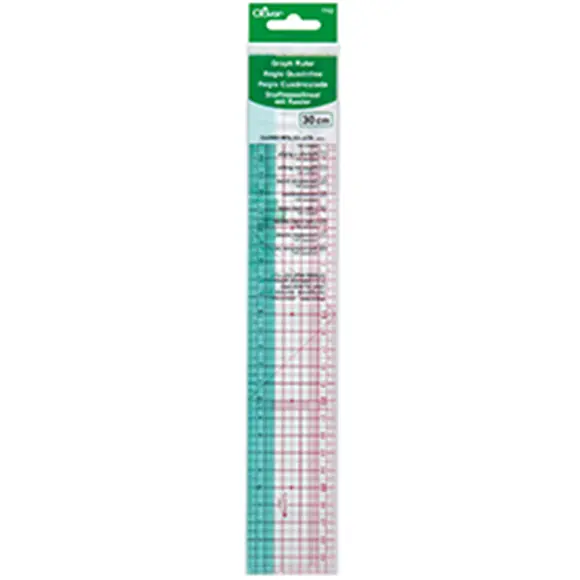
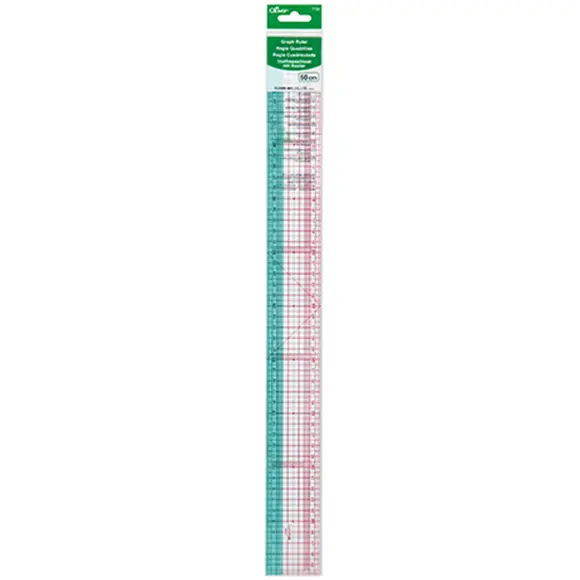
- 6cm wide x LOF8th (length of F 8th) IMAGE 1.
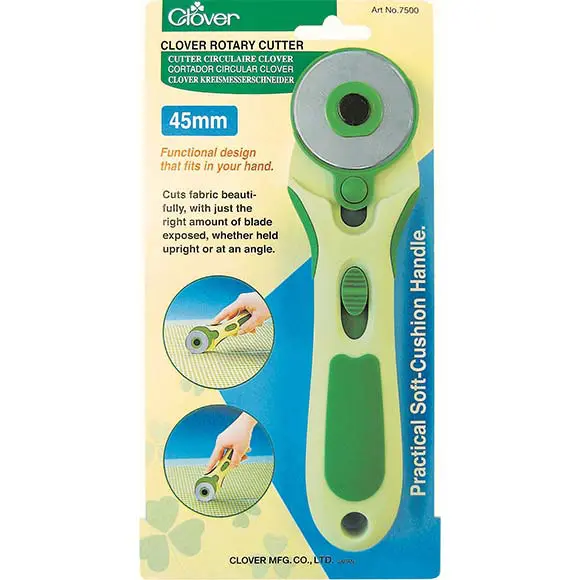
TIP: measure with your graph ruler for absolute accuracy but do not use it with the rotary cutter because you will damage it.
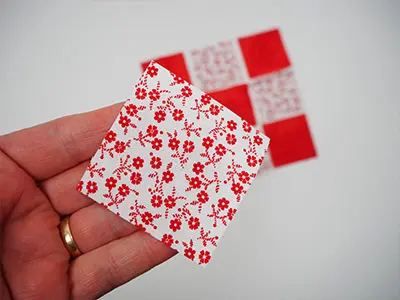
Subcut the strips into 6cm squares IMAGE 2.
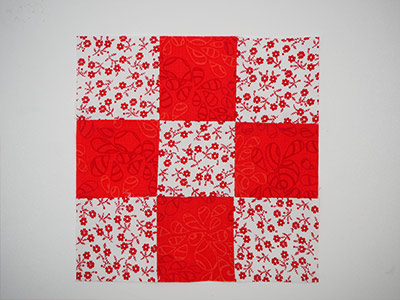
You will need nine squares of alternating fabric. Sew the squares together to make a nine patch IMAGE 3.
TIP: sew the other squares together in the same pattern but alternate the colours so that the two mats match but are not too much the same.

Trim the nine patch blocks to exactly 16cm sq. IMAGE 4.
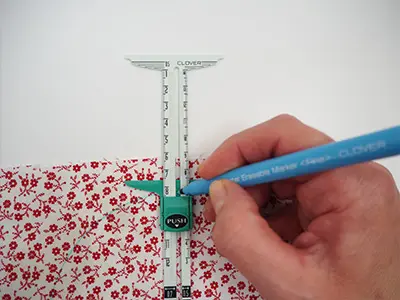
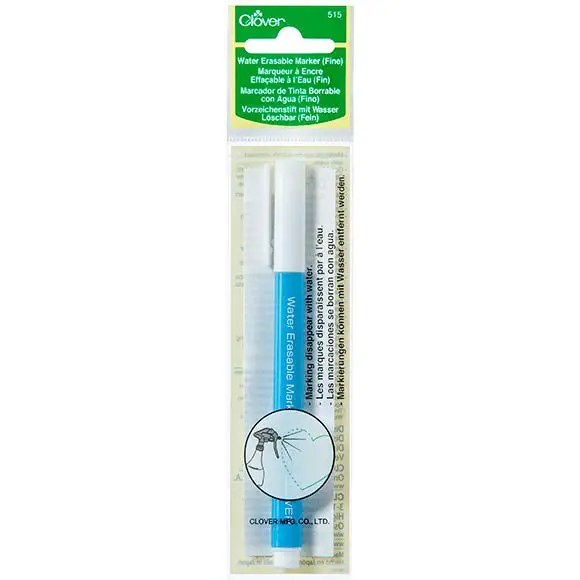
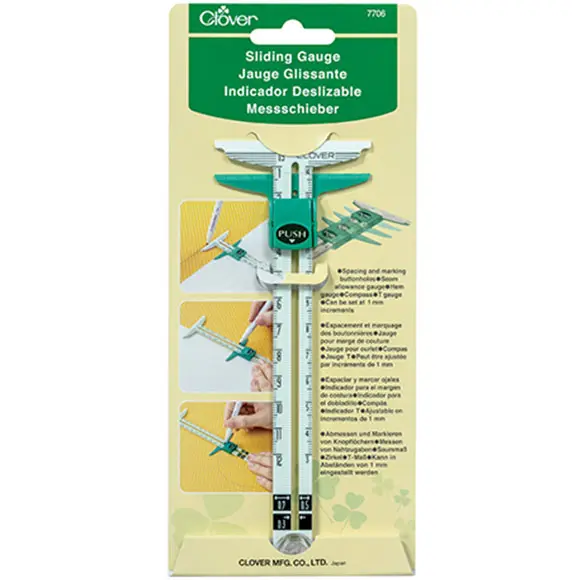
Make a circle top next. Set your sliding gauge on 7.5cm and using the water erasable marker, make a circle IMAGE 5.
TIP: this measurement already includes the seam allowance.
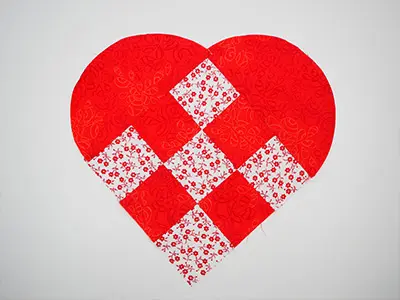
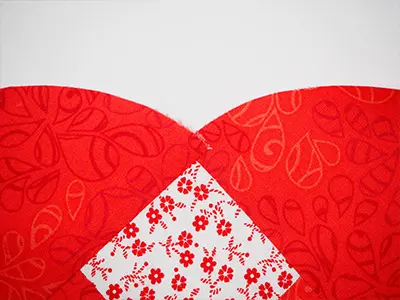
Cut the circle in half and attach to the square block IMAGE 6.
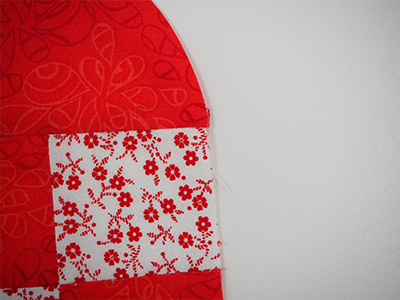
TIP: On the outer edge, the circle meets the edge of the block IMAGE 7 and on the inner edge (where the two circles meet) they overlap I MAGE 8. This part in particular is important because it forms the seam allowance.
Press and attach H630 interfacing to the wrong side. Trim the interfacing. Lay the mat right sides together onto the untrimmed backing fabric and pin. Sew around the perimeter leaving a turning gap. You can trim the backing a bit to make it easier to use but don' t do it perfectly
- this allows for some 'ease' when you are sewing and it makes the backing easier to fit.
TIP: leave the turning gap on a straight part of the mat. It is easier to close afterwards.
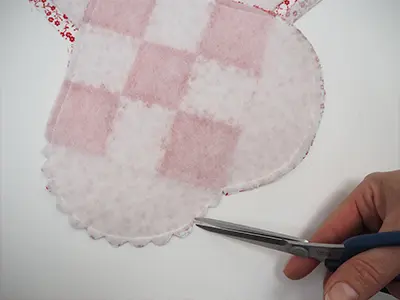
Trim the backing fabric back, clip and notch the curves IMAGE 9. Turn the right way out through the gap and close it.
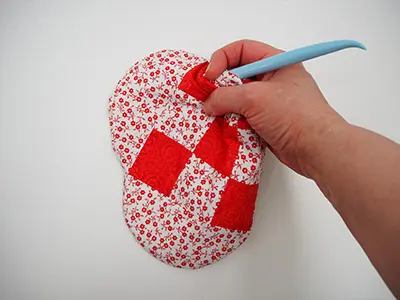
TIP: the Hold -It Precision Stiletto is second to none for persuading the curves on the heart top and the point to behave nicely IMAGE 10.
Quilt by sewing two rows of concentric lines following the heart shape. Repeat for the other mat.
TIP: these make perfect pot holders for a special meal too.