
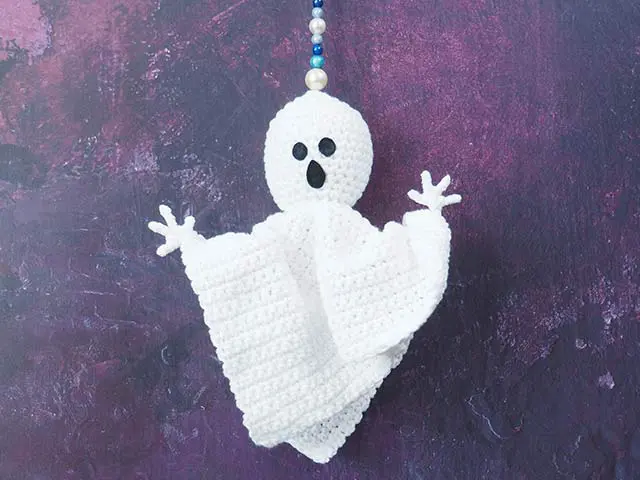
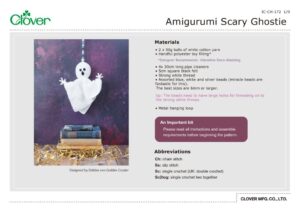
Amigurumi Scary Ghostie
ออกแบบโดย
Debbie von Grabler-Crozier
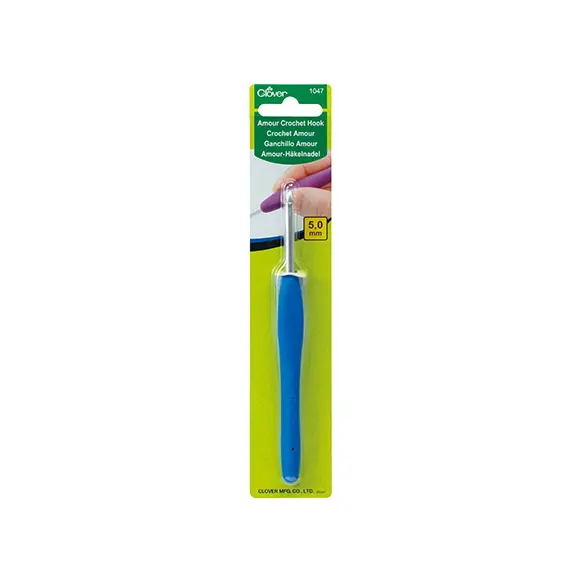
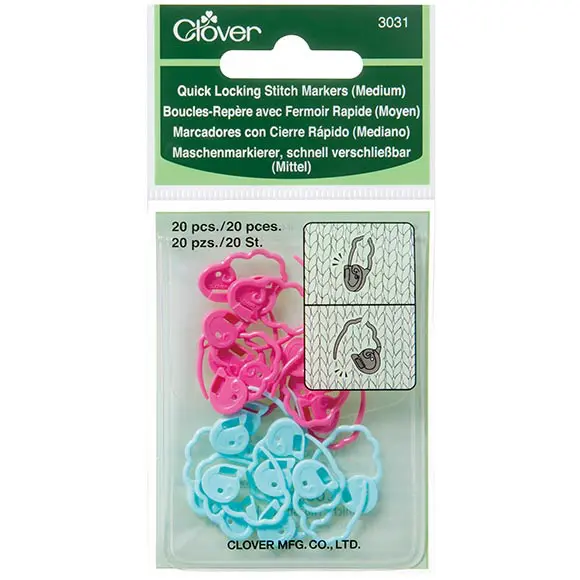
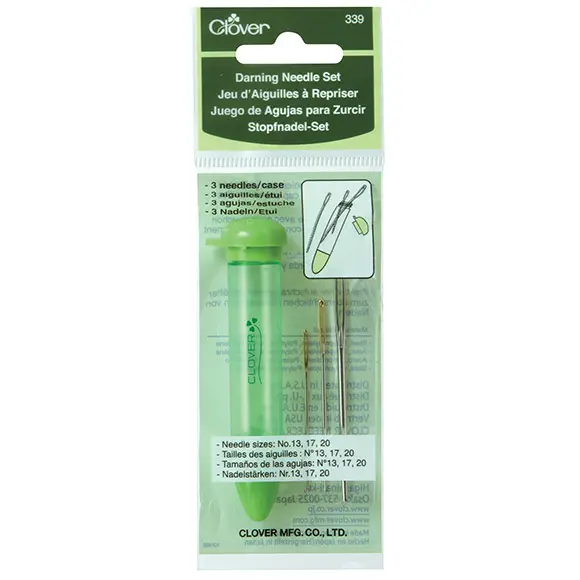
ผลิตภัณฑ์

Materials
• 2 x 50g balls of white cotton yarn
• Handful polyester toy filling*
*Designer Recommends: Vlieseline Deco-Wadding
• 4x 30cm long pipe cleaners
• 5cm square black felt
• Strong white thread
• Assorted blue, white and silver beads (miracle beads are fantastic for this). The best sizes are 6mm or larger.
tip: The beads need to have large holes for threading on to the strong white thread.
• Metal hanging loop
An Important bit:
Please read all instructions and assemble requirements before beginning the pattern.
Abbreviations
Ch: chain stitch
Ss: slip stitch
Sc: single crochet (UK: double crochet)
Sc2tog: single crochet two together
วิธีทำ
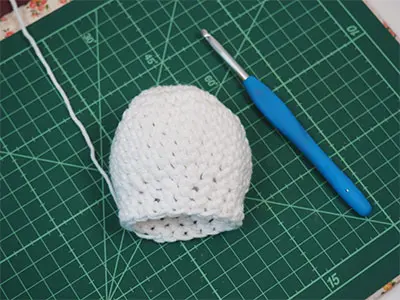
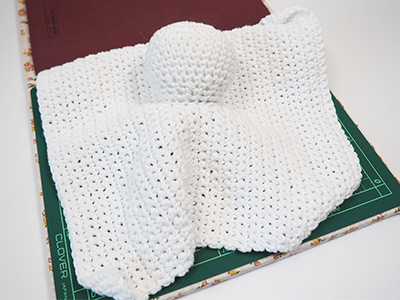
The ghost is made in two parts- the head which is then filled with polyester and joined to the separate body.
To make the head
tip: Use the stitch markers to keep track of the rounds.
Rnd 1: sc 6 in magic loop (6)
Rnd 2: 2 sc in each stitch (12)
Rnd 3: (sc 1, 2 sc next stitch) 6 times (18)
Rnd 4: (sc 2, 2 sc next stitch) 6 times (24)
Rnd 5: (sc 3, 2 sc in next stitch) 6 times (30)
Rnds 6- 11: sc into each stitch around (30)
Rnd 12: (sc 3, sc2tog) 6 times (24)
Rnd 13: (sc 2, sc2tog) 6 times (18)
Rnds 14 & 15: sc into each stitch around (18)
Fasten Off and weave in the ends.
The body is crocheted as a square.
Row 1: ch 40
Rows 2- 50: sc every stitch
tip: The row count can actually change. You are aiming to create a 30cm x 30cm square of crochet.
Tension and your yarn choice can influence this so measure and see what you have. Fasten off and weave in the ends.
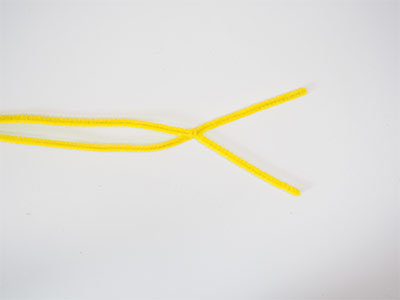
To make the arms, take two pipe cleaners and twist one end together 10cm from the end.
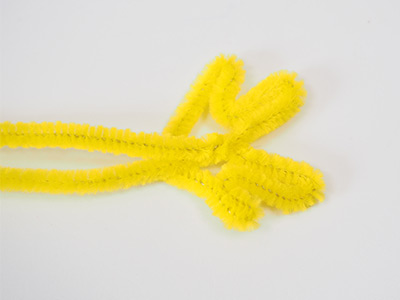
Form little fingers using the folded over parts.
tip: The fingers do not have to be real looking and there do not have to be five ‒ the ghost needs something to hold out while he is scaring people!
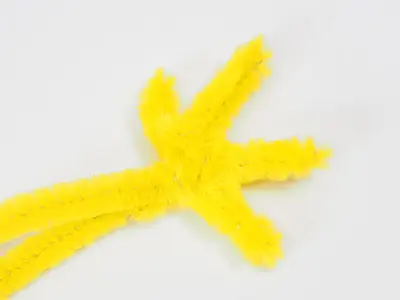
There will be a small amount of the wire end left to twist and form a wrist.
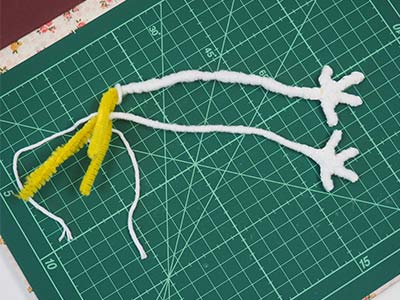
Wrap the hand and the rest of the pipe cleaner with white yarn so that the pipe cleaners cannot be seen.
tip: Leave about 7cm unwrapped on the end of the pipe cleaner. This end is the one without the hand which will be inserted into the base of the head.
Repeat for the other pipe cleaner arm. Fill the head well with polyester filling.
Attach the head to the middle of the square body with a darning needle and yarn.
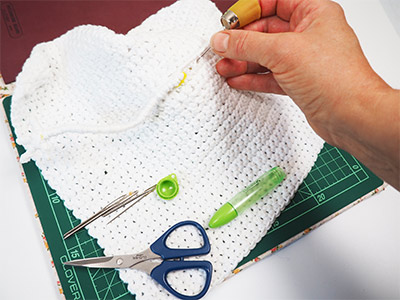
Insert the unwrapped ends of the pipe cleaners into the base of the head and secure with a few stitches.
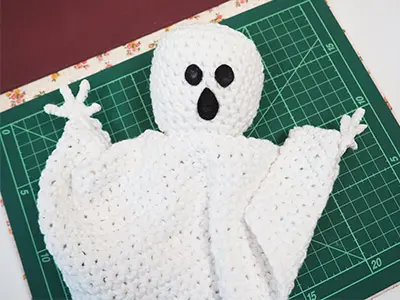
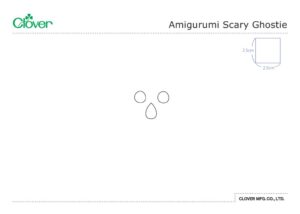
Using the template, cut the two eyes and the mouth from black felt and glue these to the face.
tip: The Water Soluble marker is helpful to draw the placement of the eyes and mouth.
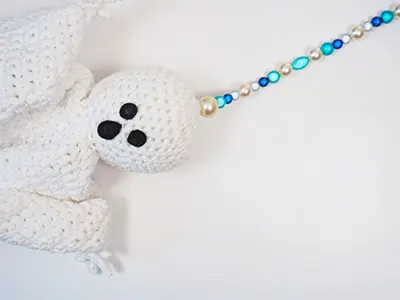
Thread a needle with about 50cm of strong white thread and secure this to the top of the ghost's head. Thread your beads on.
tip: It will depend on the size of your beads as to how many you thread on.

On the end of the beaded strand, attach the metal hanging loop and then pass the thread back through the beads for strength.