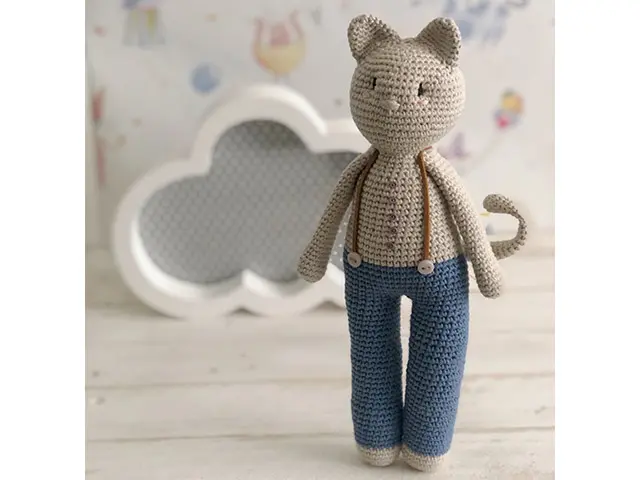
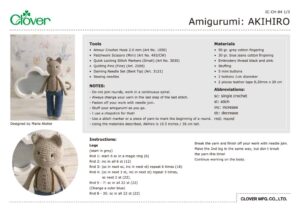
Amigurumi AKIHIRO Crochet Pattern
ออกแบบโดย
Maria Atelier
ผลิตภัณฑ์
Materials
• 50 gr. grey cotton fingering
• 30 gr. blue jeans cotton fingering
• Embrodery thread black and pink
• Stuffing
• 5 mini buttons
• 2 bottons 1cm diameter
• 2 pieces leather tape 0,20mm x 20 cm
Notes
• Do not join rounds, work in a continuous spiral.
• Always change your yarn in the last step of the last stitch.
• Fasten off your work with needle join.
• Stuff your amigurumi as you go.
• I use a chopstick for that!
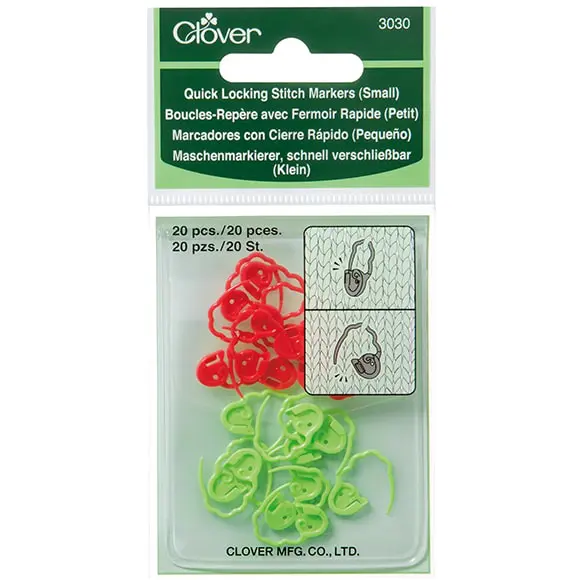
• Use a stitch marker or a piece of yarn to mark the beginning of a round.
• Using the materials described, Akihiro is 10.5 inches / 26 cm tall.
Abbreviations
sc: single crochet
st: stich
inc: increase
dc: decrease
rnd: round
วิธีทำ
Legs
(start in grey)
Rnd 1: start 6 sc in a magic ring (6)
Rnd 2: inc in all 6 st (12)
Rnd 3: (sc in next sc, inc in next st) repeat 6 times (18)
Rnd 4: (sc in next 3 st, inc in next st) repeat 5 times, sc next 2 st (22).
Rnd 5 - 7: sc in all 22 st (22)
(Change to color blue)
Rnd 8 - 35: sc in all 22 st (22)
Break the yarn and finish off your work with needle join.Make the 2nd leg in the same way, but don ́t break the yarn this time! Continue working on the body.
Body and head
Ch5 and join the 2nd leg to the 1st leg with a sc.
This stitch counts as the 1st stitch of the following 22 sc.
Rnd 36: 22 sc in the stitches of the 1st leg, 2 sc in the 2 ch,
22 sc in the stitches of the 2nd leg, 2 sc in the loops on
the other side of the 5ch (48)
Tip: That side is the back of your doll
Rnd 37 - 43: sc in all 48 st (48)
Rnd 44: 13 sc in the next 13 st, dc, 22 sc in the next 22 st, dc,
9 sc in the next 9 st (46)
Change to color grey
Rnd 45 - 46: sc in all 46 st (46)
Rnd 47: 13 sc in the next 13 st , dc, 22 sc in the next 22 st, dc,7 sc in the next 7 st (44)
Rnd 48: 13 sc in the next 13 st, dc, 22 sc in the next 22 st, dc,6 sc in the next 6 st (42)
Rnd 49: (sc in next 5 st, dc in next st), repeat 6 times (36)
Rnd 50 - 56: sc in all 36 st (36)
Rnd 57: (sc in next 4 st, dc in next st), repeat 6 times (30)
Rnd 58: sc in all 30 st (30)
Rnd 59: (st in next 3 st, dc in next st), repeat 6 times (24)
Rnd 60 - 61: sc in all 24 st (24)
Rnd 62: (sc in next 2 st, dc in next st), repeat 6 times (18)
Continue working on the head
Rnd 63: (sc in next 2 st, inc in next st), repeat 6 times (24)
Rnd 64: (sc in next 3 st, inc in next st), repeat 6 times (30)
Rnd 65: (sc in next 4 st, inc in next st), repeat 6 times (36)
Rnd 66: (sc in next 5 st, inc in next st), repeat 6 times (42)
Rnd 67: (sc in next 6 st, inc in next st), repeat 6 times (48)
Rnd 68: (sc in next 7 st, inc in next st), repeat 6 times (54)
Rnd 69 - 75: sc in all 54 st (54)
Rnd 76: (sc in next 7 st, dc in next st), repeat 6 times (48)
Rnd 77: (sc in next 6 st, dc in next st), repeat 6 times (42)
Rnd 78: sc in all 42 st (42)
Rnd 79: (sc in next 5 st, dc in next st), repeat 6 times (36)
Rnd 80: (sc in next 4 st, dc in next st), repeat 6 times (30)
Rnd 81: (sc in next 3 st, dc in next st), repeat 6 times (24)
Rnd 82: (sc in next 2 st, dc in next st), repeat 6 times (18)
Rnd 83: (sc in next st, dc in next st), repeat 6 times (12)
Rnd 84: dc 6 times (6)
Break the yarn and pull the yarn tail through the last stitchcompletely. Close off the remaining stitches and weave in all the ends.
Arms
(Make 2, in grey)
Rnd 1: start 6 sc a magic ring (6)
Rnd 2: inc in all 6 st (12)
Rnd 3: (sc in next 2 st, inc in next st) repeat 3 times (16)
Rnd 4 - 30: sc in all 16 st (16)
Fasten off, leaving a long tail for sewing. No stuff.
Sew the arms on both side between rounds.
Ears
(make 2, in grey)
Rnd 1: start 6 sc in a magic ring (6)
Rnd 2: inc in all 6 st (12)
Rnd 3: sc in all 12 st (12)
Rnd 4: (sc in next 5 st, inc in next st ) repeat 2 times (14)
Rnd 5: (sc in next 6 st, inc in next st) repeat 2 times (16)
Rnd 6: (sc in next 7 st, inc in next st) repeat 2 times (18)
Rnd 7 -8: sc in all 18 sc (18)
Fasten off, leaving a long tail for sewing. Sew the ears to the top of the head.
Tail
(in grey)
Rnd 1: start 6 sc in a magic ring (6)
Rnd 2: (sc in next st, inc in next st) repeat 3 times (9)
Rnd 3 - 33: sc in all st (9)
Fasten off, leaving a long tail for sewing. Sew the tail to the back, centered over round 40.
Assembly
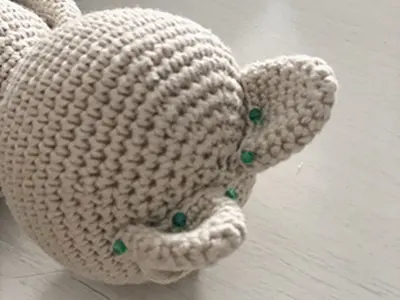
Using a tapestry needle.
1.- Sew the ears on the head next to the beginning of the magic ring. Use pins to help you hold the piece.
2.- Use black embroidery thread for the eyes, sew between the 10th and 12th round.
3.- With the same thread of the body, embroider the nose in round 12 centering it with the eyes.
4.- Sew the tail on the back of the body. You can introduce a wire before sewing it so that it has movement.
5.- Cut 20 cm or 7.5 ""inches of leather tape, to make the straps and cross them on the back. Sew 2 buttons on the front of the straps and sew 5 mini buttons on the body.


