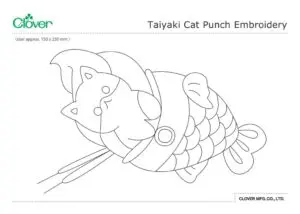
Taiyaki Cat Punch Embroidery
Разработано
YUMI HOOPS
Готовый размер
approx. 24 x 35 cm
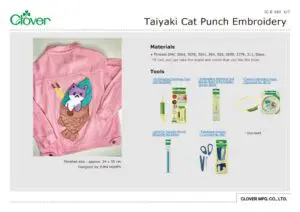
Инструменты
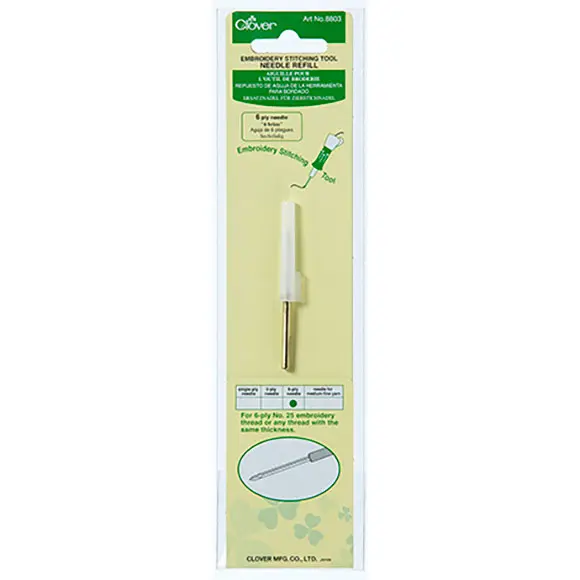
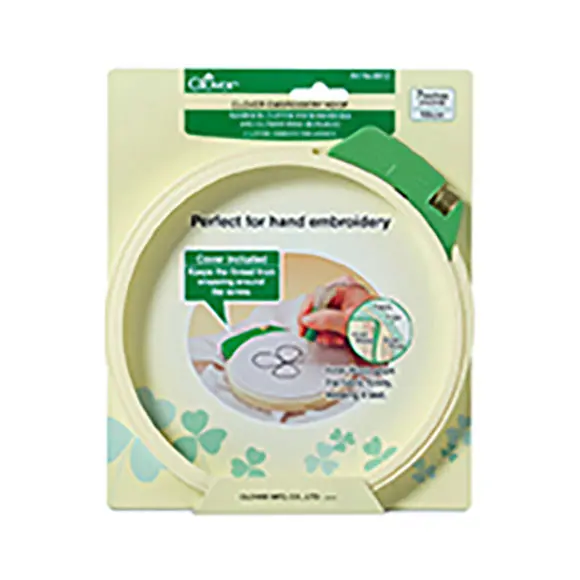
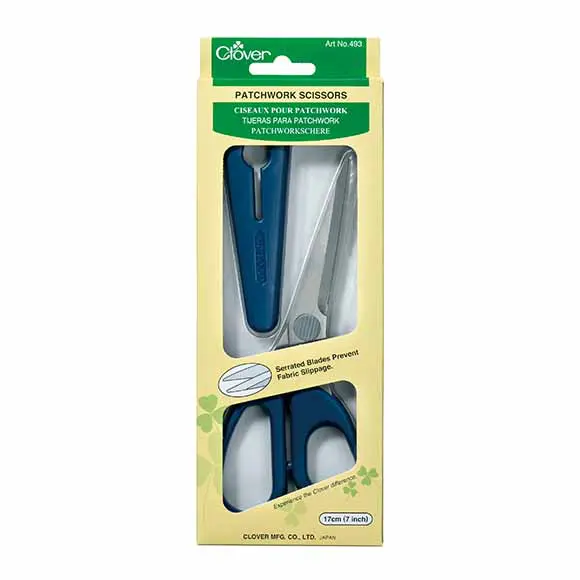
Materials
• Threads DMC 3064, 3078, 3041, 964, 503, 3859, 3779, 211, Blanc.
*If not, you can take the brand and colors that you like the most.
Изготовление
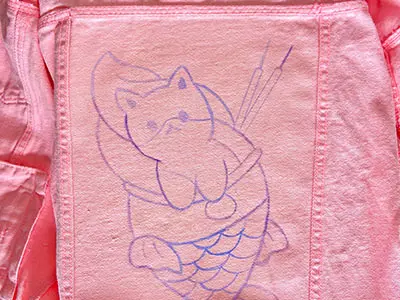
Print the image (page 7) to the size you want to use.
Designerʼ s comment: I used it to the 24cm size x 35cm approx.
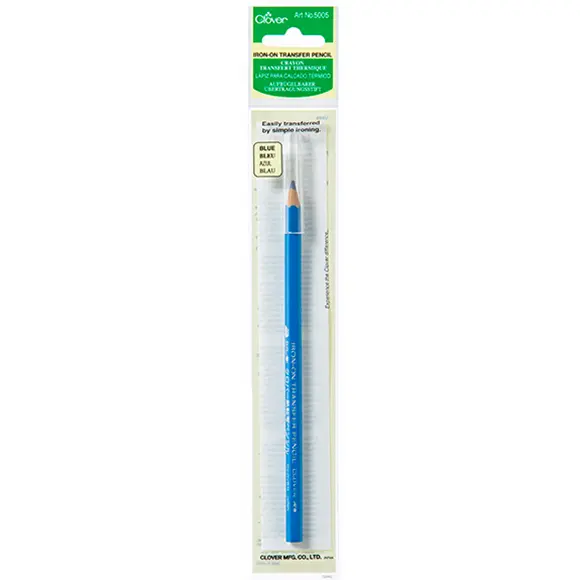
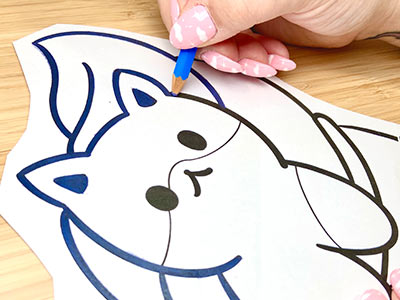
We start by using the “Iron-on Transfer Pencil” redrawing on top of the printed drawing.
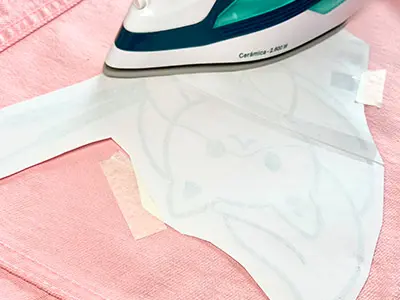
We place the pattern drawn by us on the inside of the jacket and stick it with a little tape or pins. Carefully pass the hot iron slowly and several times, making sure that the design has been transferred to the fabric.
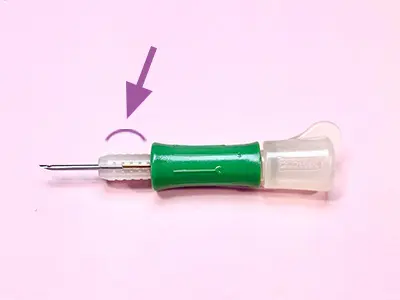
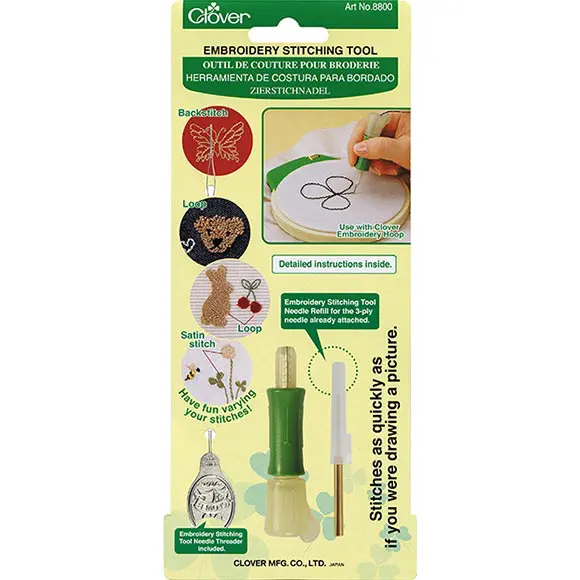
Put the jacket inside the hoop and start embroidering.
Designerʼ s comment: I put the needle in the 4th position, so that the loop would be longer.
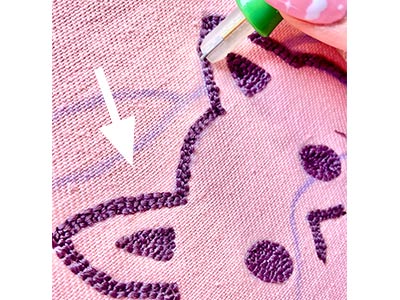
Designerʼ s comment: I recommend using all 6 mouliné strands for a better filling. I like to outline first and then do the fill, so if you go fast with the fill you won't get out
of the drawing. For the outline I make 3 lines.
Continue with the filling where it is more comfortable for you to advance or where you feel like it the most.
tip: When you make the filling, try to make the lines very close together, so that on the outside there are no gaps. When you finish you can always go over again with the needle where you see spaces.
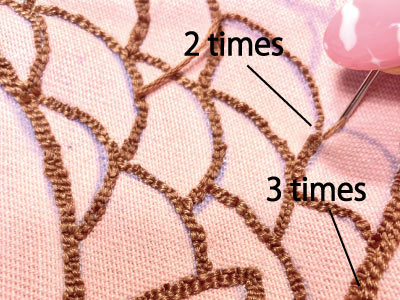
For the taiyaki fish, the outer line passed 3 times and for the scales it passed 2 times.
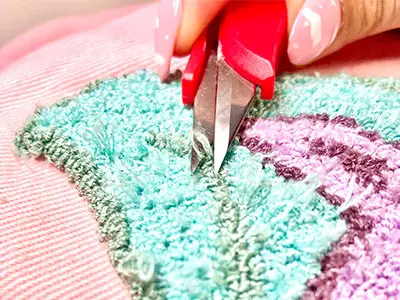
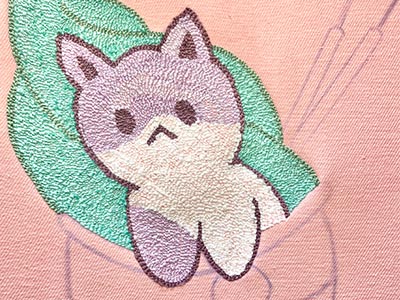
tip: Do not be scared if when you finish the embroidery, the curly part has threads out, it is normal. You just have to cut with the tips of the scissors and perfect!
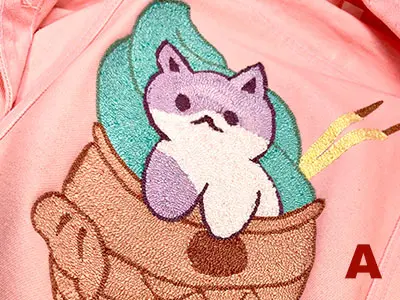
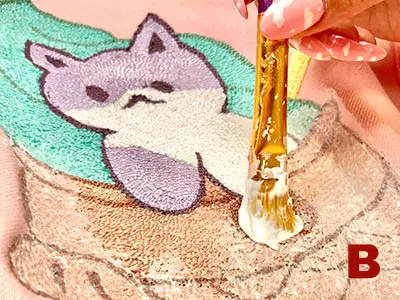
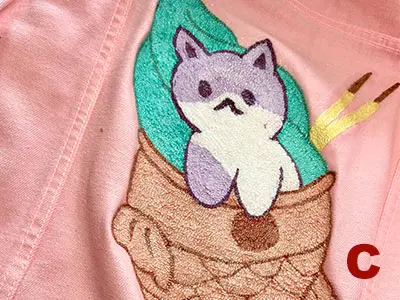
Finished, it has to look this smooth (photo A) and to protect the stitches from the daily wear we will give it a layer of textile glue (photo B). Don't worry, it becomes transparent later! (photo C)