
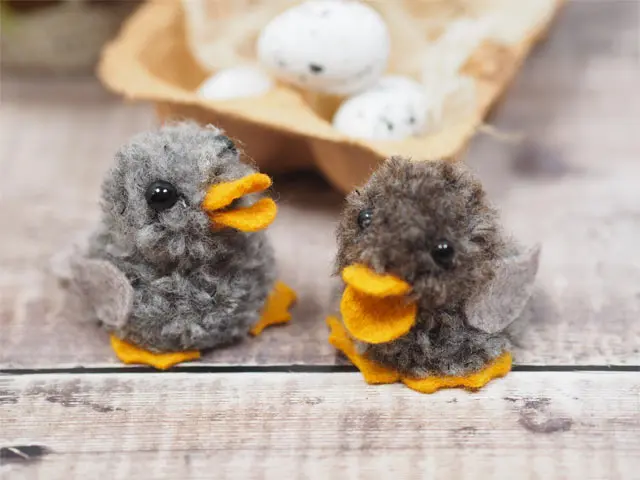
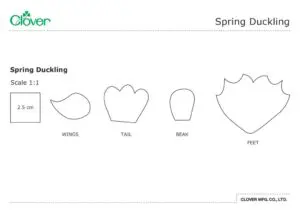
Spring Duckling
Разработано
Debbie von Grabler-Crozier
Инструменты

Your usual crafting needs
Hot glue gun
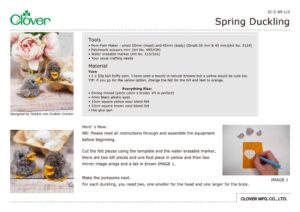
Materials
Yarn
• 1 x 50g ball fluffy yarn. I have used a boucle in natural browns but a yellow would be cute too.
TIP: if you go for the yellow option, change the felt for the bill and feet to orange.
Everything Else:
• Strong thread (perle coton a broder #5 is perfect)
• 4mm Black plastic eyes
• 10cm square yellow wool blend felt
• 10cm square brown wool blend felt
Изготовление

NB: Please read all instructions through and assemble the equipment before beginning.
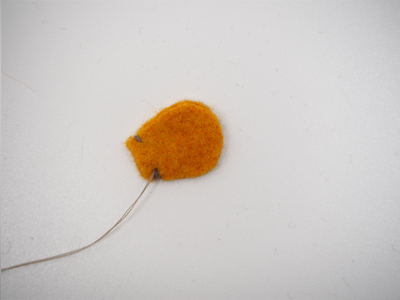
Cut the felt pieces using the template and the water erasable marker, there are two bill pieces and one foot piece in yellow and then two mirror image wings and a tail in brown IMAGE 1.
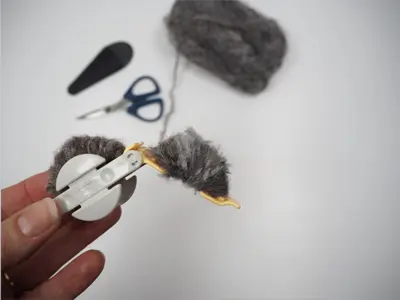
Make the pompoms next. For each duckling, you need two, one smaller for the head and one larger for the body.
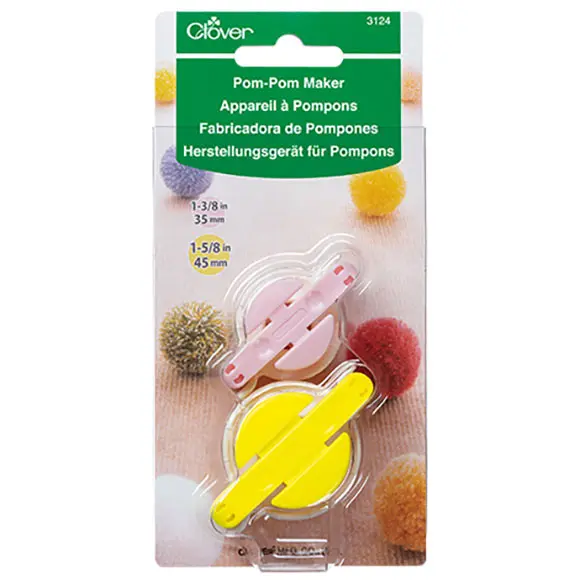
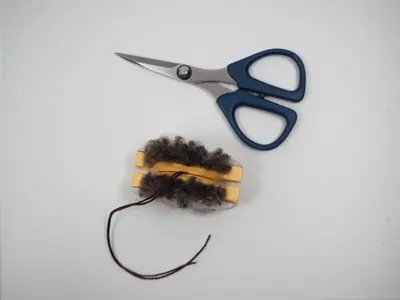
To make a pompom, fill the pompom maker well with your chosen wool IMAGE 2.
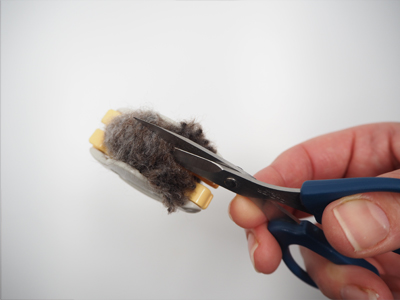
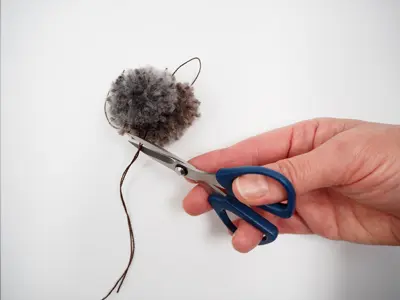
Use the scissors to cut the pompom using the groove IMAGE 3.
Tie the pompom off with a long piece of thread IMAGE 4.
TIP: leave this piece of thread quite long. It will be used to tie the two pompoms together. I use the strong thread for this job – it is less liable to breakage.
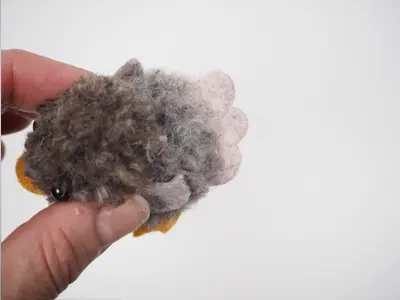
Remove the pompom from the maker and then make another. Tie the smaller pompom to the larger using the long pieces and then trim them IMAGE 5.
TIP: Use your smaller scissors to slightly trim the pompoms to make them look more natural. Take the two bill pieces and a small amount of thread. Sew the sides of the bill IMAGE 6.
TIP: I have used a contrasting thread so that you can see what I am doing. Don’t worry though, this will be well buried in the pompom. You won’t see it.

Give the bill some shape by pinching the top and bottom and adding another stitch to slightly gather it IMAGE 7.
Glue the eyes in place and add the bill, the wings and the feet. Glue the tail on too IMAGE 8.