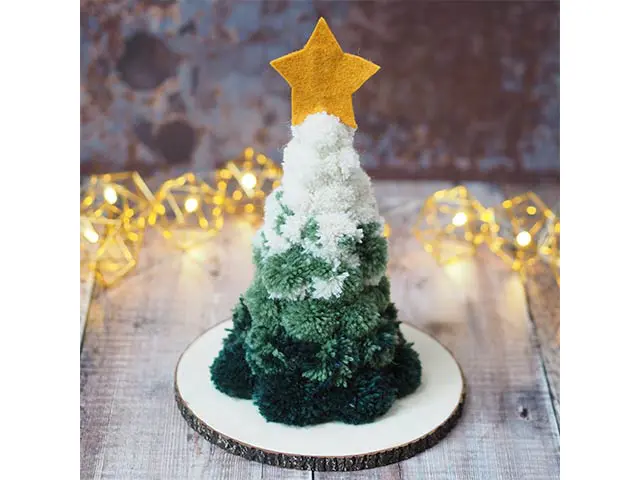
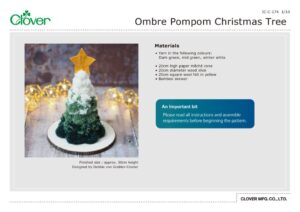
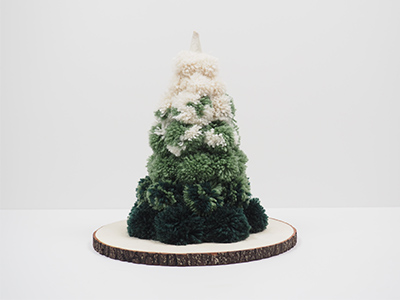
Ombre Pompom Christmas Tree
Разработано
Debbie von Grabler-Crozier
Готовый размер
approx. 30cm height
Инструменты

Materials
• Yarn in the following colours:
Dark green, mid green, winter white
• 20cm high paper mâché cone
• 20cm diameter wood slice
• 20cm square wool felt in yellow
• Bamboo skewer
An Important bit:
Please read all instructions and assemble requirements before beginning the pattern.
Изготовление
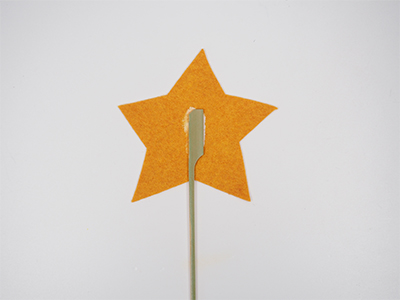
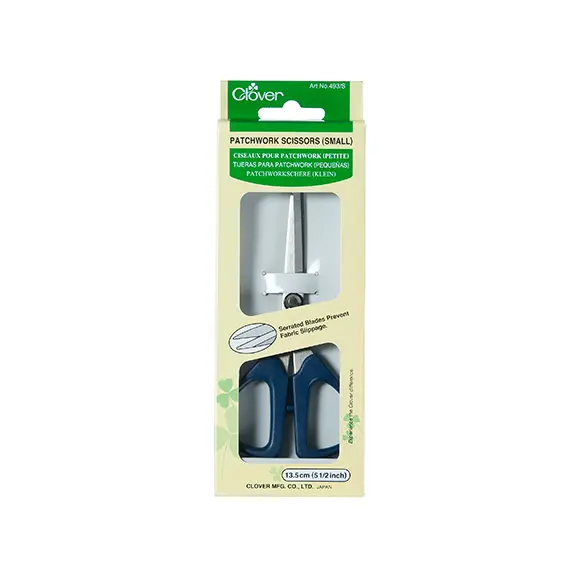
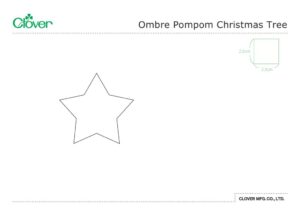
Let's make the star first. Using the template and the water erasable marker, cut two stars from the felt.
Take the bamboo skewer and glue it to the first star with fabric glue.

Glue the other star shape over the top so that the bamboo skewer is hidden.
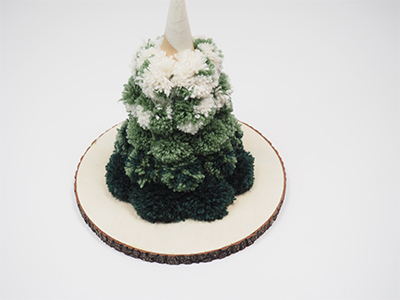
Put the star aside to dry and we can make the tree. The idea of the tree is that the colour goes gently from winter white on the top to pure green on the bottom. The size of the pompoms also become smaller towards the top of the tree.
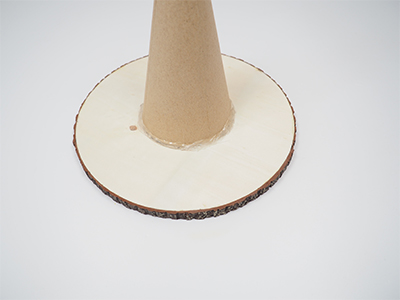
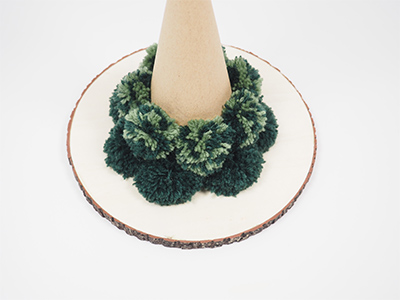
The first step is to use hot glue to attach the paper mâché cone centrally onto the wood slice.
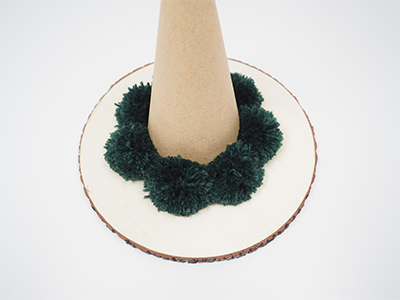
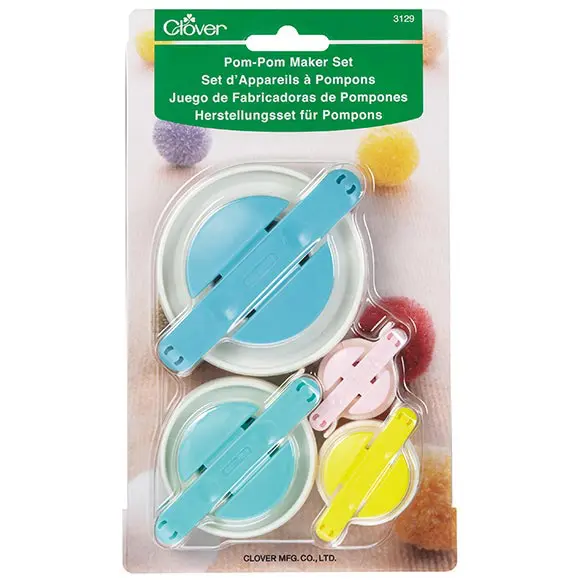
Begin with the yellow (45mm) pompom maker and make 7 pompoms in pure dark green.
Glue these to the base of the cone where it meets the wood slice.
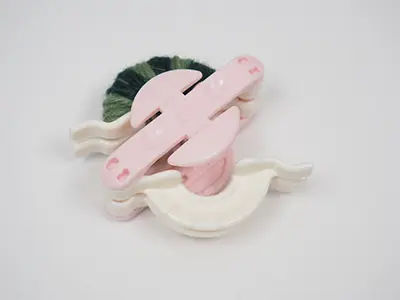
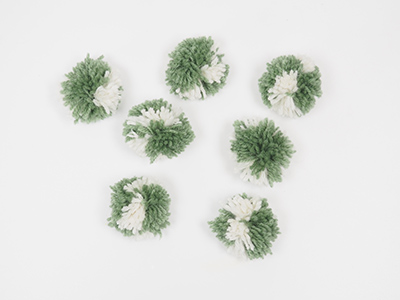
Next, using the light pink (35mm) pompom maker, make 7 dark green and mid green mixed pompoms.
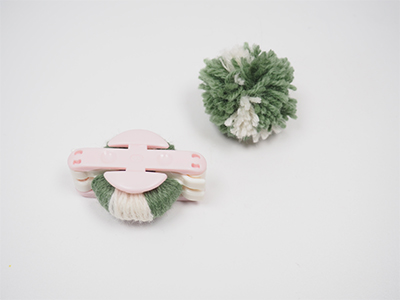
Do you notice the little markers on your pompom maker? These are there to help you to get the colours placed in certain ways. For the two-coloured pompoms, use the markers to place the yarn evenly in alternating colours.
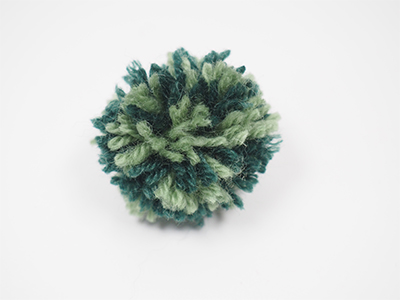
Then when the pompom is completed, it will be beautifully coloured.
Add the multi coloured pompoms to the cone.
For the next row, make 7 pure mid green pompoms using the same size maker and glue them onto your tree. The next pompoms are mid green and winter white.
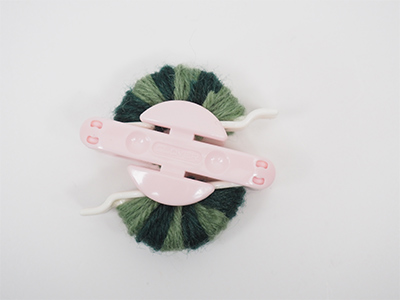
Use the bars on the pompom maker and use slightly more green than white to make 7 pompoms.
tip: So how do you use more green than white? It is really easy! You can see that the bars divide the maker into 6 sections? To make a pompom more
green, start with green and wind two sections worth. Then add a double white section and finish with two more sections of green.
Glue these seven pompoms to the cone. The next row of pompoms needs to be even lighter.
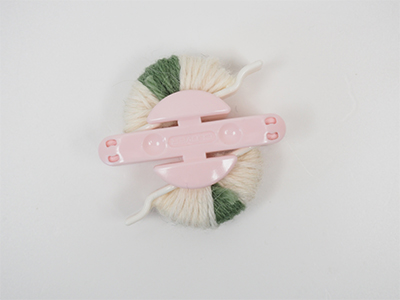
To make a pompom more white, start with white for two sections, then green for two and then white again.
tip: This is the same method as the green and white but the colour order is reversed.
Make 5 of these and glue them onto the tree.
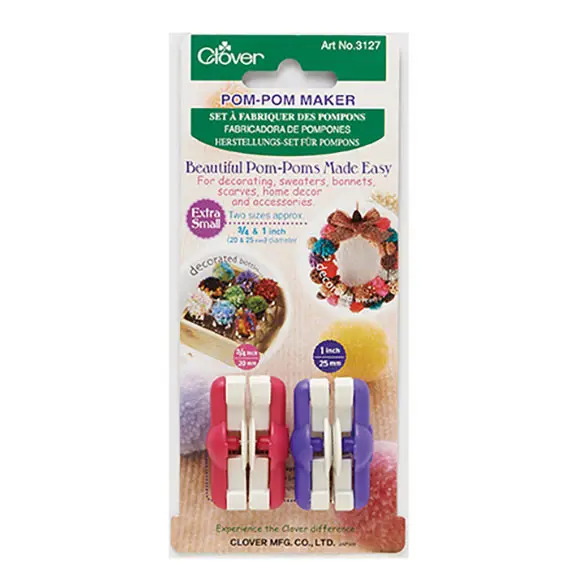
Next swap to the tiny purple pompom maker (25mm) and make 9 pure white pompoms.
Glue them on in two rows.
Finally, use the smallest pink pompom maker (20mm) and make 3 pure winter white pompoms for the top row.
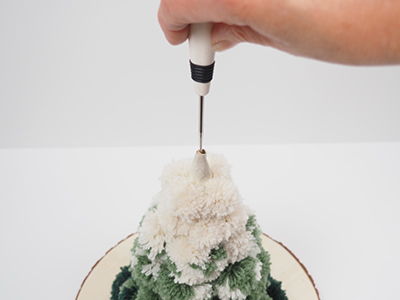
Before you put the last pompoms on, make a hole in the top of the cone with the awl.

Poke the bamboo skewer with the star into
the hole and hot glue it into place.
Finally glue the remaining pompoms onto
the top of the cone.