
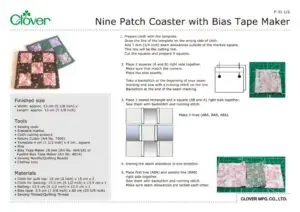
Nine Patch Coaster
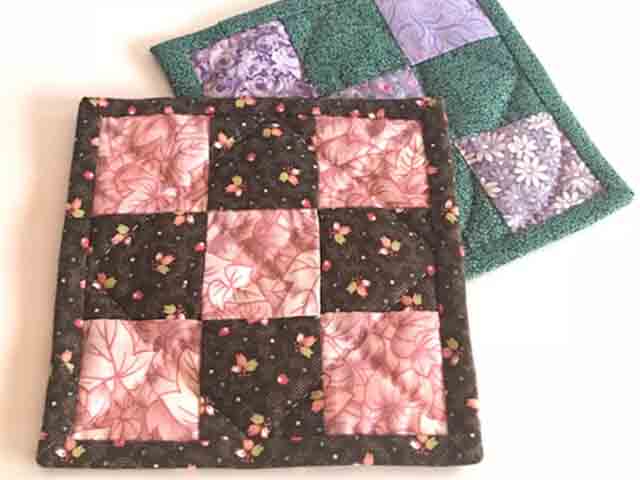
Готовый размер
• Width: approx. 13 cm (5 1/8 inch) x Length: approx. 13 cm (5 1/8 inch)
Инструменты
• Sewing tools
• Erasable marker
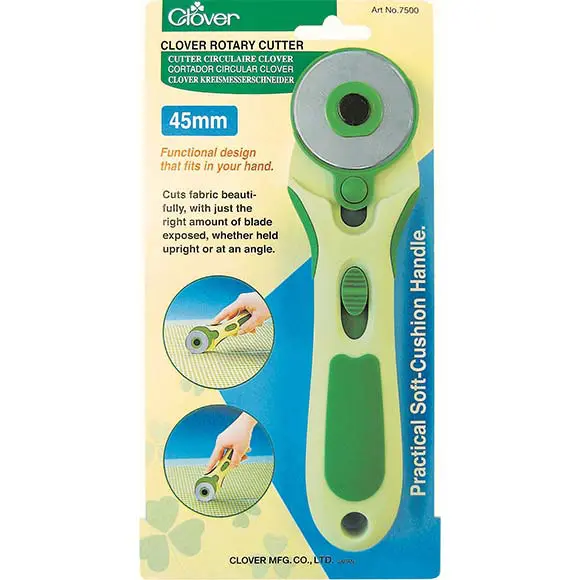
• Cloth cutting scissors
• Template 4 cm (1 1/2 inch) x 4 cm ... square
• Pins
• Sewing Needle/Quilting Needle
• Clothes Iron
Materials
• Cloth for quilt top: 15 cm (6 inch) x 15 cm x 2
• Cloth for backing: 13.5 cm (5 1/2 inch) x 13.5 cm x 1
• Batting: 13.5 cm (5 1/2 inch) x 13.5 cm x 1
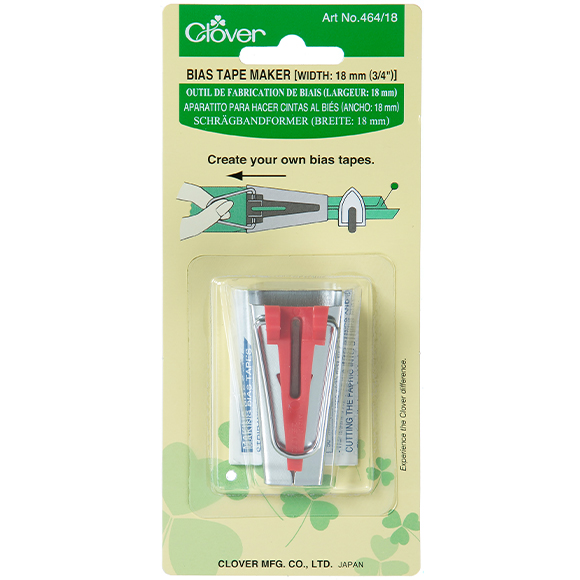
• Bias tape: 3.5 cm (1 3/8 inch) x 60 cm (23 5/8 inch)
• Sewing Thread/Quilting Thread
Изготовление
Prepare cloth with the template. Draw the line of the template on the wrong side of cloth. Add 7 mm (1/4 inch) seam allowances outside of the marked square. This line will be the cutting line. Cut the squares and prepare 9 squares.
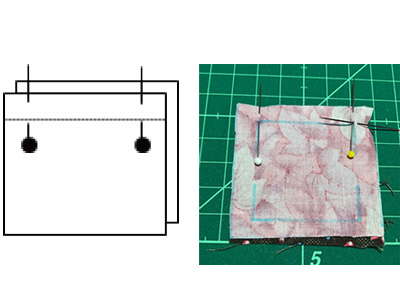
Place 2 squares (A and B) right side together. Make sure that match the corners. Place the pins exactly.Take a backstitch at the beginning of your seam marking and sew with a running stitch on the line. Backstitch at the end of the seam marking.
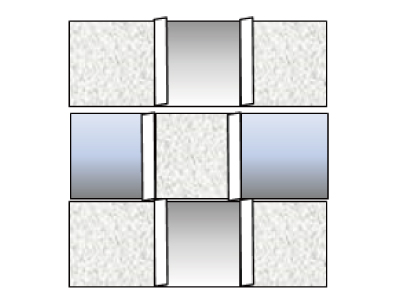
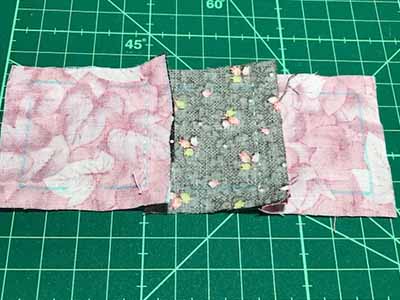
Place 1 sewed rectangle and a square (AB and A) right side together. Sew them with backstitch and running stitch. Make 3 lines (ABA, BAB, ABA).
Ironing the seam allowance in one direction.
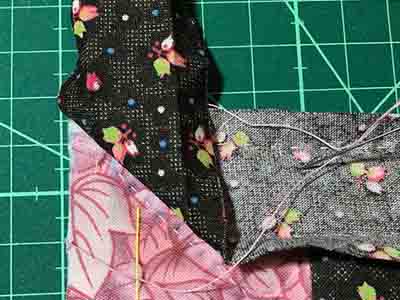
Place first line (ABA) and second line (BAB) right side together. Sew them with backstitch and running stitch. Make sure seam allowances are locked each other.
Place third line (ABA) and second line (BAB) right side together. Sew them with backstitch and running stitch. Make sure seam allowances are locked each other. Do ironing.
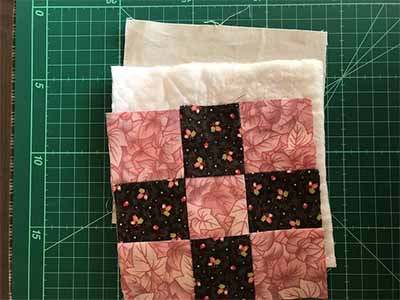
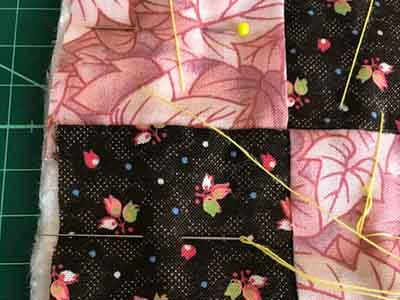
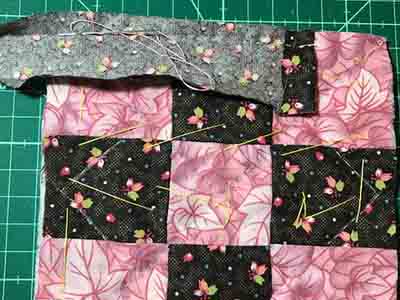
Lay the batting over the backing cloth of wrong side and lay the quilt top over the batting right side up. Baste with needle and thread.
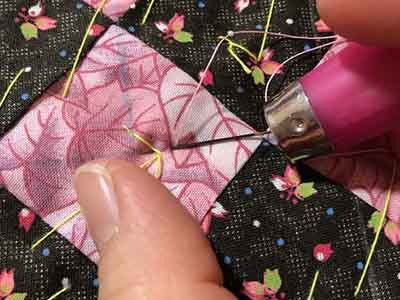
Draw quilitng lines. Quilt with quilting needle and thread as you like.
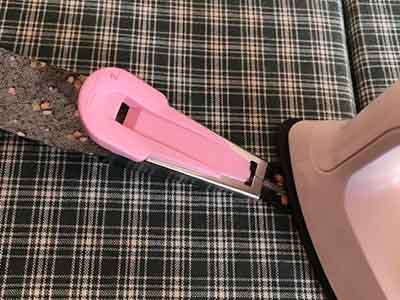
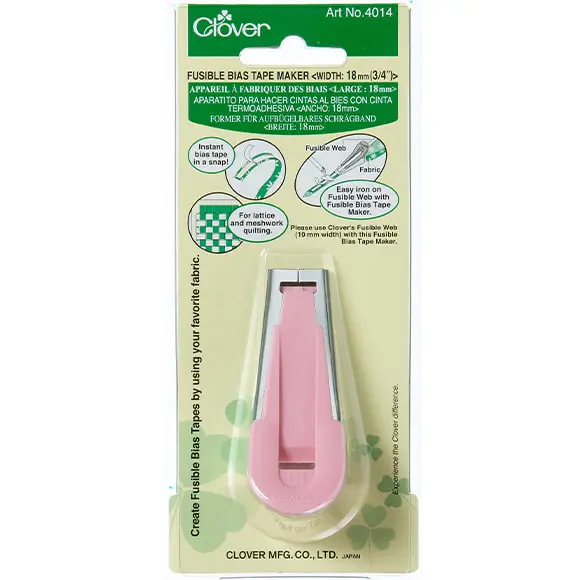
Fold your bias tape with Bias Tape Maker or Fusible Biast Tape Maker and iron.
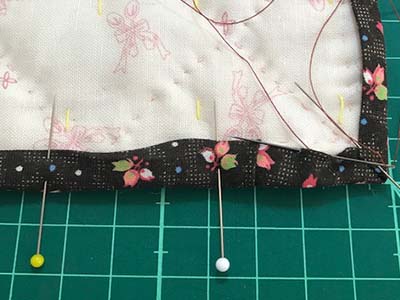
Cut the excess of batting and backing cloth.
Bind your quilt with the bias tapes.
Cut the basting thread and wash the quilt. Dry it.