
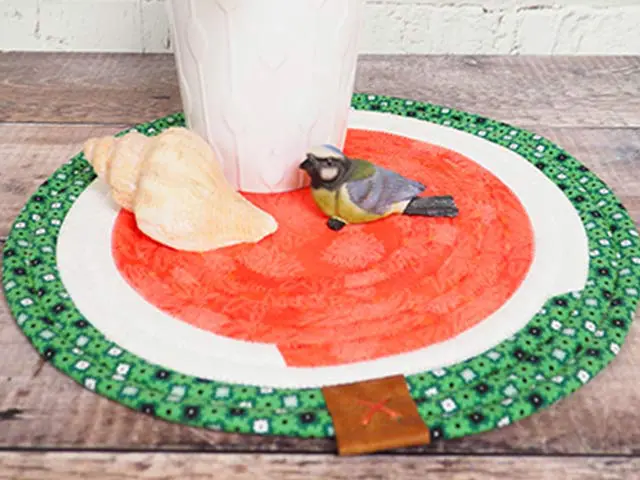
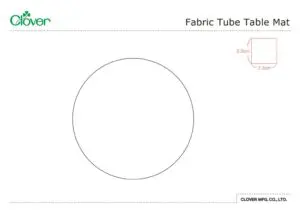
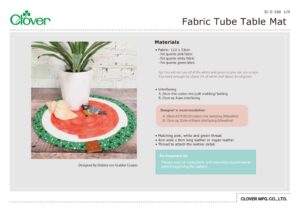
Fabric Tube Table Mat
Разработано
Debbie von Grabler-Crozier
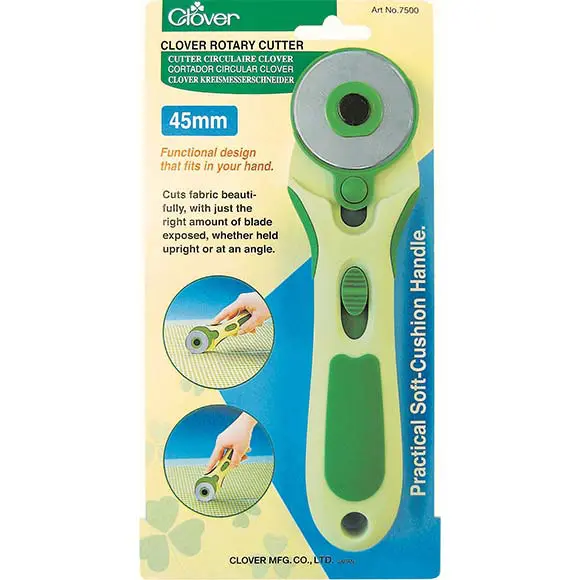
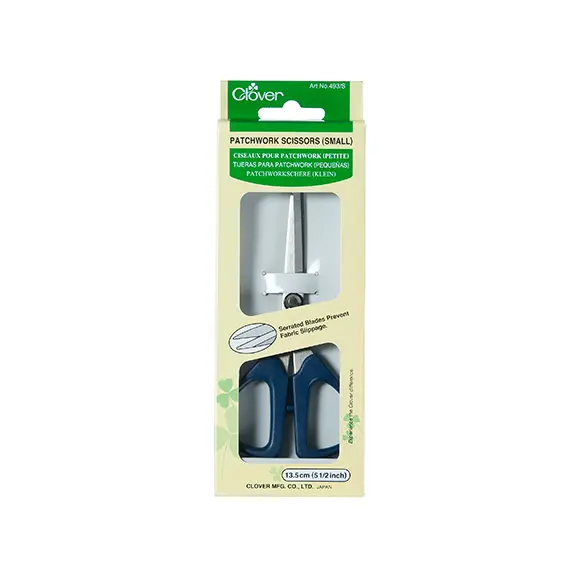
Инструменты
Materials
• Fabric: 110 x 33cm
— Fat quarter pink fabric
— Fat quarter white fabric
— Fat quarter green fabric
tip: You will not use all of the white and green so you can use scraps.You need enough for about 2m of white and about 3m of green.
• Interfacing
A: 20cm thin cotton mix quilt wadding/ batting
B: 23cm sq. foam interfacing
Designer’ s recommendation
A: 20cm #279 80/20 cotton mix wadding (Vlieseline)
B: 15cm sq. Style-vil foam interfacing (Vlieseline)
• Matching pink, white and green thread
• 4cm wide x 8cm long leather or vegan leather
• Thread to attach the leather detail
An Important bit:
Please read all instructions and assemble requirements before beginning the pattern.
Cutting
From the pink fabric:
— 2 squares 15cm sq. for the centre of the mat
— Bias cut strips 6cm wide and joined to make a strip about 3.5m long
From the white fabric:
— Bias cut strips 6cm wide and joined to make a strip about 2m long
From the green fabric:
— Bias cut strips 6cm wide and joined to make a strip about 3m long
From the interfacing B:
— 1 circle (template)
From the interfacing A:
・ Strips cut 6cm wide and joined to make a strip about 8.5m
long
Изготовление
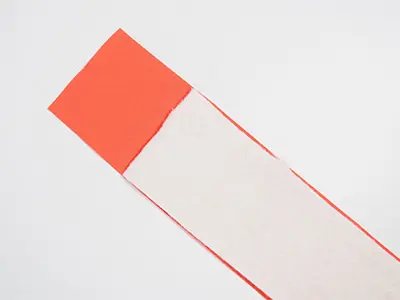
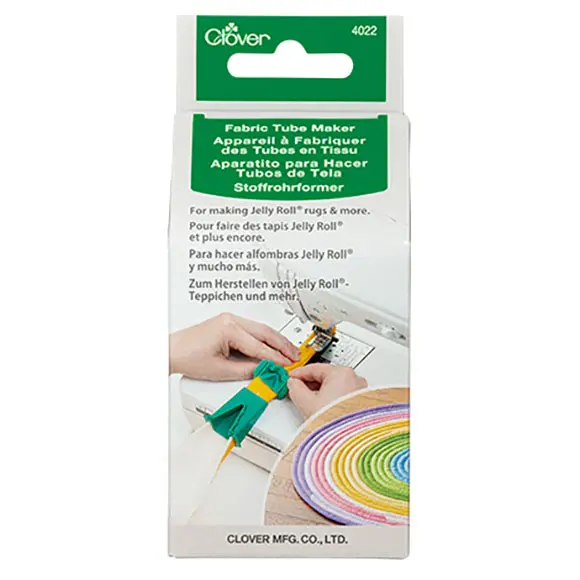
Make the fabric tube following the instructions on the package. There are one or two things to know before you begin:
- Join the strips together starting with the pink (for the middle), the white and finish with the green.
- On the end of the pink, allow 4cm before you add the interfacing. This will be important when we start the mat.
Roll the fabric tube so that the pink is on the outside. We will start with this colour.

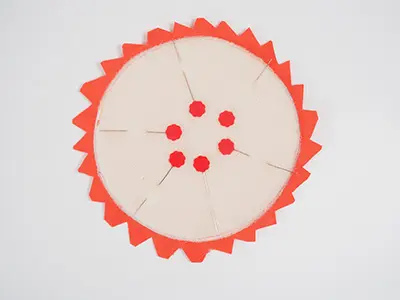
To make the centre, you need both squares of fabric and the foam disk. Centre the foam disk onto the wrong side of one of the fabric squares and attach with a very narrow basting stitch.
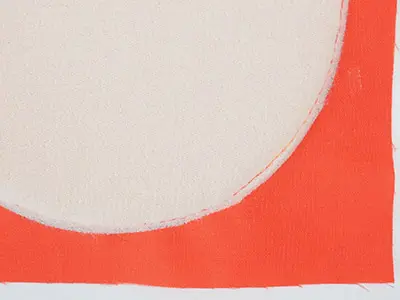
Place the other fabric square right sides together onto the first (ignore the foam circle) and pin. Stitch around exactly on the edge of the foam circle. Leave a turning gap.
tip: The size of the foam circle is the actual size of the centre of the mat. The rest of the fabric is seam allowance and will be trimmed in the next step.
Trim the seam allowance so that 1cm all around remains and notch the seam allowance.
Turn the centre the right way out through the gap and close the gap leaving about 3cm.
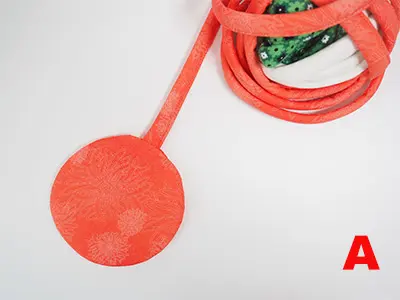
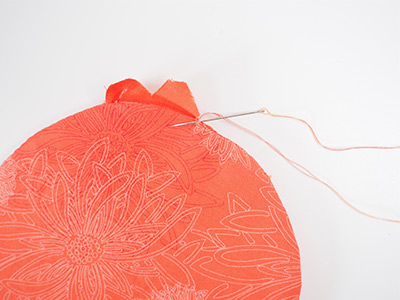
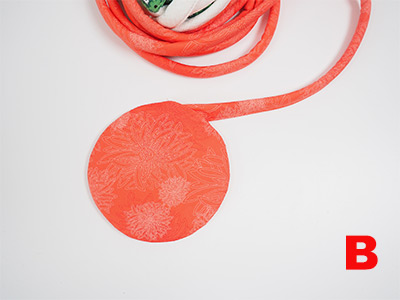
Time to add the side of the mat. Bring the pink end of the fabric tube and feed it into the hole in
the centre. Not like this A but like this B. Secure with a couple of stitches.
tip: Notice that the fabric tube has a top and a bottom? The bottom is the one with the original stitching line.
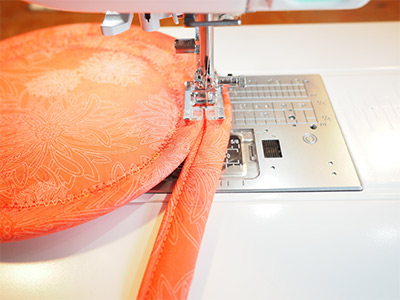
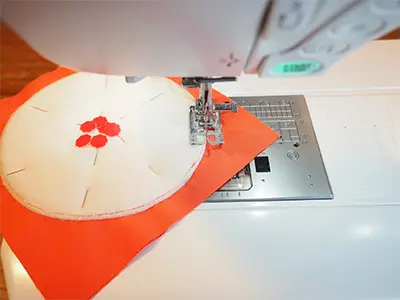
Tuck the bottom of the fabric tube under the centre of the mat and begin stitching with a zig-zag stitch.
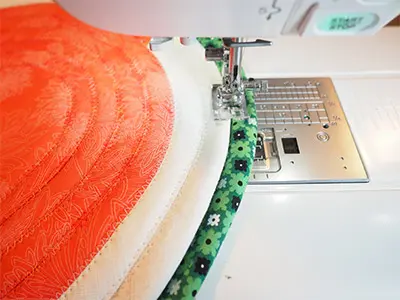
Keep going, allowing the colours to emerge naturally.
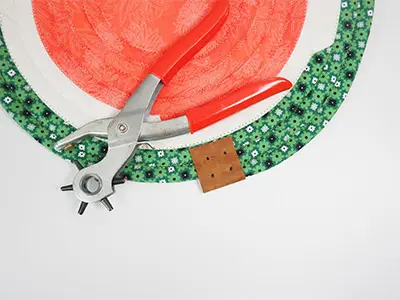
To finish the mat, glue the leather or vegan leather tab to the end of the tube and use the leather hole punch to punch four even holes.
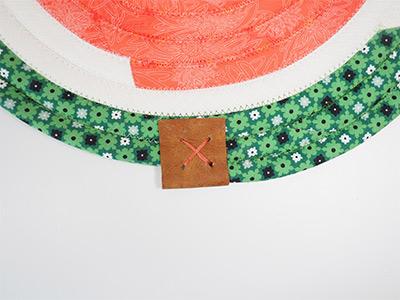
Use the contrasting thread to secure the tab.