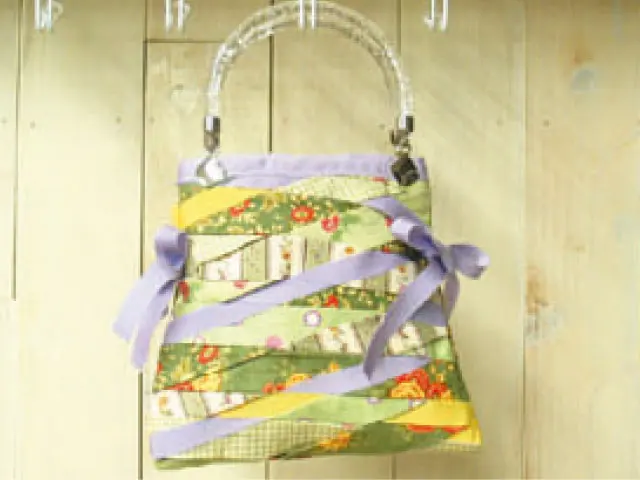
Sac à rubans en maille
Taille finie
Environ 20 cm de large x 19 cm de long *Sans les poignées.
Outils
Matériels
• Ruban thermocollant (large : 10 mm / rouleau de 12 m)
• Tissu imprimé Environ 30 cm x 35 cm 6 types.
*Incluants des extra juste au cas.
• Ruban < A > (Environ 15 mm de large, thermorésistant) 6,5 m chaque
• Ruban < B > (Environ 15 mm de large, thermorésistant) Environ 2,1 m
• Pièce de toile de fond (drap etc.) … 30 cm x 50 cm
• Tissu intérieur … 24 cm x 42 cm
• Poignées … une paire.
Fabrication
{Veuillez consulter « COMMENT FAIRE : LE MAILLAGE » pour connaître les principes de base du maillage}
Fabriquez des bandes de tissu. Dans le sens du tissu, faites 6 bandes de 50 mm de large avec 6 types de tissus différents pour un total de 36 bandes. Coupez le ruban jaune en 6 bandes de 35 cm de long. Coupez le ruban violet en 8 bandes de 35 cm de long et 4 bandes de 80 cm de long. Coupez une autre bande de ruban violet de 35 cm de long pour l'ouverture du sac.
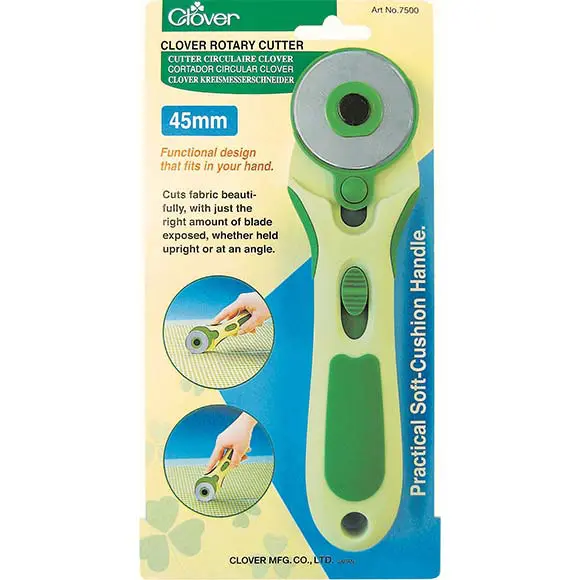
*Pour couper le tissu, utilisez un Cutter rotatif Clover, un Tapis de découpe et une Règle avec coulisse pour cutter rotatif et la coupe de tissu en biais.
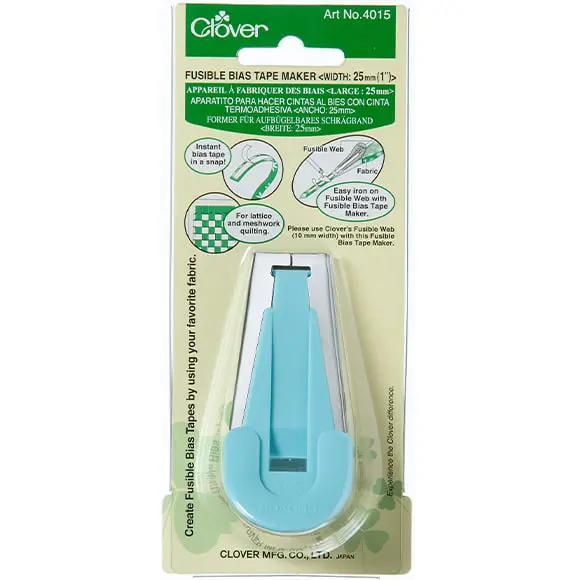
Fabriquez ensuite du ruban de biais thermocollant à l'aide d'un Appareil à fabriquer des biais thermocollant de 25 mm. Prenez le tissu et du ruban thermocollant, et collez-les ensemble à l'aide d'un fer à repasser. Veuillez lire le manuel d'utilisation de l'Appareil à fabriquer des biais thermocollant. Pour le ruban, il suffit de le repasser tel quel sans utiliser l'Appareil à fabriquer des biais thermocollant. Pour plus de détails, veuillez lire le manuel d'utilisation de l'Appareil à fabriquer des biais thermocollant.
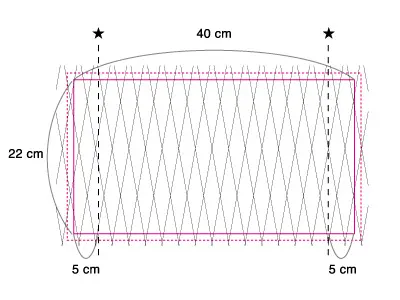
Reliez les rubans. Prenez la toile de fond et, à l'aide d'un Marqueur à encre effaçable, dessinez un point de base sur les quatre côtés (40 cm x 22 cm). Faites un angle de 10 degrés avec le haut de la ligne de base, qui servira de point de repère pour aligner vos pièces. Placez votre pièce de toile de fond sur le tapis de découpe et alignez les 20 pièces de tissu réalisées au point (2). Ordonnez les bandes comme indiqué sur le diagramme, en veillant à ce qu'elles soient légèrement orientées vers le sud-est, avant de les fixer à l'aide d'épingles. Veillez à ce qu'un ruban violet de 80 cm se trouve aux deux ★ du tableau. Posez maintenant les pièces qui les traverseront et commencez à tisser un motif un sur un sous. Utilisez un poinçon pour éviter les écarts.
Lorsqu'un maillage de 42 cm x 24 cm est réalisé, fixez-le en place. Effacez le tracé de (3) et repassez le maillage en veillant à ne pas l'endommager. En veillant à éviter les 4 rubans les plus longs, au point 41 cm x 23 cm du maillage (situé à 0,5 cm de la ligne de base), faites une grande couture ; coupez la forme de 42 cm x 24 cm.
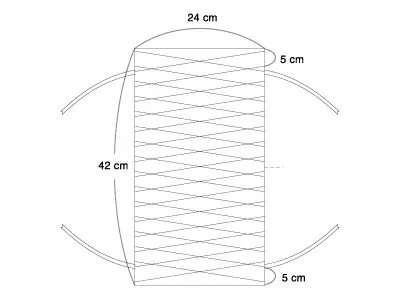
Retournez le tissu et faites une couture de 1 à 3 cm sur les deux bords. Réaliser la forme trapézoïdale du sac en suivant le diagramme ci-dessous, en évitant toujours de coudre les 4 rubans les plus longs.
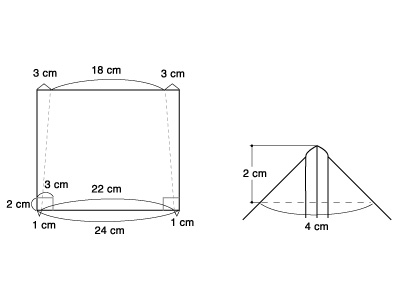
Faites un gousset pour le sac. Sur les pièces de tissu du devant et du dos, ajoutez des marques pour le gousset aux coins des deux côtés. Pliez les coins en triangles. Coupez l'excédent de tissu et cousez.
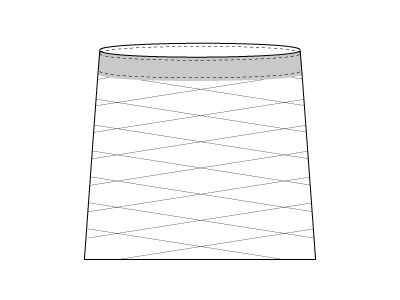
Retournez le sac sur l'endroit. Au niveau de l'ouverture du sac, pliez 1 cm vers l'intérieur sur tout le pourtour. Prenez le ruban préparé et placez-le autour de la bouche du sac, recouvrez les bords du maillage comme indiqué à gauche. Cousez en place. Lorsque les poignées sont terminées, le sac est fini.


