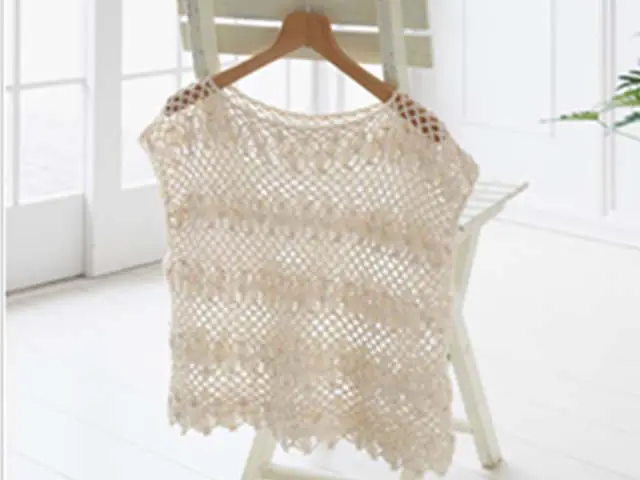
Gilet à mailles en dentelle à la fourche
Taille finie
• Tour de poitrine environ 100 cm • Longueur environ 42 cm
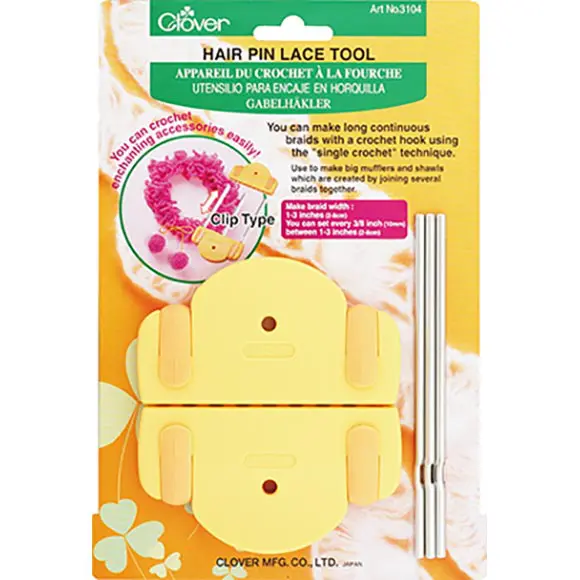
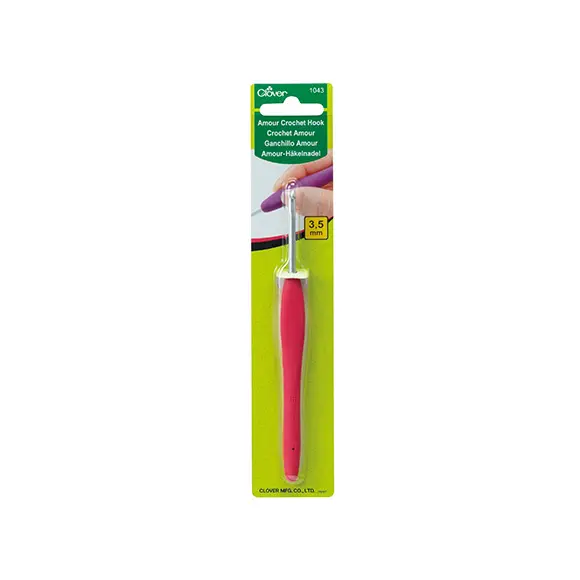
Outils
Matériels
• Fingering (95 m/30 g) 160 g
Tension
• Avec l’appareil de 4 cm de large : 22 boucles de chaque côté = 10 cm
Fabrication
Étape 1. Faire des bandes
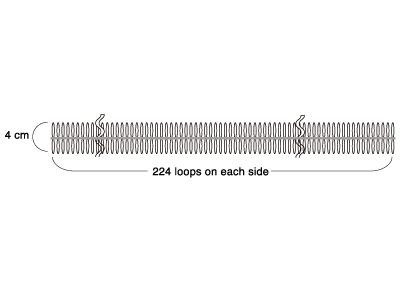
Ajustez l'Appareil de crochet à la fourche pour faires des bandes de 4 cm.
Bandes A : A-1 / A-2/ A-3
Faites 3 bandes A de 224 boucles de chaque côté avec une maille serrée centrée.
Joignez le bout à la première maille, arrondissez-la sans tordre la bande.
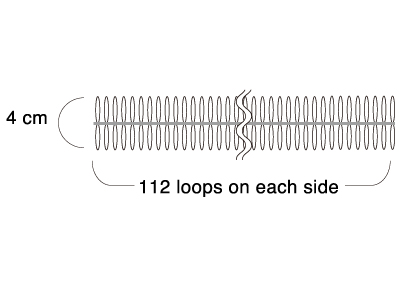
Bandes B : B-1 / B-2/ B-3 / B-4
Faites 4 bandes B de 112 boucles de chaque côté avec une maille serrée centrée.
Étape 2. Rassembler les boucles et border les bandes
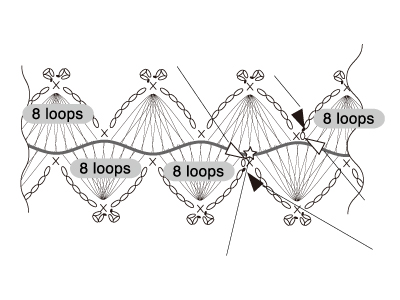
Rassemblez les boucles et bordez les deux côtés des bandes comme indiqué dans les diagrammes suivants.
Bandes A : A-1 / A-2 / A-3 (28 motifs de chaque côté )
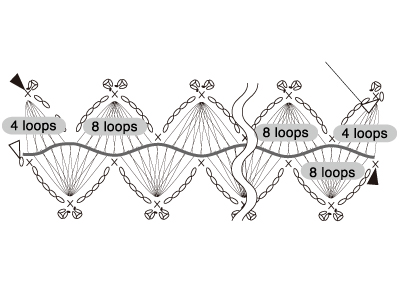
Bandes B : B-1 / B-2 / B-3 / B-4 (14 motifs de chaque côté)
Commencez et terminez la bordure supérieure par 4 boucles.
Étape 3. Relier les bandes
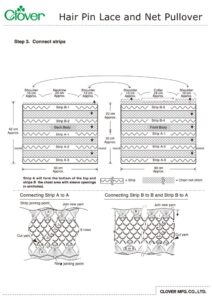
Reliez la bordure inférieure de B-1 à la bordure supérieure de B-2 au filet, comme indiqué sur les diagrammes de la page 2-3.
Répétez l'instruction 1 pour B-3 à B-4 et en les reliant au filet. Suivez les diagrammes de la page 2-3.
Reliez la première moitié de A-1 à B-2 et la deuxième moitié de A-1 à B-4 en suivant les instructions et les conseils de la page 2-3. Faites attention à l'emplacement du point de rassemblement des bandes lorsque vous les attachez à B-2, B-4 et A-1. Toutes les bandes A qui se rassemblent doivent être placées sous le bras droit, dans la même direction.
Reliez A-1 à A-2 au filet comme indiqué sur les diagrammes de la page 2-3.
Reliez A-2 à A-3 au filet comme indiqué sur les diagrammes de la page 2-3.
Crochetez un point de filet pour la partie supérieure de B-1. Ne coupez pas le fil et laissez-en assez pour relier la bande B-1 à B-3 pour l'épaule droite. (Voir sur le diagramme)
Crochetez au point de filet pour la partie supérieure de B-3, ne coupez pas le fil, continuez à travailler, reliez à B-1 pour l'épaule gauche et bordez l'encolure. Coupez le fil et tissez-le. (Voir sur le diagramme)
Reliez B-3 à B-1 avec le fil déjà rassemblé pour l'épaule droite, comme indiqué sur le diagramme de la page 4.
Étape 4. Bordure
Bordez l'emmanchure gauche comme indiqué sur le diagramme de la page 4, coupez le fil et tissez-le. Répétez l'instruction 10 pour l'emmanchure droite. Coupez le fil et tissez-le.
Portez votre gilet avec plaisir !


