Customize Consent Preferences

We use cookies to help you navigate efficiently and perform certain functions. You will find detailed information about all cookies under each consent category below.

The cookies that are categorized as "Necessary" are stored on your browser as they are essential for enabling the basic functionalities of the site. ... 

Always Active

Necessary cookies are required to enable the basic features of this site, such as providing secure log-in or adjusting your consent preferences. These cookies do not store any personally identifiable data.

No cookies to display.

Functional cookies help perform certain functionalities like sharing the content of the website on social media platforms, collecting feedback, and other third-party features.

No cookies to display.

Analytical cookies are used to understand how visitors interact with the website. These cookies help provide information on metrics such as the number of visitors, bounce rate, traffic source, etc.

No cookies to display.

Performance cookies are used to understand and analyze the key performance indexes of the website which helps in delivering a better user experience for the visitors.

No cookies to display.

Advertisement cookies are used to provide visitors with customized advertisements based on the pages you visited previously and to analyze the effectiveness of the ad campaigns.

No cookies to display.

back To Top
Language

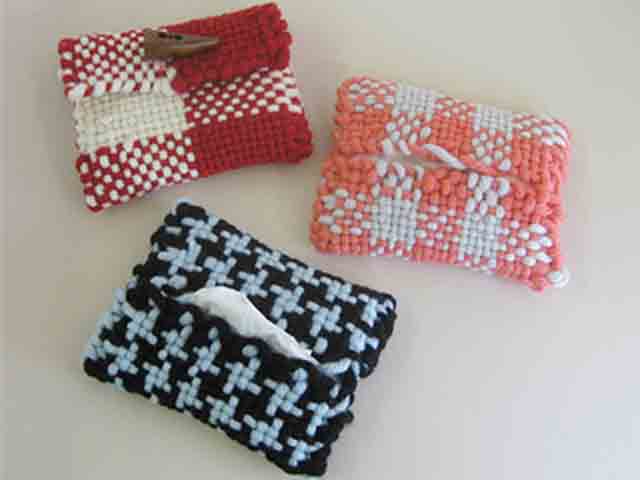
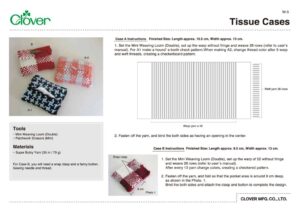
Tissue Cases (A-1, A-2, B)

picture

Finished Size

Case A Instructions Finished Size: Length approx. 10.5 cm, Width approx. 13 cm. Case B Instructions Finished Size: Length approx. 9.5 cm, Width approx. 13 cm.

Materials

• Super Bulky Yarn (35 m I 70 g)

• Sewing thread.


*For Case B, you will need a snap clasp and a fancy button.


Project sheet (pdf)

W-5_Tissue_Casesのサムネイル
icon

Making

1

Case A

picture

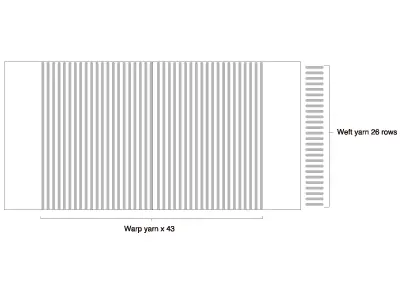
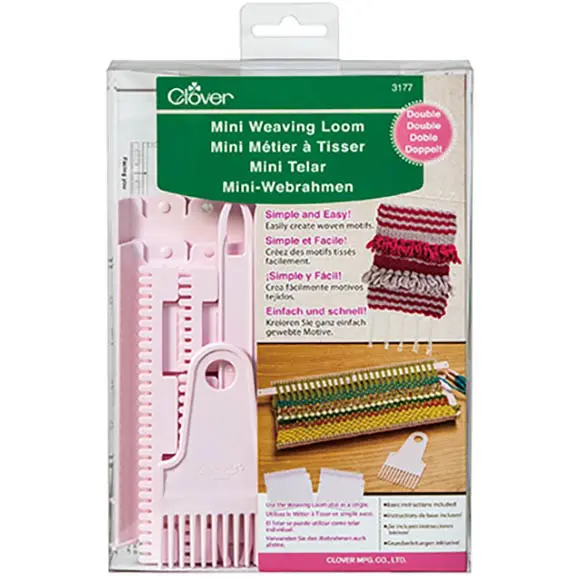
Set the Mini Weaving Loom (Double), set up the warp without fringe and weave 26 rows (refer to user's manual). For A1 make a hound's-tooth check pattern.When making A2, change thread color after 5 warp and weft threads, creating a checkerboard pattern.

Fasten off the yarn, and bind the both sides as having an opening in the center.

2

Case B

Set the Mini Weaving Loom (Double), set up the warp of 52 without fringe and weave 26 rows (refer to user's manual). After every 13 yarn change colors, creating a checkered pattern.

Fasten off the yarn, and fold so that the pocket area is around 9 cm deep, as shown in the Photo. Bind the both sides and attach the clasp and button to complete the design.