
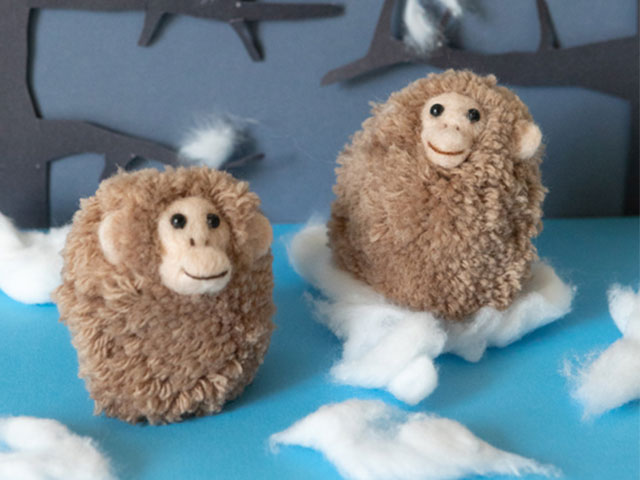
Pom Pom Monkey
Designed by
Sachiyo Ishii
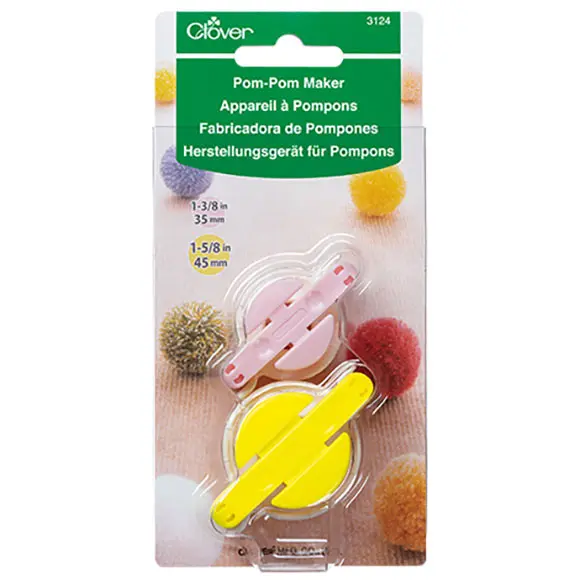
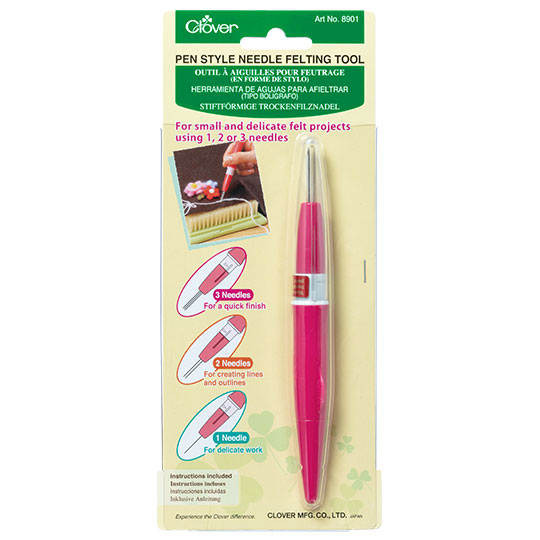
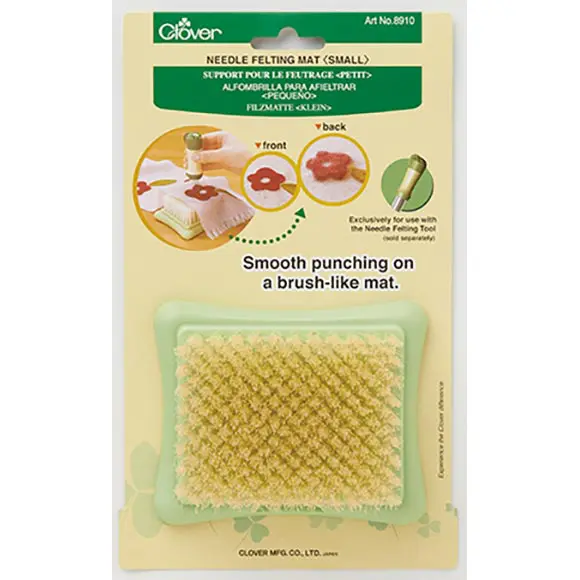
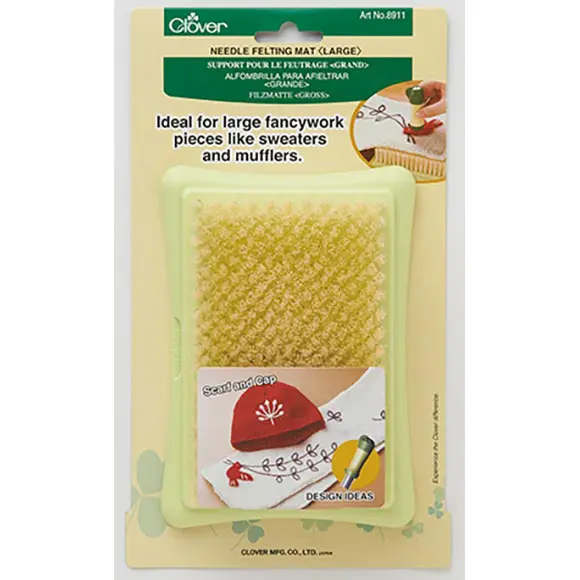
Tools

Materials
• 10g 4-ply Soft Brown yarn
• A pair of 4mm black beads and black cotton thread
• Small amount of beige fleece for felting
• Small amount of 2-ply Brown yarn

Making
Make two pom poms, one with 35mm Pom-Pom Maker for head, the other with 45mm for body. Leave one of the yarn end used for tying centre fairly long. Use this thread to connect two pom poms. Draw string tight to connect two pom poms firmly. Trim yarn to shape.
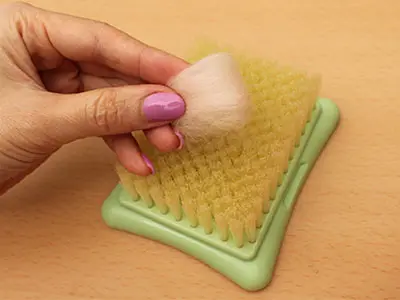
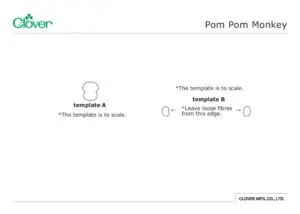
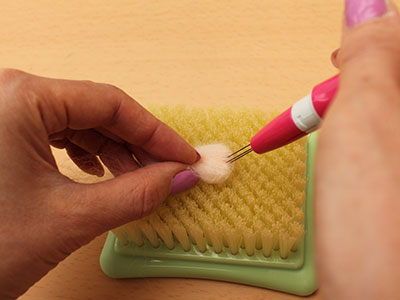
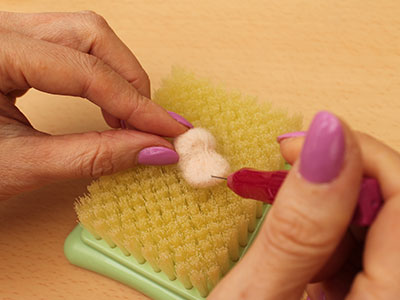
Make face: Take a small amount of felting fleece and roll it into 2 cm x 3 cm loose flat ball. Poke with felting needle to shape it into the template A. Lift the fleece time to time so that the piece will not stick to the mat. Allow more fleece to the bottom half of the face for muzzle. Leave some fibres trailing from the back.
Using Pen-style multiple needles at early stage helps speeding up the felting process.
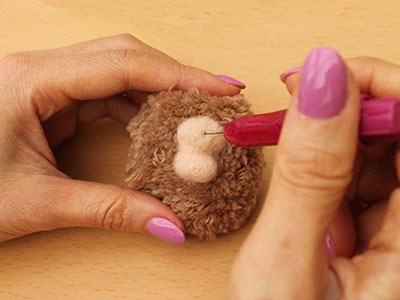
Attach the face to body by felting the loose fibres into the pom pom.
Make ears: Take small amount of felting fleece and roll it into 1cm width.
As for the face, place it onto the felting mat and poke fleece to shape it into the template B. Leave loose fibres trailing from the flat edge. Work two the same.
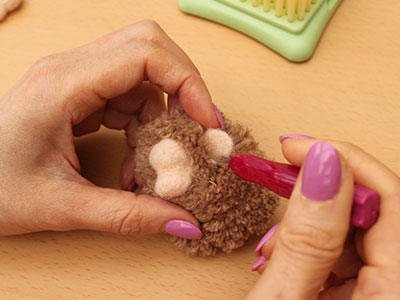
Attach ears to head by felting the loose fibres into the pom pom. Attach eye beads with cotton thread.
With 2-ply brown, embroider nostrils and mouth.
Practical tip: You do not need to felt the fibre solid while you are working on the mat. Poke just until the fibre takes shape and work some more after you attach the piece to the pom pom.