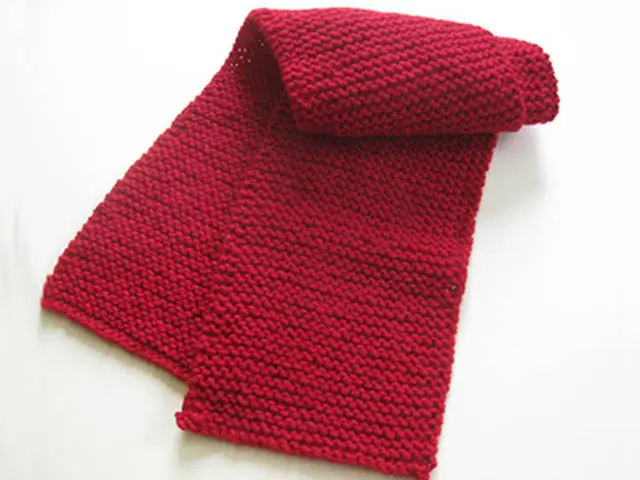
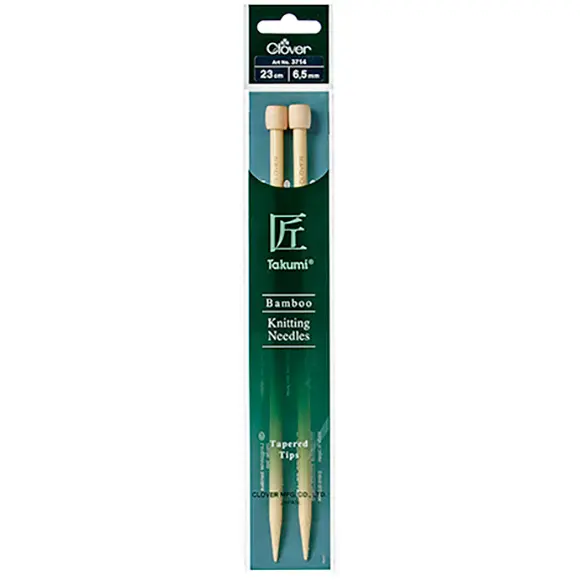
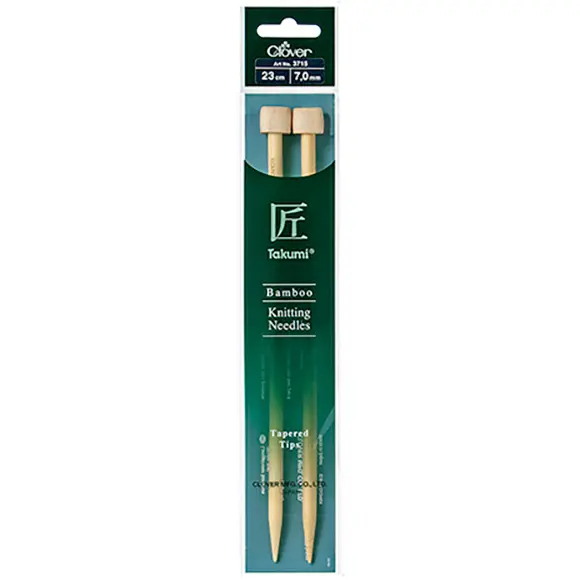
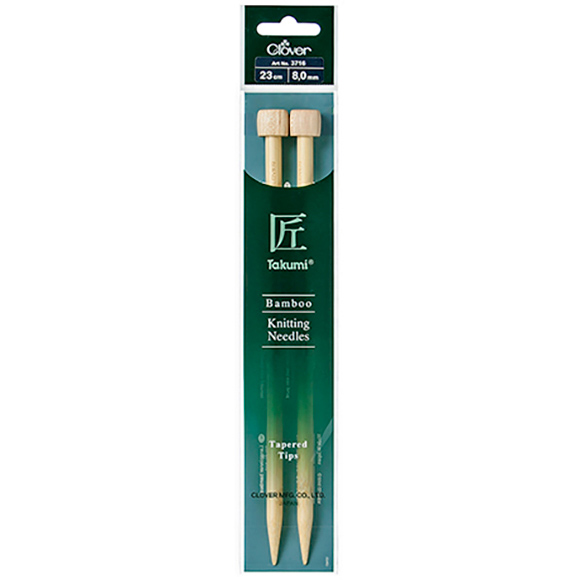
Customize Consent Preferences

We use cookies to help you navigate efficiently and perform certain functions. You will find detailed information about all cookies under each consent category below.

The cookies that are categorized as "Necessary" are stored on your browser as they are essential for enabling the basic functionalities of the site. ... 

Always Active

Necessary cookies are required to enable the basic features of this site, such as providing secure log-in or adjusting your consent preferences. These cookies do not store any personally identifiable data.

No cookies to display.

Functional cookies help perform certain functionalities like sharing the content of the website on social media platforms, collecting feedback, and other third-party features.

No cookies to display.

Analytical cookies are used to understand how visitors interact with the website. These cookies help provide information on metrics such as the number of visitors, bounce rate, traffic source, etc.

No cookies to display.

Performance cookies are used to understand and analyze the key performance indexes of the website which helps in delivering a better user experience for the visitors.

No cookies to display.

Advertisement cookies are used to provide visitors with customized advertisements based on the pages you visited previously and to analyze the effectiveness of the ad campaigns.

No cookies to display.

back To Top
Language

Garter Stitch Scarf

Materials

• Super bulky weight yarn

(Straight, thick yarn is recommended.)
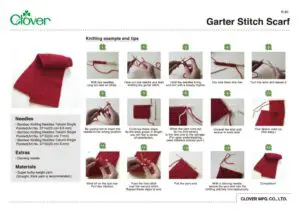

Project sheet (pdf)

K_81_Garter-Stitch-Scarfのサムネイル
icon

Making

1
picture

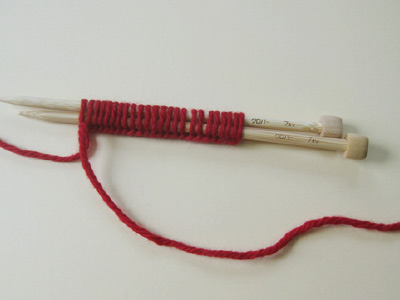
With two needles, long tail cast on 24sts.

2
picture

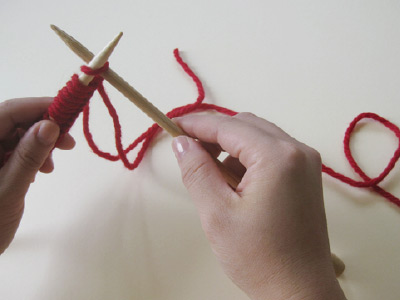
Take out one needle and start knitting the garter stitch.

3
picture

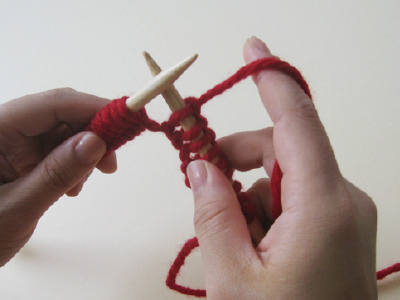
Hold the needles firmly and knit with a steady rhythm.

4
picture

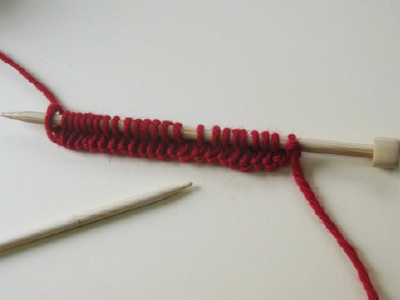
You now have one row.

5
picture

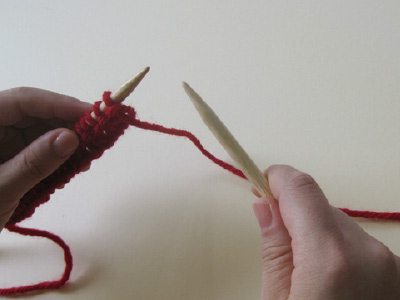
Turn the work and repeat 3.

6
picture

Be careful not to insert the needle in the wrong position.

7
picture

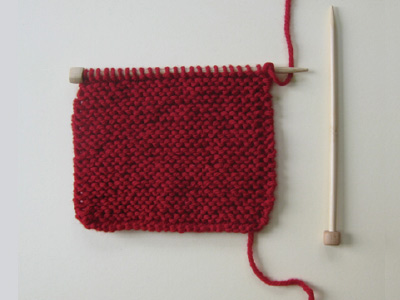
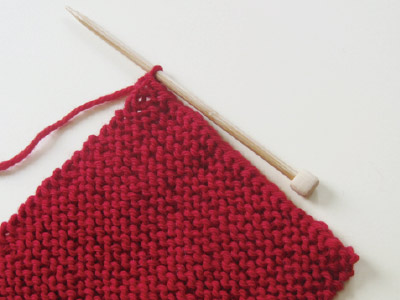
Continue these steps. As the work grows in length, you will feel a sense of satisfaction.

8
picture

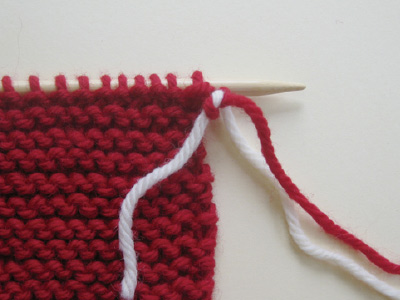
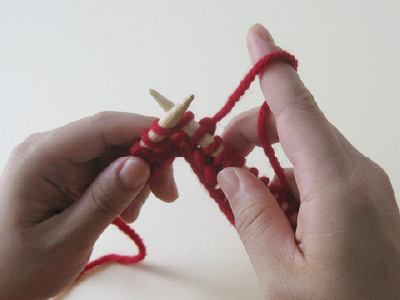
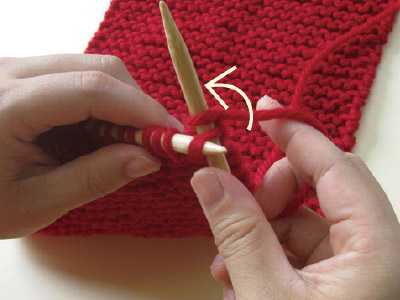
When the yarn runs out, tie the end loosely to the new one at the selvage. (For easy understanding, used different colored yarn.)

9
picture

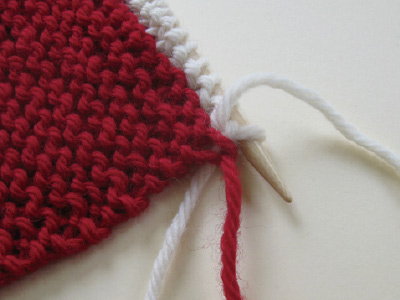
Unravel the knot and weave in ends later.

10
picture

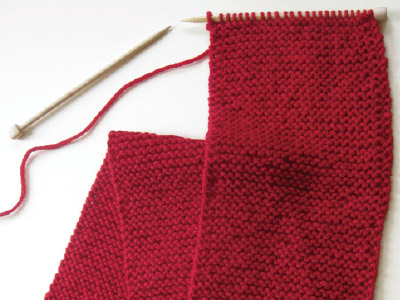
Five skeins used up. (Not easy.)

11
picture

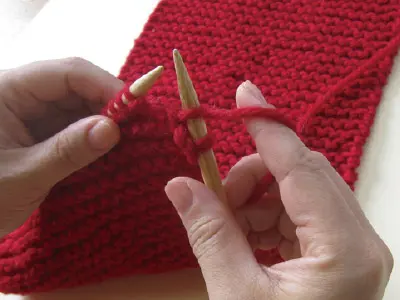
Bind off on the last row. Purl two stitches.

12
picture

Pass the first stitch over the second stitch. Repeat these steps to end.

13
picture

Pull the yarn end.

14
picture

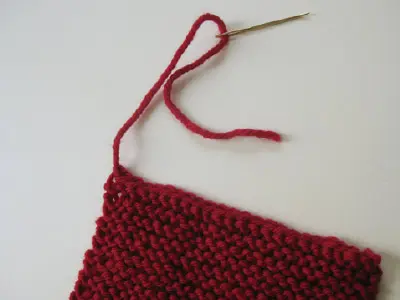
With a darning needle, weave the yarn end into the knitting stitches inconspicuously.

15
picture

Completion!