
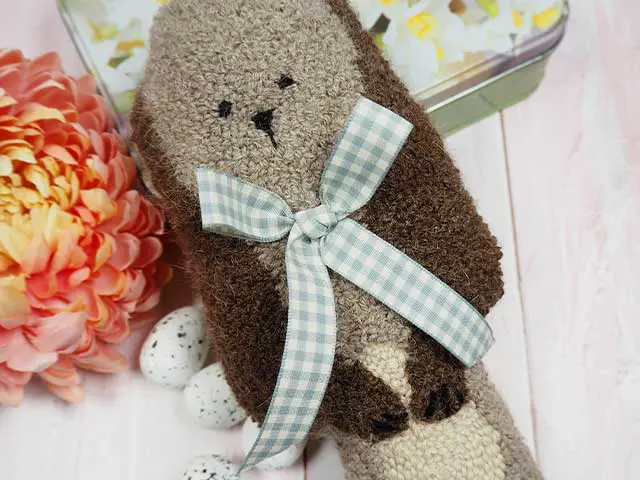
Folksy Spring Bunny
Designed by
Designed by Debbie von Grabler-Crozier
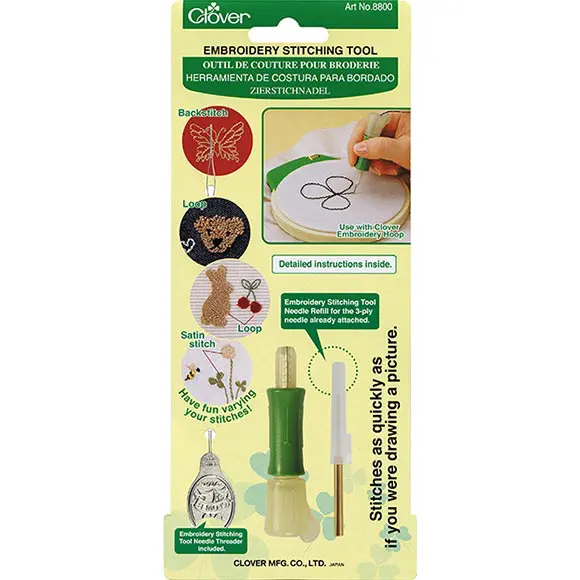
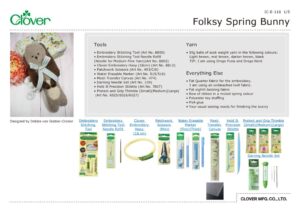
Tools

Materials
Yarn
• 50g balls of sock weight yarn in the following colours: Light brown, mid brown, darker brown, black
TIP: I am using Drops Puna and Drops Nord
Everything Else
• Fat Quarter fabric for the embroidery. I am using an unbleached twill fabric.
• Fat eighth backing fabric
• Bow of ribbon in a muted spring colour
• Polyester toy stuffing
• PVA glue
• Your usual sewing needs for finishing the bunny
Making
NB: Please read all instructions through and assemble the equipment before beginning.
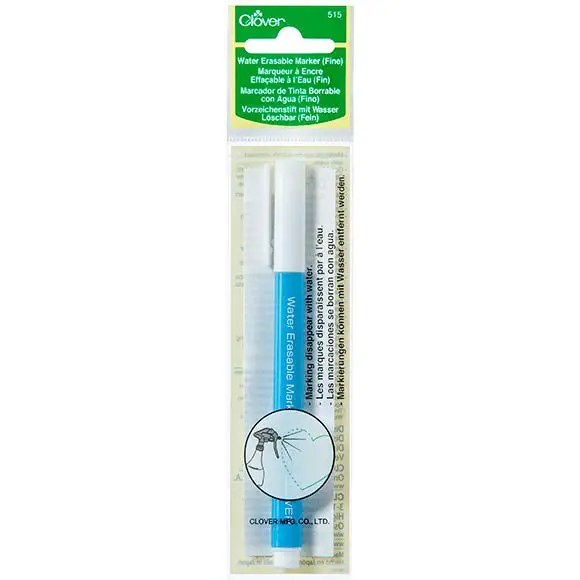
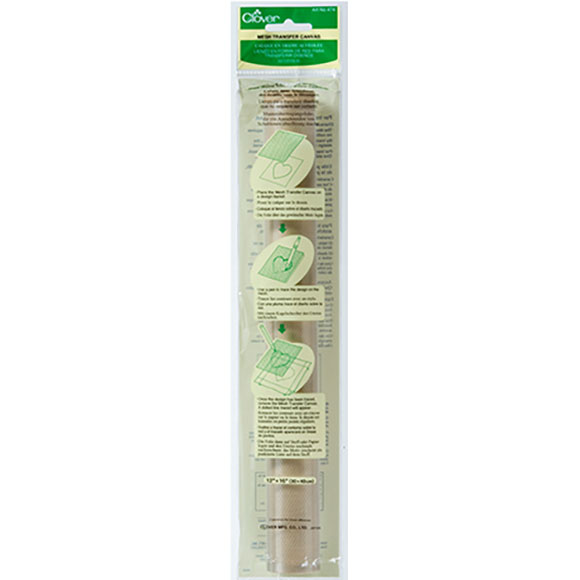
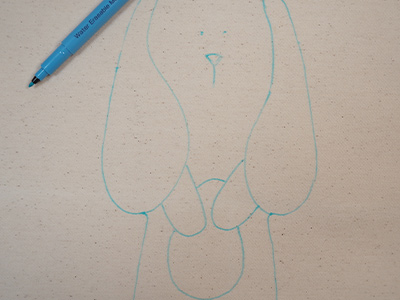
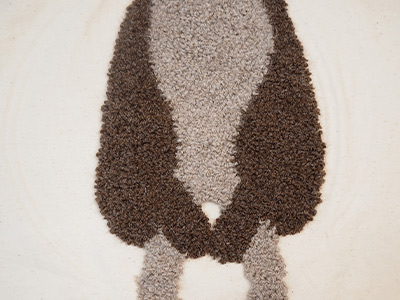
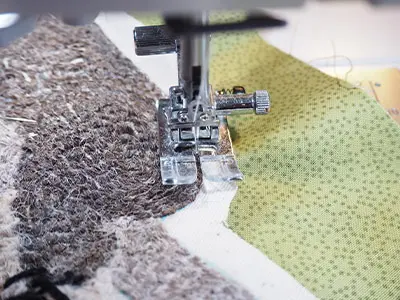
Begin by using the template and the water erasable marker with the Mesh Transfer Canvas to transfer the pattern to the fat quarter of fabric IMAGE 1.
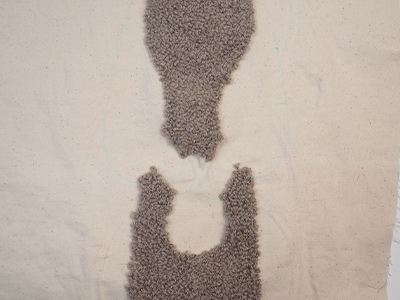
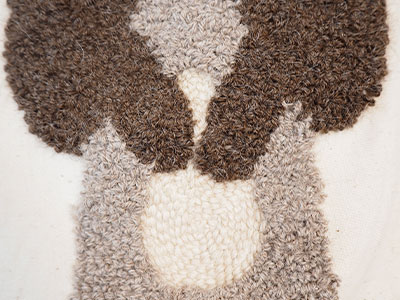
Put the bunny into the hoop and, working form the back, embroider the design as follows: Begin with the medium brown on the body and head IMAGE 2, the darker brown on the ears and arms and the light brown on the tummy.
TIP: Turn the bunny the wrong way around to embroider the tummy from the opposite side (the longer looped pile will now be on the back) to vary the texture.
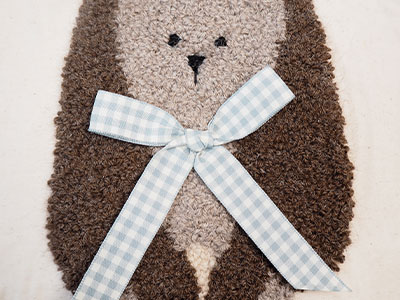
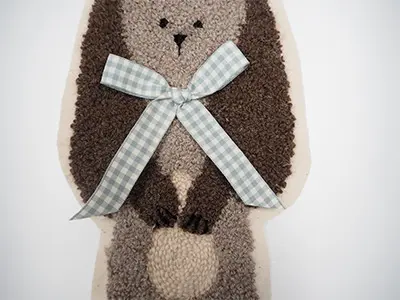
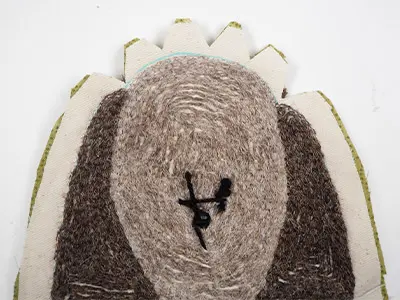
Take the black yarn and darning needle and working on the right side of the bunny, embroider the claws and face using a combination of French knots (the eyes) and straight stitches of varying lengths for the rest. Don’t be fussy about details as this make is designed to be quite primitive looking. Stitch the bow either under the chin for a boy bunny or onto the ear for a girl.
TIP: When you have embroidered the bunny, paint some PVA glue onto the back to hold the stitches fast. This is a hotly debated move but I prefer to do it as it protects your work from wear and tear.
Trim the bunny back so that there is about 1cm of fabric left all around.
TIP: This seems quite a lot of waste but you can make smaller projects with the offcuts and the smaller 12cm embroidery hoop is perfect to hold the fabric.
With the right sides together, place this shape onto the untrimmed backing fabric and sew all around right on the edge of the embroidery leaving a turning gap.
TIP: The best place for the turning gap is the straight bit on the sides of the legs or ears. It is easier to close than a curved part.
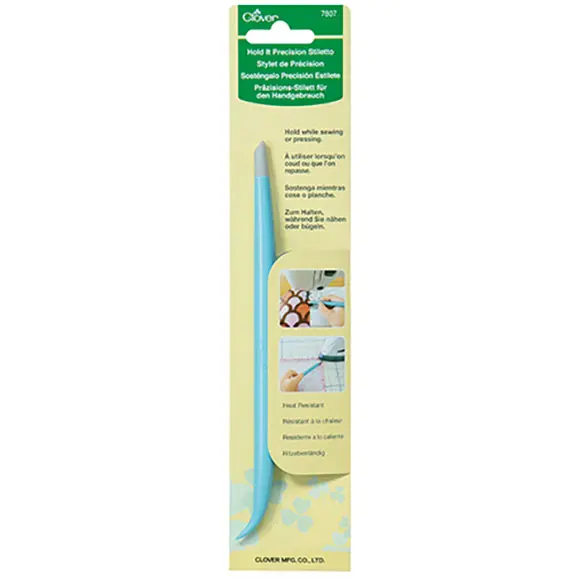
Trim the backing back to match the bunny and clip or notch the curves as appropriate to reduce bulk IMAGE 8. Turn the bunny the right way out through the gap and then use the Hold It Precision Stiletto to stuff the toy getting right into the gaps.
TIP: As a general rule, use about twice as much stuffing as you think you need.
Close the gap with a neat hand stitch.