
Pretty Pot Cover
Designed by
Debbie von Grabler-Crozier
Tools


Oval die* Die cutting machine*(*These items are optional.) You can also trace around an oval object and then cut it out with a sharp pair of scissors.
Your usual sewing needs
Materials
• Fabric:
Fat 8th of pretty fabric
Fat 8th wool felt
• Everything Else:
• Cotton yarn
• Perle coton #8
• Cute stamp
• 10cm sq. leather scrap
• Black Archival ink
TIP: When you are choosing your supplies, it is fun to stick to one main colour. That way, you can mix all of the different shades but by keeping to the one colour, it will work beautifully.

Making
NB: Seam allowances are all ½ cm (1/4”) unless otherwise stated. Please read all instructions through and assemble the equipment before beginning. This pattern fits a pot 12.5cm top diameter and 12.5cm high. Using the template, cut a piece of felt and a piece of fabric the same.
Fold the fabric over by 1cm on the top and bottom, carefully creasing it as you go and following the curve.
TIP: I love the Roll and Press for this job.
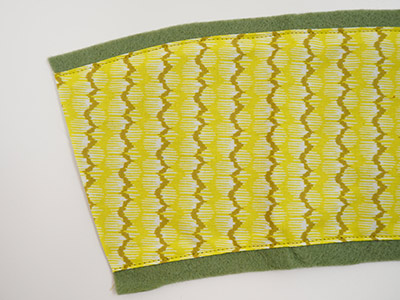
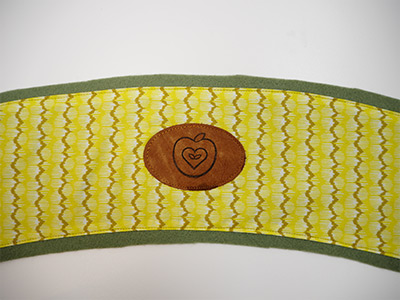
Pin the fabric onto the felt, check that it is central and even top and bottom and then topstitch into place with matching thread IMAGE 1.
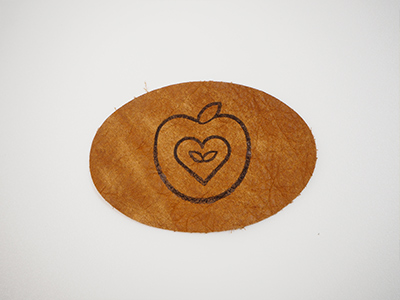
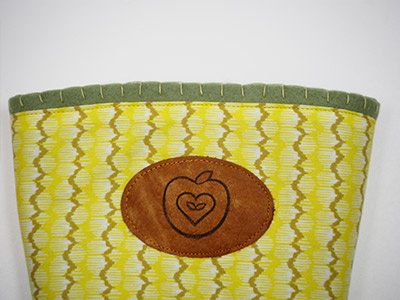
Make the label next by either die cutting an oval or tracing one and cutting it out by hand. Stamp the label with your chosen stamp IMAGE 2.
Attach the label to the very centre of the cover IMAGE 3.
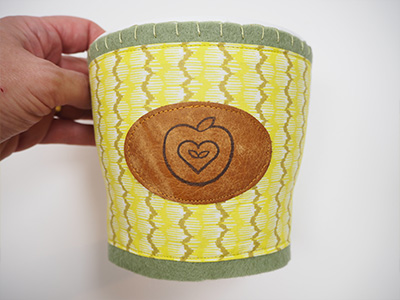
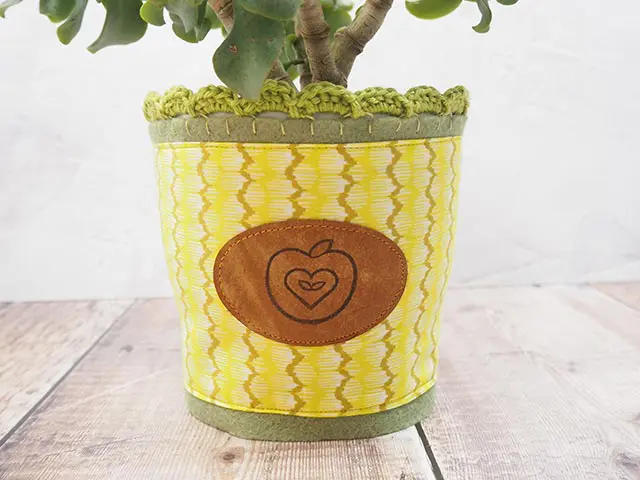
Trim the cover and with the right sides together, sew the seam at the back. Fit the cover onto your pot IMAGE 4 and check the fit. There is a little bit of ease built in so you can take it in if you need to. Trim the seam when you are happy with it.
TIP: For the first fitting, it can be easier to fit inside out and then pin where you need to take it in. all pots are different. Try for a straight sided pot to make your life easier!
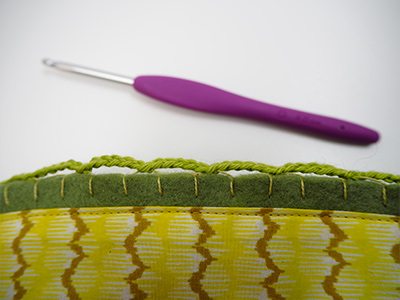
Thread a hand sewing needle with perle coton and make an even number of blanket stitches about 1cm apart all the way around the top edge IMAGE 5.
TIP: This is the real secret to crocheting on fabric! You will never push the hook through the tight weave. Blanket stitches spaced far apart are the answer. They give you something to anchor the chains onto in the next step.
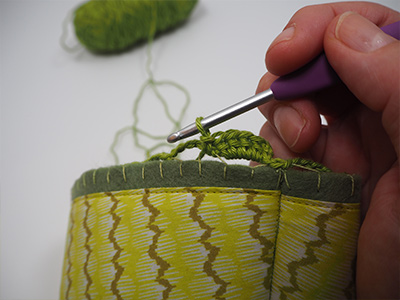
Swap to the crochet hook and the cotton yarn and chain 5 (ch) into the blanket stitches, skipping every second one IMAGE 6 and anchoring with a slip stitch (ss) at the end. Continue right around the top edge. Ss to fasten at the back and then crochet the scallops.
Begin with a ch 3 (counts as the first treble) and then make 4 treble (tr) crochet (US: Double crochet) into the first chain. You have five treble. Slipstitch into the blanket stitch that you caught on the first round IMAGE 7.
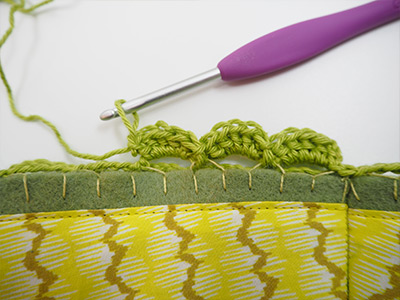
Tr 5 into the next ch 5. Continue right around the top IMAGE 8. Fasten off at the back and weave in the ends.