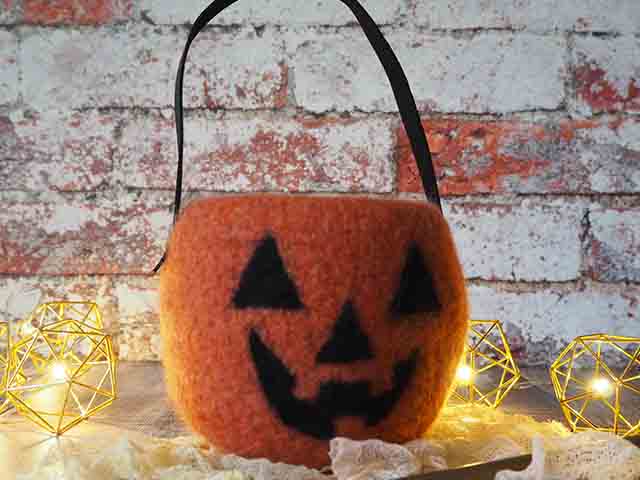
Jack-o-lantern Trick or Treat Basket
Designed by
Debbie von Grabler-Crozier
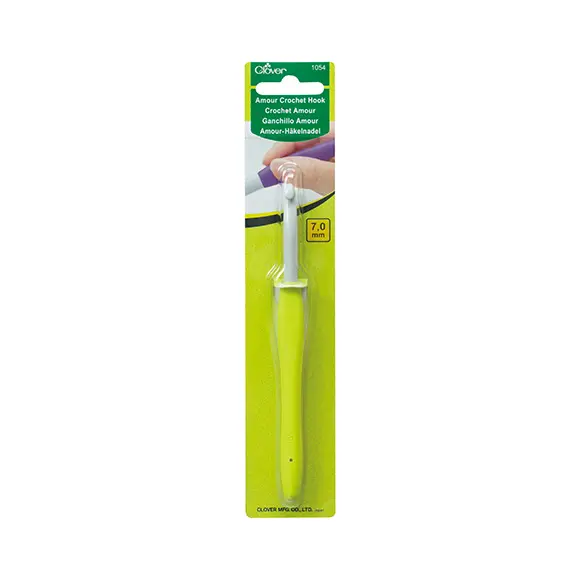
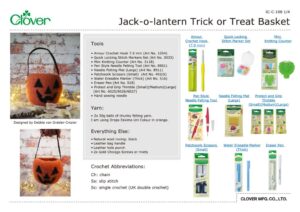
Tools
Hand sewing needle
Materials
Yarn:
• 2x 50g balls of chunky felting yarn.
I am using Drops Eskimo Uni Colour in orange.
Everything Else:
• Natural wool roving: black
• Leather bag handle
• Leather hole punch
• 2x Gold Chicago Screws or rivets
Crochet Abbreviations:
Ch: chain
Ss: slip stitch
Sc: single crochet (UK double crochet)
Making
Please read all instructions through and assemble the equipment before beginning. This make is to be machine felted at 50°Celcius and there may be some variation in the felted size – this method of felting is easy but the trade-off is that you do lose some control over the size. What you put in with it and how long the cycle goes for also affect the outcome.
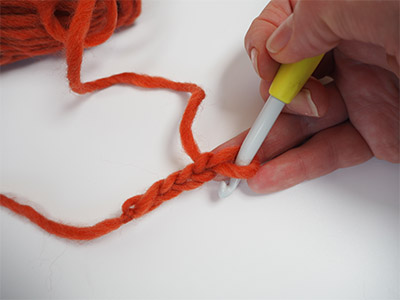
Begin with a ch 4 IMAGE 1.
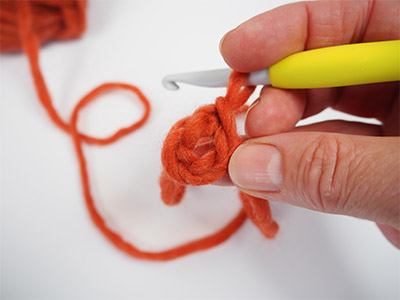
Slip Stitch to form a ring IMAGE 2 and then ch 1 and sc 9 stitches into the ring (10 stitches).
Row 2: ch1 and then sc 2 stitches into each stitch, ss to finish (20 stitches)
Row 3: ch 1 and then sc into each stitch, ss to finish (20 stitches)
Row 4: ch 1 and then sc 1 into the first stitch and 2 into the second.
Repeat to the end of the round and ss to end (30 stitches)
Row 5: ch 1 and then sc into each stitch, ss to finish (30 stitches)
Row 6: ch 1 and then sc into first 2 stitches, 2sc into the third stitch.
Repeat to end of row and ss to fasten (40 stitches)
Row 7: Ch 1 and sc into each stitch, ss to fasten (40 stitches).
Row 8: ch 1 and sc into first three stitches, 2sc into the fourth stitch.
Repeat to end of row and ss to fasten off (50 stitches).
Row 9: ch 1 and sc into each stitch. Ss into last stitch to fasten (50 stitches)
Row 10 – 22: sc into each stitch.
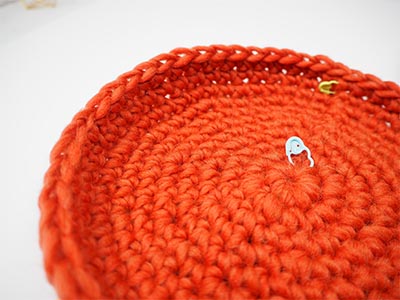
TIP: From row 10 onwards is where you begin to build the sides. Because there are no more increases, the sides will naturally curve IMAGE 3. They are best worked in a continuous round. Simply mark the last position where you slip stitched to begin another row and then count the row each time you go past the marker.
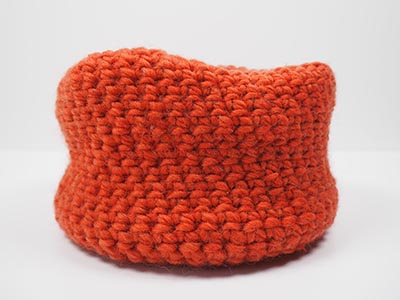
The basket is now finished and ready to felt IMAGE 4.
TIP: Notice how it is a bit wonky? It has a tendency to slightly collapse under its own weight. This is normal and when it is felted, it will all stand nicely.
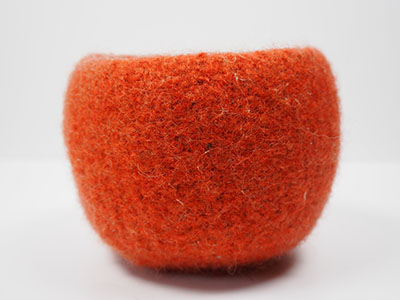
I put mine into the washing machine with something like bath towels or jeans to help the felting process along. Wash at about 50°Celsius. Add soap as if washing normally. When the basket is finished, pull in into shape and leave somewhere to dry completely IMAGE 5. You don’t have to be gentle at all and you can mould it rather like clay. As you can see, the difference is staggering and it is so easy to achieve.
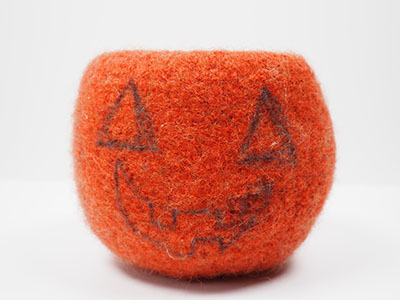
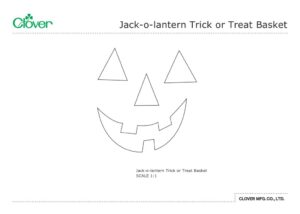
Now that the basket is dry, take the water erasable marker and draw the facial features on using the template as a guide IMAGE 6.
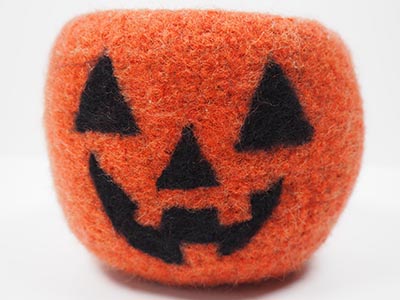
Needle felt the features in black using the pen style needle felting tool and black wool roving IMAGE 7.
TIP: Remember that you can remove some of the needles in the tool for more precision.
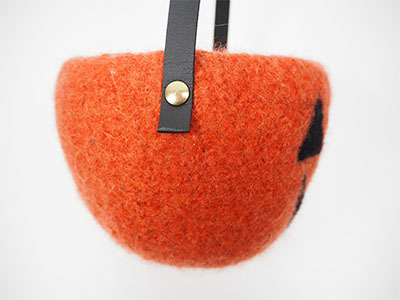
Attach the handle by using the hole punch to make a hole in the handle and then working the rivet through the felt IMAGE 8.
TIP: You can make the handle any size that you want. Mine is 35cm. Chicago Screws are sort of screw in rivets and they are easier to use and require less equipment than regular rivets.
Repeat the process to secure the handle on the other side of the basket.


