
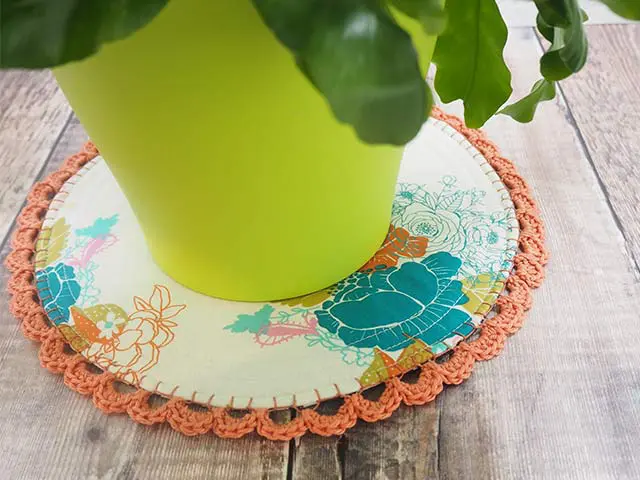
Crochet Edged Mat
Designed by
Debbie von Grabler-Crozier
Tools
Embroidery scissors
Your usual sewing needs including a walking foot for your sewing machine
Materials
• Fabric:
Fat 8th pretty spring fabric
Fat 8th backing fabric
• Interfacing:
30cm sq. H630 fusible wadding
Everything Else:
Coordinating cotton yarn
Coordinating perle coton #8
Making

NB: Seam allowances are all ½ cm (1/4”) unless otherwise stated. Please read all instructions through and assemble the equipment before beginning.
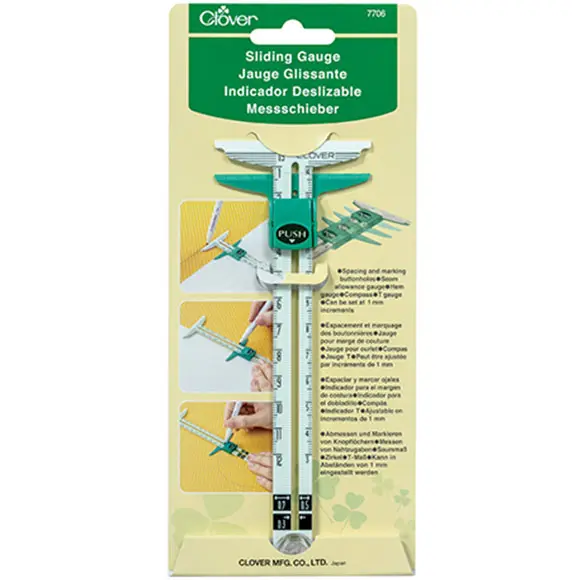
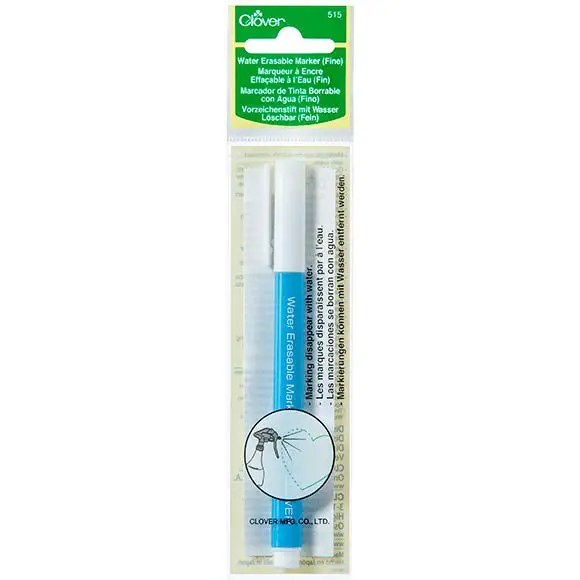
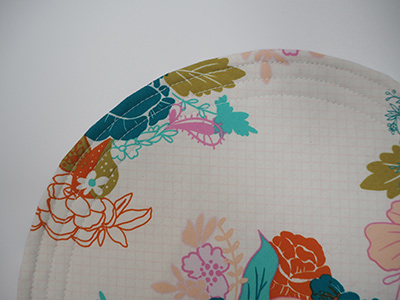
Take the upper fabric and cut a square about 30cm sq. Fuse H630 wadding to the wrong side of the square and trim. Find the centre of the square and mark with a water erasable marker. Draw a circle using the Sliding Gauge as a compass.
TIP: Hold the centre of the gauge on the centre mark of your fabric and then draw the largest circle possible IMAGE 1.
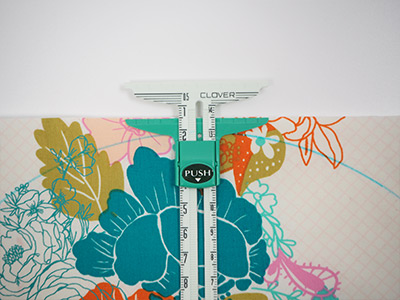
I pushed the green part of the gauge to the edge of the fabric IMAGE 2. This makes the best possible use of what you have. The wadding on the back helps to slightly stiffen the fabric.
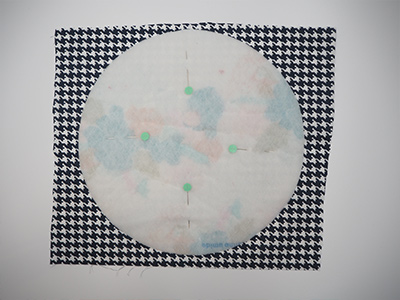
Cut the circle out on the line. Leave the backing fabric untrimmed for now and with the right sides together, lay the trimmed front onto the untrimmed backing and pin IMAGE 3. Sew all the way around leaving a turning gap.
Trim the three layers the same using the top as a guide and then notch the curve all around IMAGE 4.
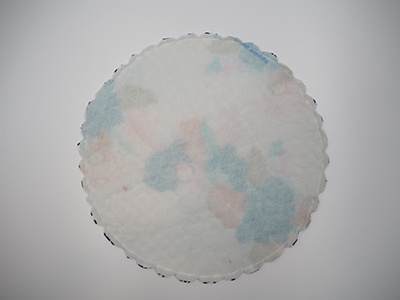
TIP: This ensures that the extra bulk is taken out and your circle will lay flat. Turn out through the gap and close it with a neat hand stitch.
Quilt around the mat three times with quilting lines about 1cm apart IMAGE 5.
TIP: Use the walking foot for this to keep the layers neat.
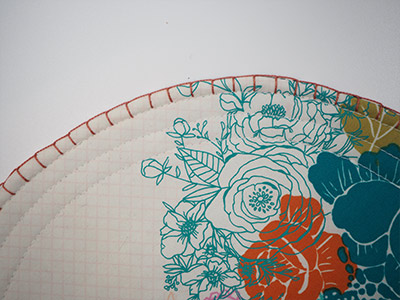
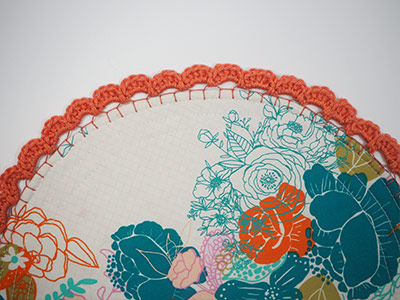
Thread a hand sewing needle with perle coton and make an even number of blanket stitches about 1cm apart all the way around the top edge IMAGE 6.
TIP: This is the real secret to crocheting on fabric! You will never push the hook through the tight weave. Blanket stitches spaced 1cm apart are the answer. They give you something to anchor the chains onto in the next step.
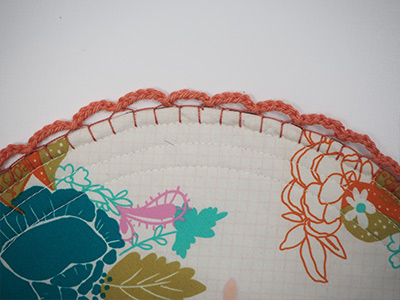
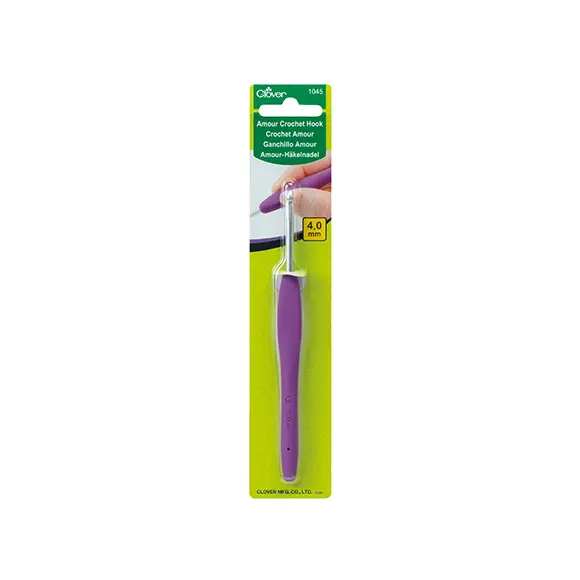
Swap to the crochet hook and the cotton yarn and chain 5 (ch) into the blanket stitches, skipping every second one IMAGE 7 and anchoring with a slip stitch (ss) at the end. Continue right around the top edge. Ss to fasten at the back and then crochet the scallops. Begin with a ch 3 (counts as the first treble) and then make 4 treble (tr) crochet (US: Double crochet) into the first chain. You have five treble.
Slipstitch into the blanket stitch that you caught on the first round IMAGE 8. You now have 5 treble in the first scallop.
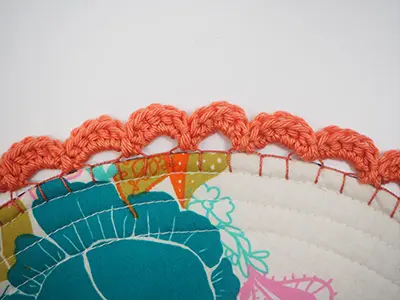
Tr 5 into the next ch 5.
Continue right around the top IMAGE 9. Fasten off at the back and weave in the ends.