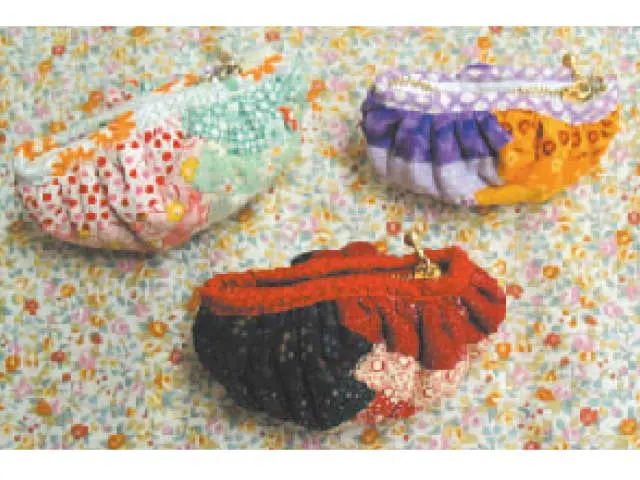
Blockhaus-Beutel
Endgröße
Approx. 12 cm (width) x 7 cm (length)
Werkzeuge
Schneidematte
Stecknadeln
Fingerhut
Nahtausstreicher
Materialien
Bedruckter Stoff
(Es existieren 7 Varianten für das Stück auf dem Foto)
Geeignet
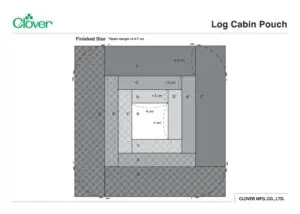
a-Stoff: 5,5 cm x 5,5 cm
b b‘-Stoff: 3 cm (breit) x 12,5 cm (5,5 cm + 7 cm)
c c‘-Stoff: 3 cm (breit) x 15,5 cm (7 cm + 8,5 cm)
d d‘-Stoff: 3 cm (breit) x 18,5 cm (8,5 cm + 10 cm)
e e‘-Stoff: 3 cm (breit) x 21,5 cm (10 cm + 11,5 cm)
f f‘-Stoff: 4 cm (breit) x 26,5 cm (11,5 cm + 15 cm)
g g‘-Stoff: 4 cm (breit) x 33 cm (15 cm + 18 cm)
• Hinterer Stoff · · · 20 x 20 cm
• Quilt-Watte · · · 19 x 19 cm
• 10 cm-Verschluss · · ·1
• Quilt-Faden
Herstellung
Einen Stoff in Endgröße (siehe Seite 2 der Anleitung) mit einem zusätzlichen Nahtrand von ca. 0,7 cm vorbereiten. Die erforderliche Menge Stoff vorbereiten: 1 Blatt 5,5 cm x 5,5 cm großen a-Stoff für die Mitte und b, c, d, e-Stoff mit einer Breite von 3 cm sowie einen 4 cm breiten f-g-Stoff für den Umfang.
Den hinteren Stoff und die Quilt-Watte ausrichten, um den Umfang herum nähen und mit großen Stichen an Ort und Stelle fixieren. Den Mittelpunkt festlegen und ihn mit einem löschbaren Markierer mittels einem X auf der Qilt-Watte markieren. a-Stoff in die Mitte legen, die vier Ecken festspannen und mit Stecknadeln befestigen.
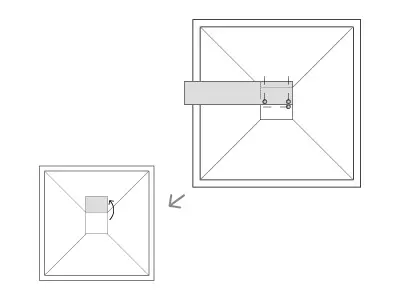
b-Stoff mit den Kanten parallel zum a-Stoff platzieren. (1)
Stecknadeln anbringen und überschüssigen Stoff abschneiden. (2)
Nähen und dabei einen Nahtrand von 0,7 cm übrig lassen. (3)
Sobald man mit dem Nähen fertig ist, b-Stoff zurückfalten. (4)
Den Stoff mit einem Bügeleisen oder Nahtausstreicher falten.
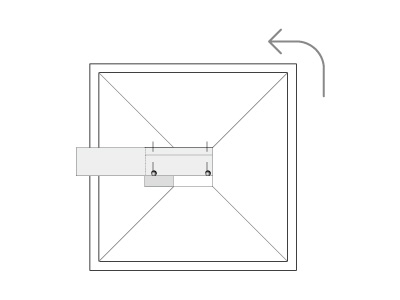
Als nächstes das Stück um 90 Grad im Gegenuhrzeigersinn drehen, ablegen und b'-Stoff nähen, wobei ein Nahtrand von 0,7 cm überig gelassen wird. Dann die Stücke in der folgenden Reihenfolge anbringen: c c' d d' e e' f f' g g'.
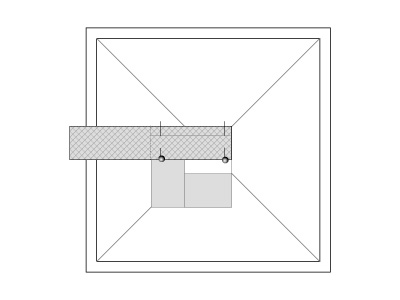
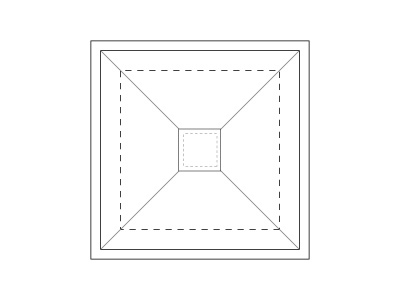
Wenn man bis zum g-Stoff eine Verbindung herstellt, sieht es wie im Diagramm links aus. Den genähten Bereich vermeidend die Ecken abrunden, indem sie abgeschnitten werden (der ----- Bereich).
Als nächstes 1,5 cm von der Seite entfernt die Kante mit doppeltsträngigen großen Stichen zum Kräuseln umnähen und die Kräuselung auf 22 cm hochziehen.
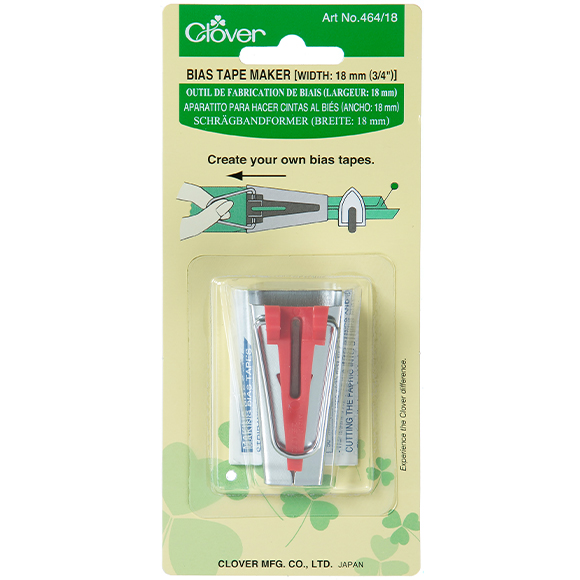
Einen 3,5 cm x 23 cm großen Schrägstoff vorbereiten. (Das Foto verwendet denselben Druck wie der „a“-Stoff). Beliebiges Schrägband mit dem Schrägbandformer anfertigen.
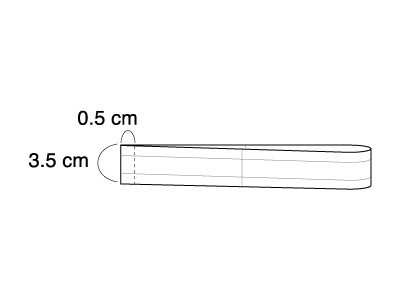
Das Schrägband aus Schritt 6 nehmen, es nach außen umdrehen und es 0,5 cm vom Rand entfernt zu einem Kreis zusammennähen. Den Kreis in vier Teile teilen und alle 5,5 cm mit einem Löschbaren Markierer eine unterscheidbare Markierung hinzufügen.
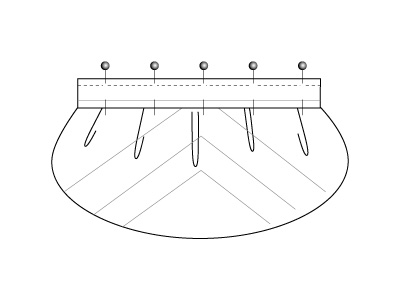
Den Hauptteil aus Schritt 5 (Blockhaus-Design auf der Vorderseite) nehmen und das Schrägband aus Schritt 7 mit Stecknadeln an den Seiten anbringen. 4 abgerundete Ecken auf die Markierung an der Einfassung anpassen. Die mit dem Bügeleisen hinzugefügte Faltlinie nähen und dabei darauf achten, dass die Kräuselung sauber bleibt.
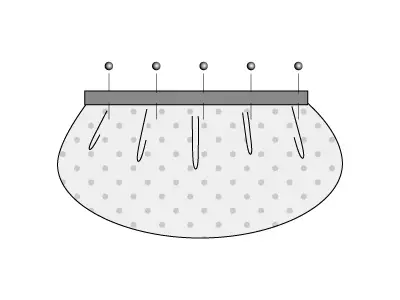
Den Hauptteil umdrehen, den Reißverschluss einsetzen, die Schräge nach unten drehen und annähen.
Paspeln sorgfältig anbringen, wobei darauf zu achten ist, dass sie unauffällig und von der Vorderseite an der Ecke des Blockhauses nicht sichtbar sind, und sicherstellen, dass sie mit den Markierungen auf dem Schrägband übereinstimmen. Darauf achten, dass es sauber fertiggestellt wird.
Einen Verschluss anbringen. Für ein reibungsloses Öffnen und Schließen, ihn an einer Seite anbringen und das Öffnen und Schließen auf der anderen Seite testen, während man ihn mit Steppstichen an Ort und Stelle befestigt, um das Design zu vervollständigen.
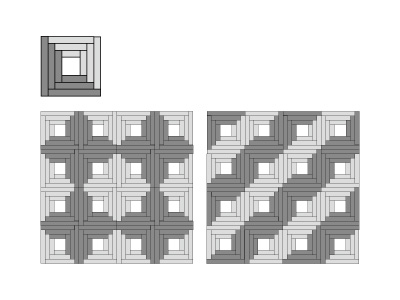
„Blockhaus“ ist das Muster, das wir hier erstellt haben. Wenn man es mit anderen Farben in helleren und dunkleren Farbtönen anzufertigen versucht, erhält man weitere Variationen und Freuden.


