
topics
Punching Needle with Clover’s Embroidery Stitching Tool
Products, Tutorials
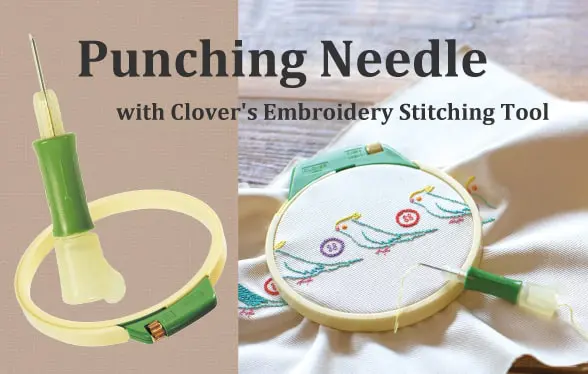
Punching Needle with Clover's Embroidery Stitching Tool
Punch Needle is one of those old crafts that your grandmother may have done, however, it is gaining popularity in recent years.
It uses a pen-like needle with the thread running through the middle.
The needle makes loops in a piece of tightly hooped fabric. CLOVER has some handy tools which are perfect for this craft.
Here, we explain the basics.
Tools you need
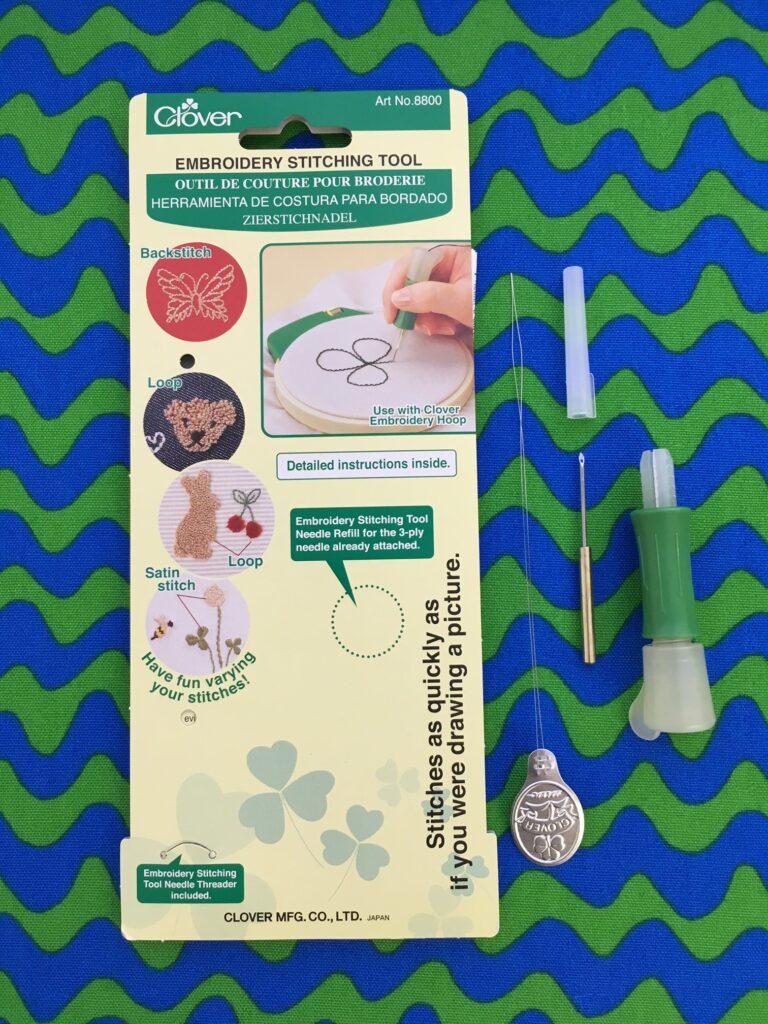
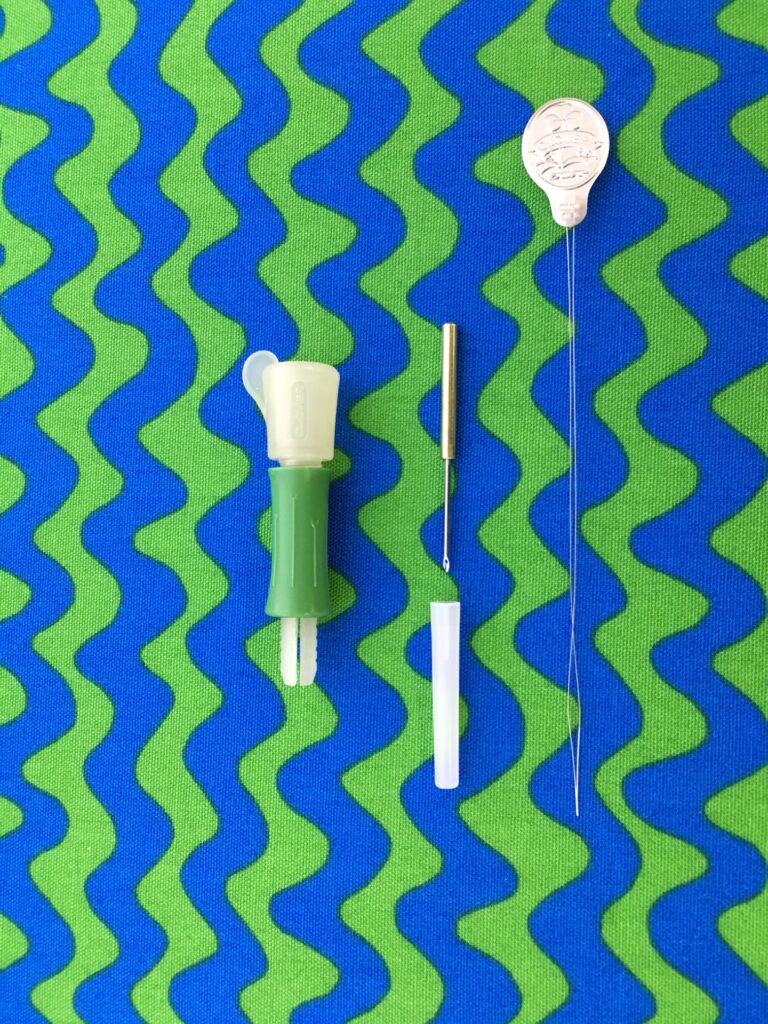
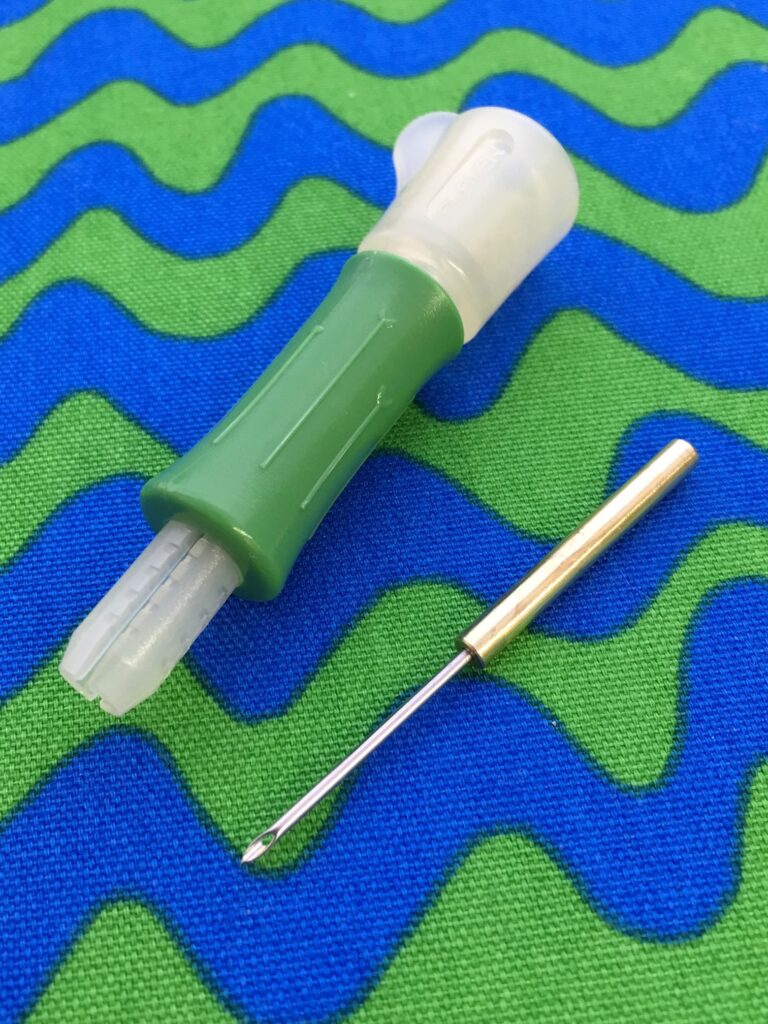
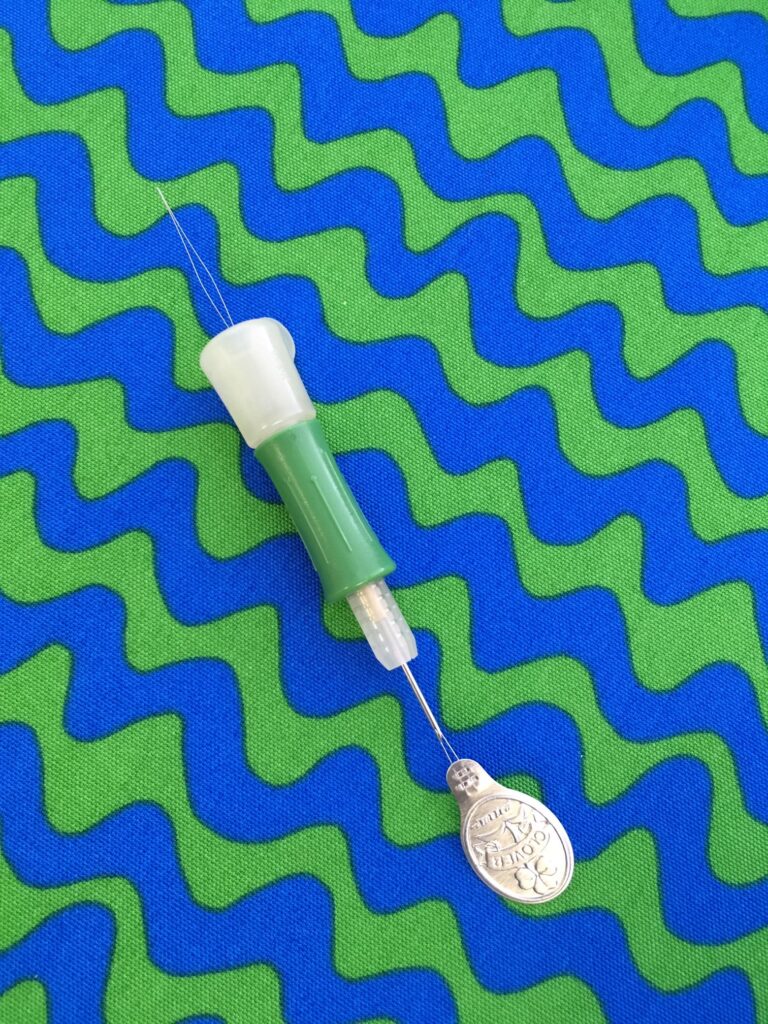
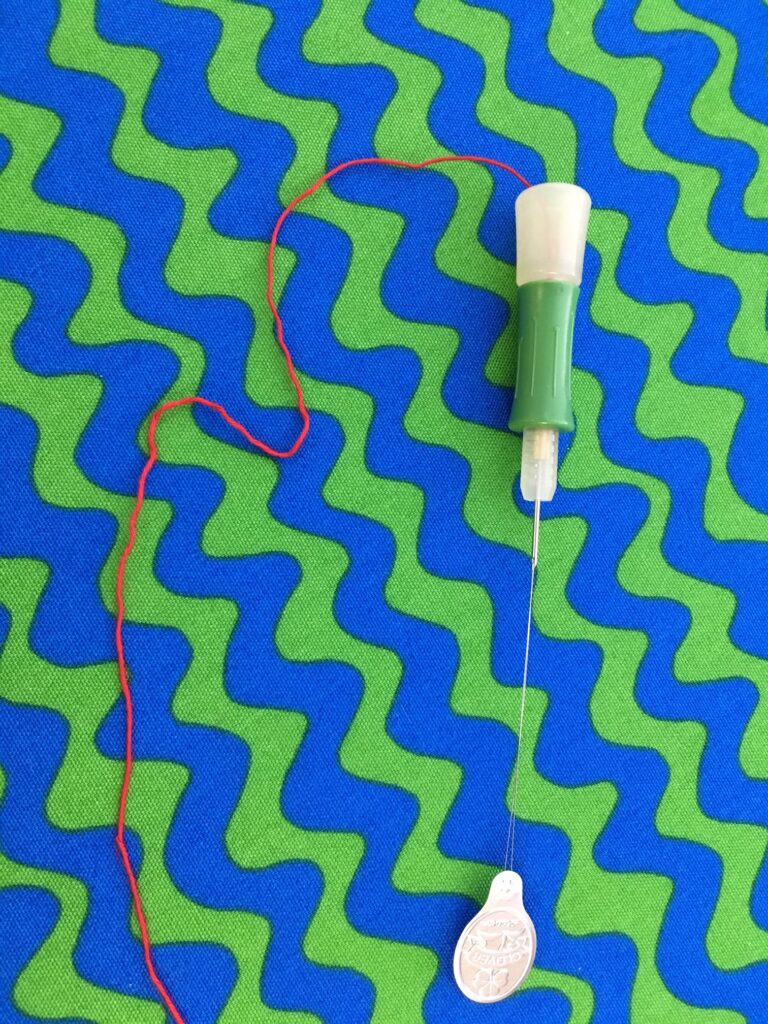
Clover Embroidery Stitching Tool
The starter kit.
If you have never tried the craft before, this is the one to start with.
It comes with a needle for 3 strands of embroidery thread.
It also comes with a threader.
The needle is replaceable with a different sized needle.
For one strand of embroidery thread: use Art No. 8801 Embroidery Stitching Tool Needle Refill (Single Ply Needle)
For 6 strands of embroidery thread: Art No. 8803 Embroidery Stitching Tool Needle Refill (6 Ply Needle)
For medium-fine yarn: Art No. 8802 Embroidery Stitching Tool Needle Refill (Needle for Medium-Fine Yarn)
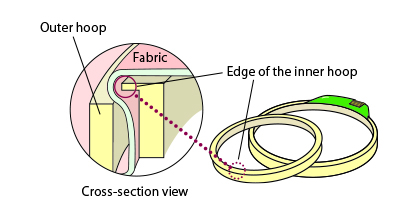
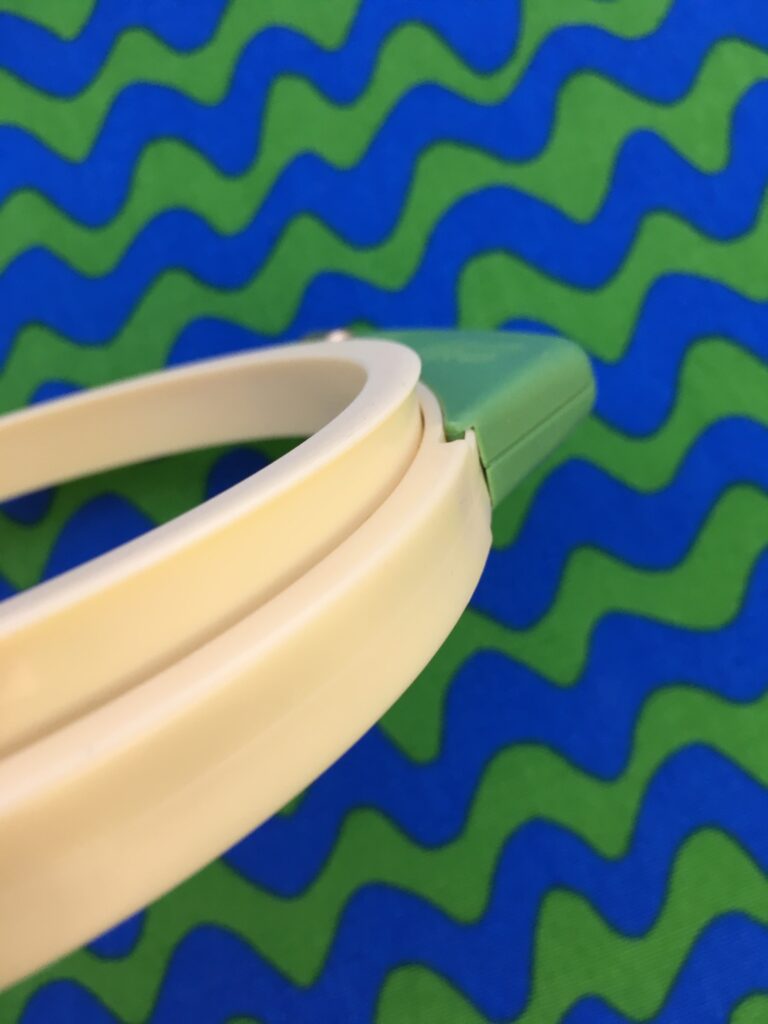
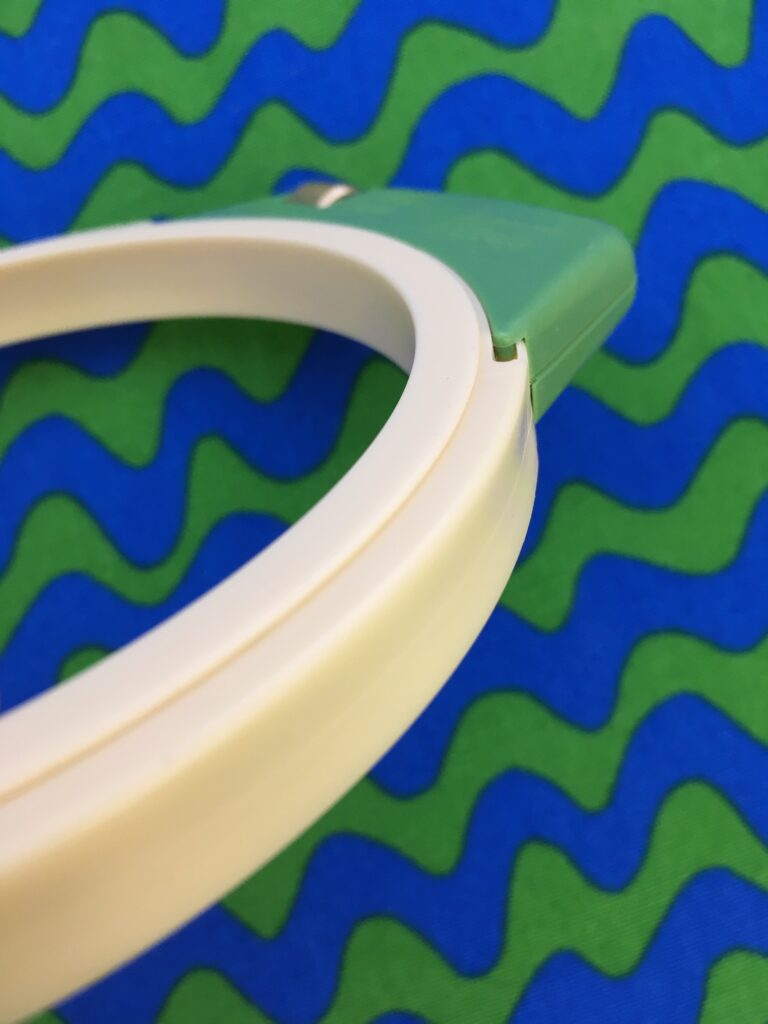
Clover Embroidery Hoop: 12cm or 18cm
The hoop is designed to grip the fabric firmly, resisting the pressure of the needle.
Make sure the inner hoop edge lays on top of the outer hoop edge.
Embroidery thread or yarn
You can use embroidery floss for 3 sizes of refill needles.
For the thickest needle refill, you can use fine yarn or ribbon.
Foundation Fabric
It is essential to choose the fabric suitable for the craft.
If a fabric is too loosely woven, the stitched loops disengage easily.
On the other hand, if the fabric is too tight for the needle, the fibres might tear when you try to push the needle through.
Suitable fabrics are:
For fine needles (Art No. 8800/8804/8801/8803)
Oxford Cotton
Twill
Light-weight Denim
For the thickest needle (Art No. 8802)
Monks cloth
Aida
Traditional Linen
You can find the video how to use this tool.
LINK FOR VIDEO
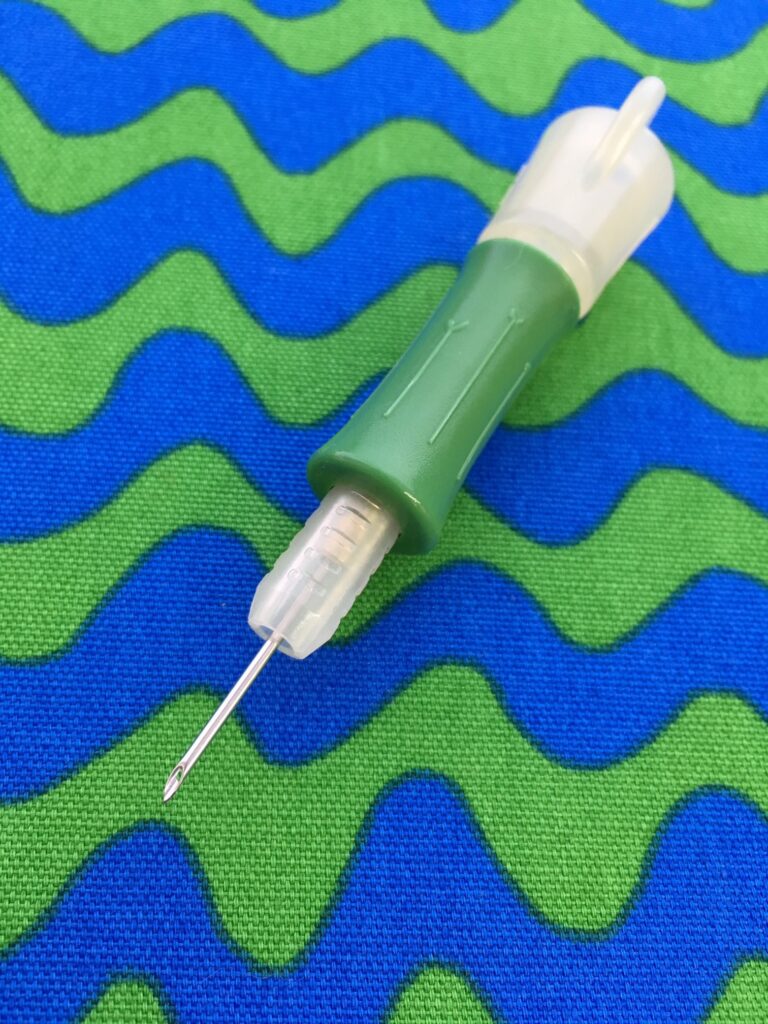
Set the needle
*For detailed instructions, please refer to the instructions in the package.
Insert the needle into holder and adjust the needle length.
Position 3 is the standard setting for needles.
The 5 settings let you adjust the length of stitches or loops.
The needle bevel should face in the same direction as the stopper and it indicates the direction of the stitches.
*If you want to make the project with fine yarn, you can choose the thickest needle refill (Art No. 8802) and set the needle at the guide of “0” .
Threading the needle
*For detailed instructions, please refer to the instructions in the package.
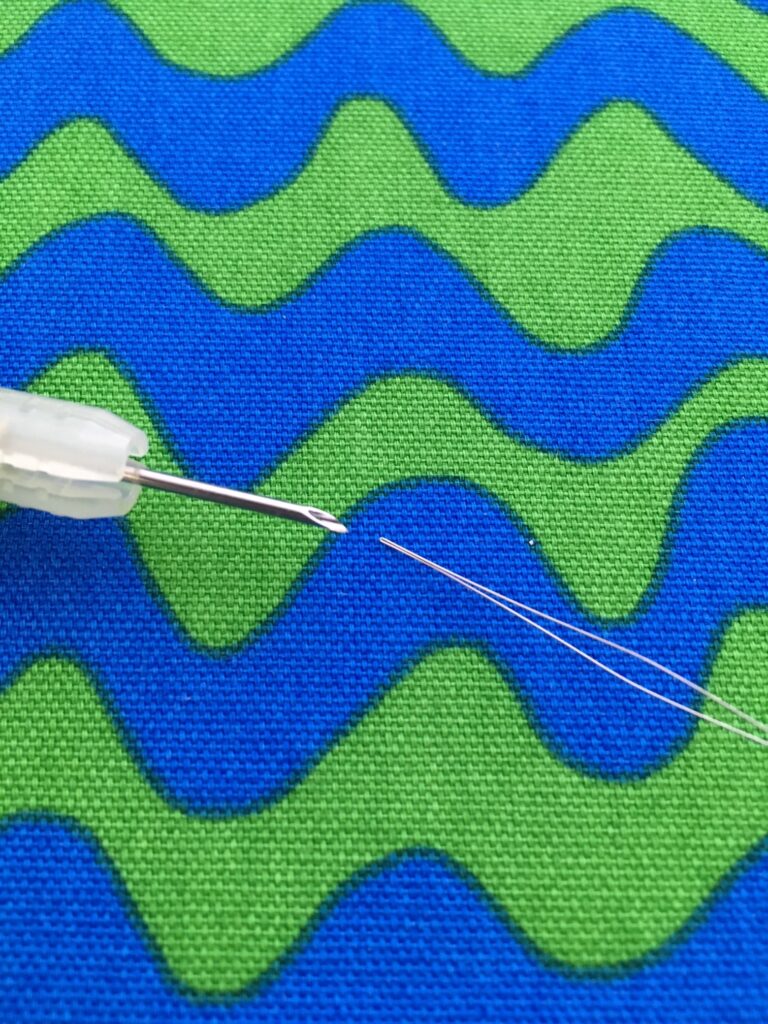
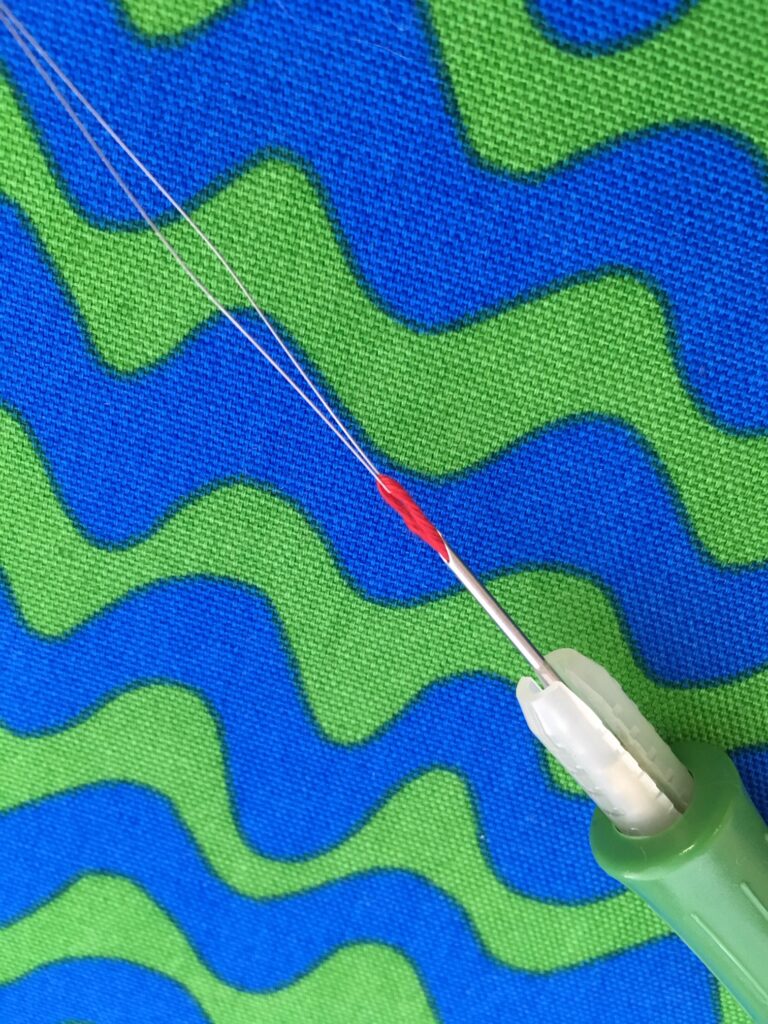
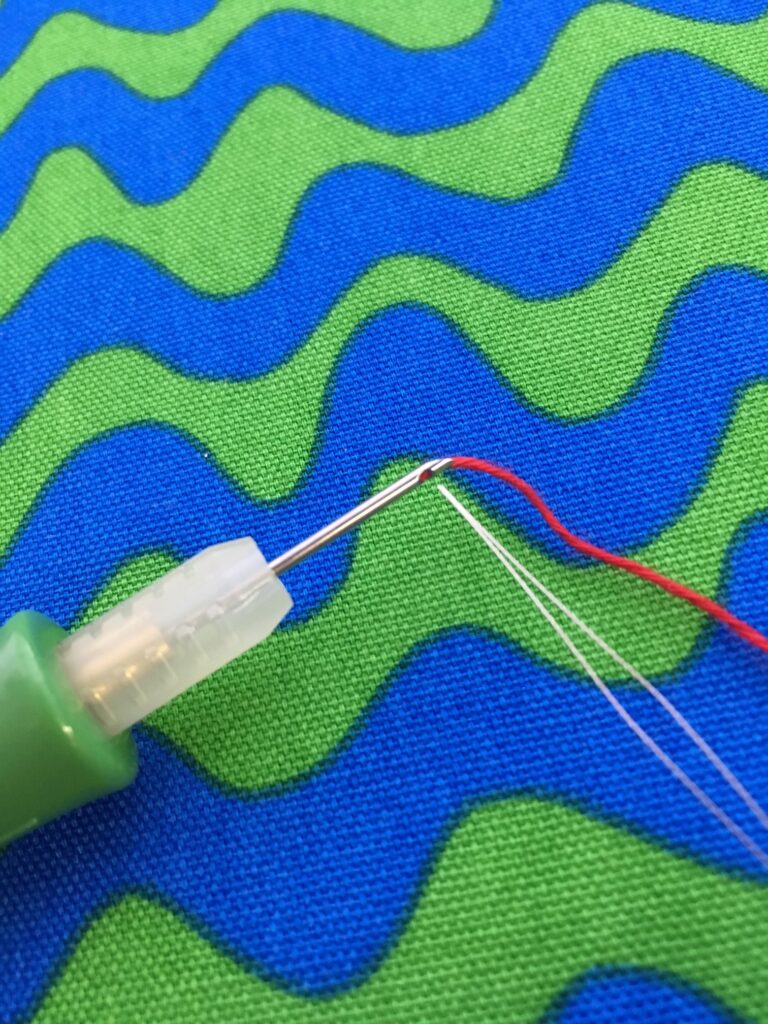
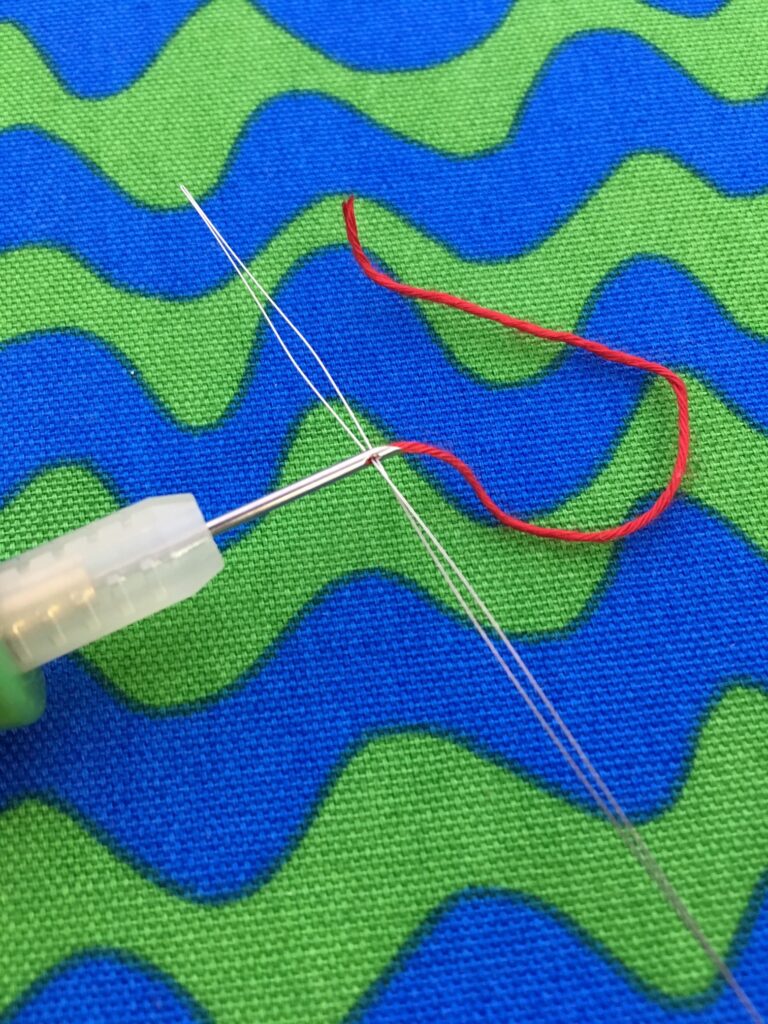
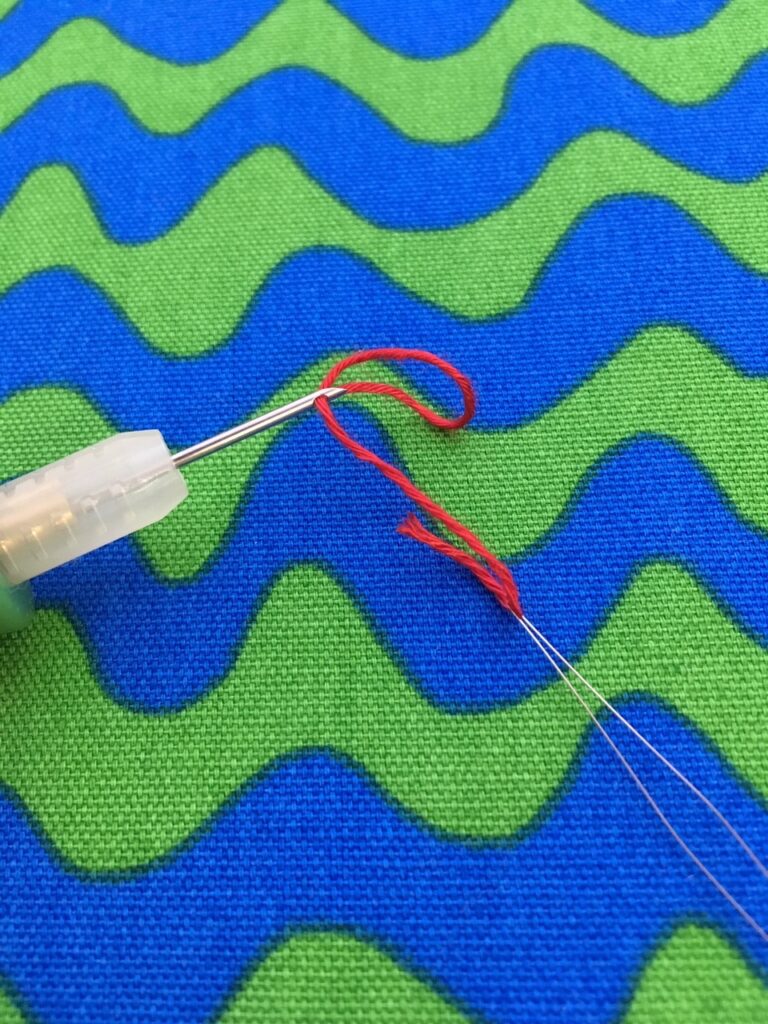
Push the threader through the needle shaft until its point comes out the head.
Pass the thread through the threader’s loop.
Slowly pull the threader back out of the needle.
Carefully pull the thread out of the threader, leaving approximately 5 cm of thread protruding from the needle shaft.
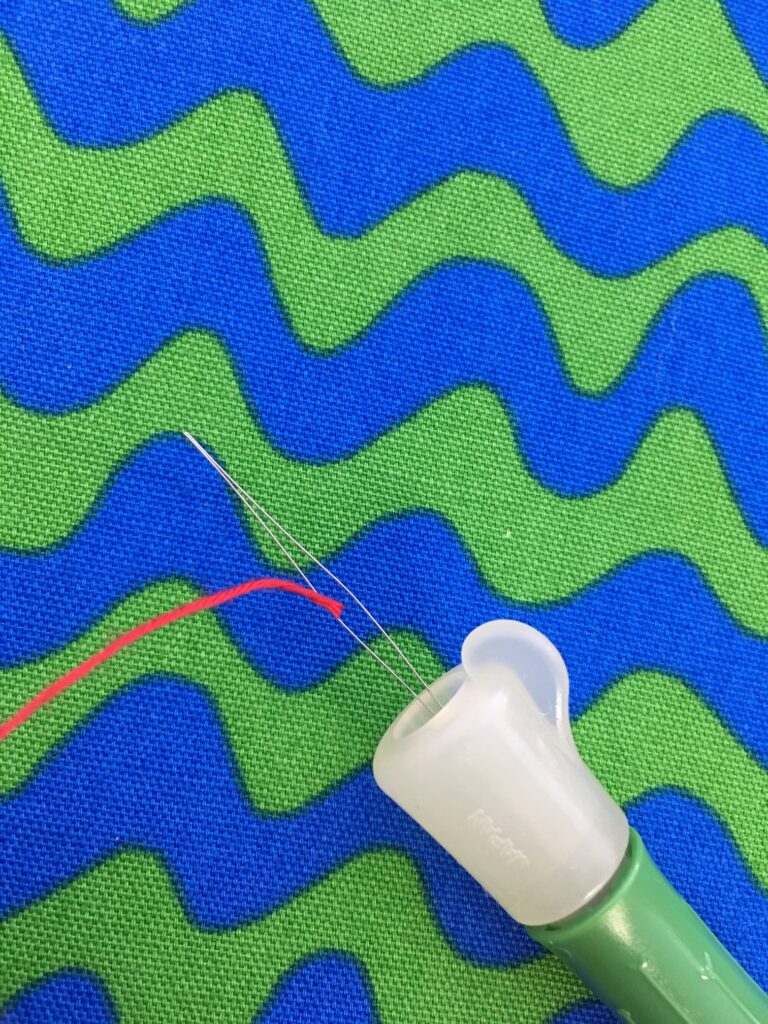
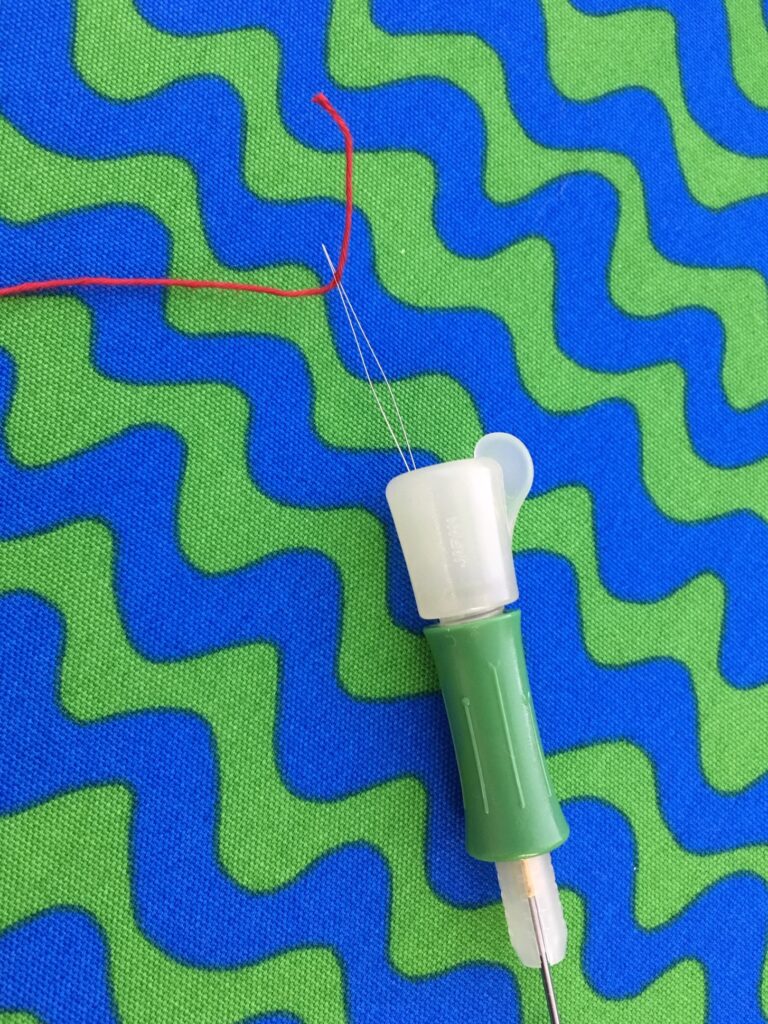
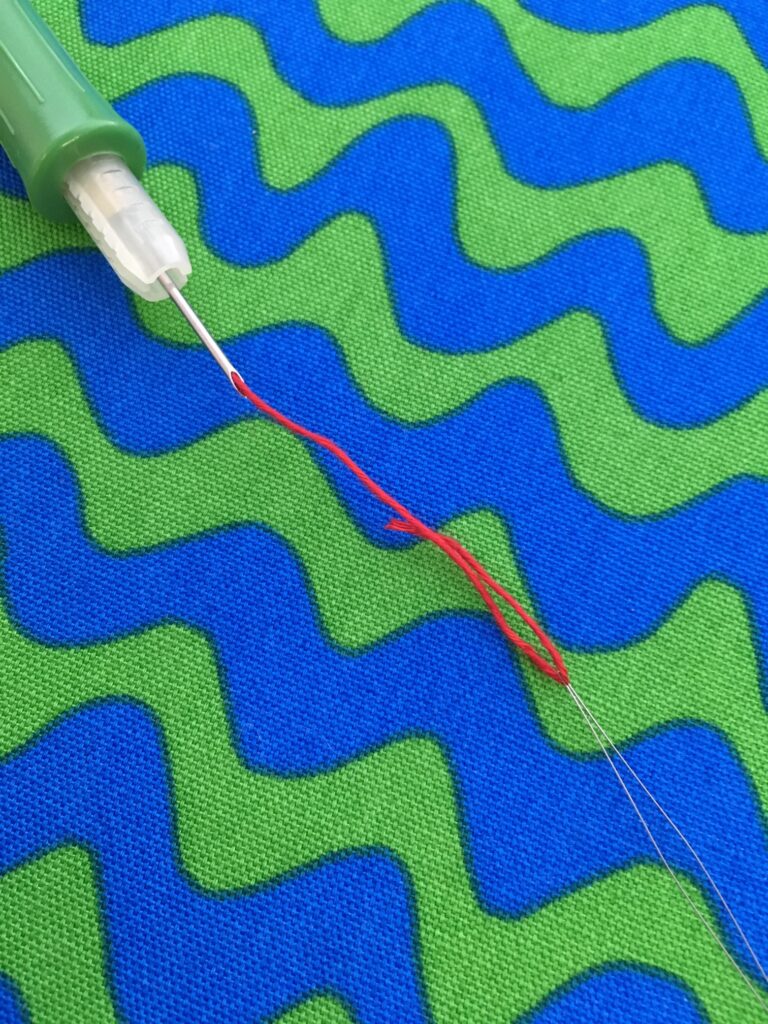
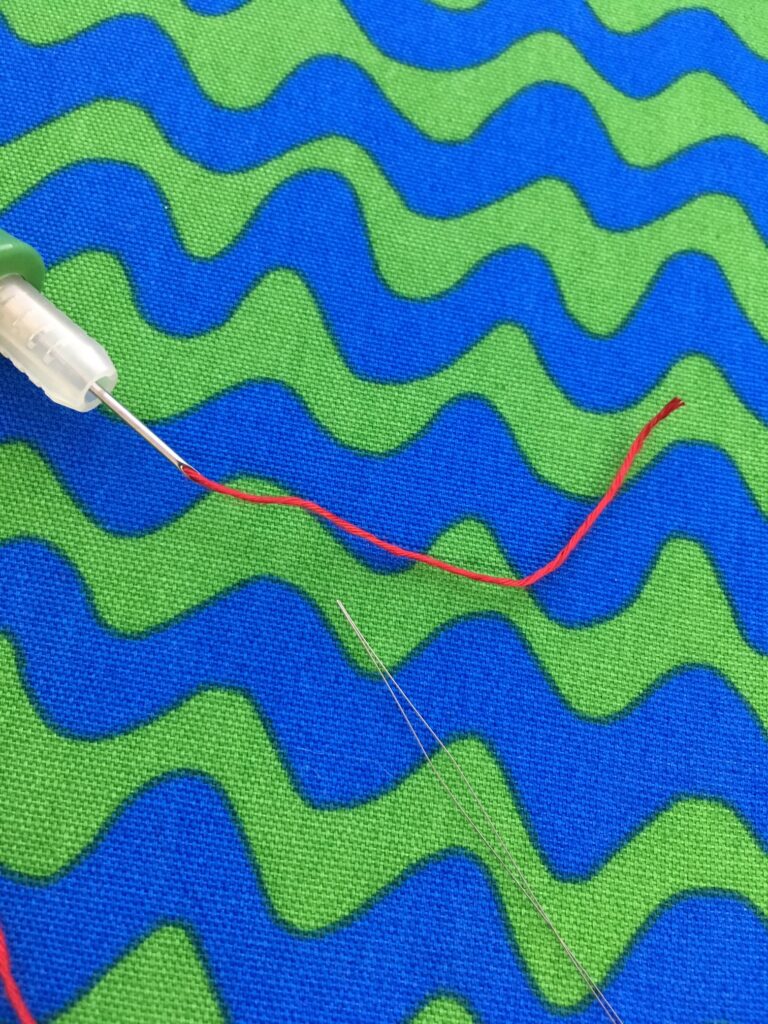
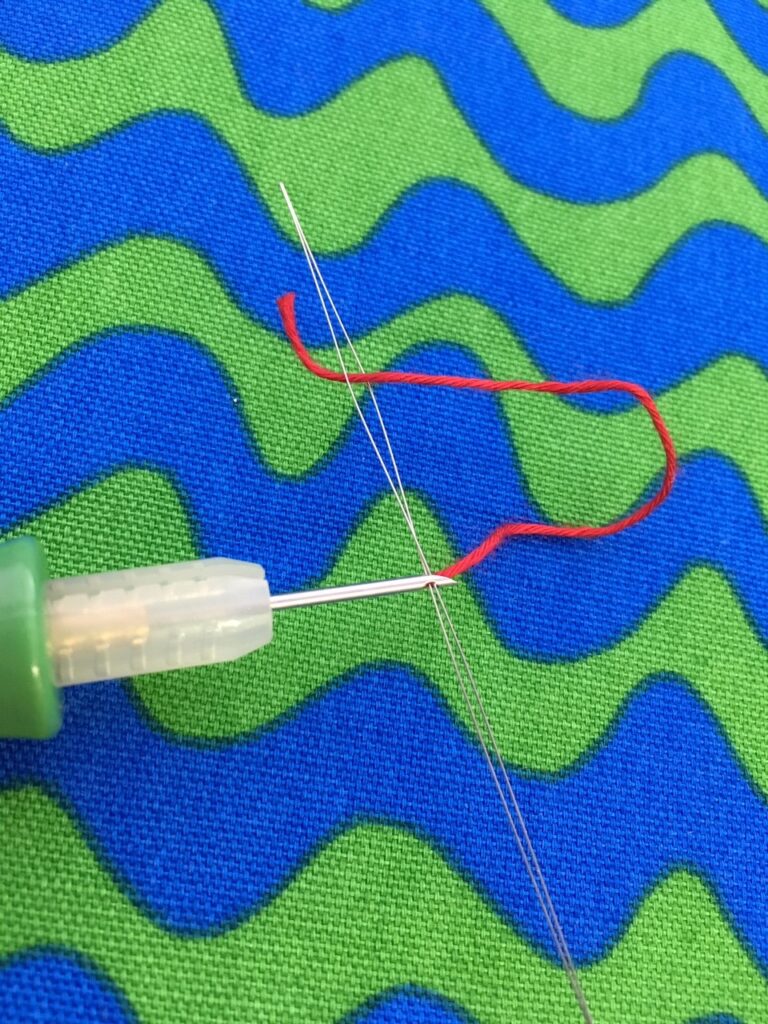
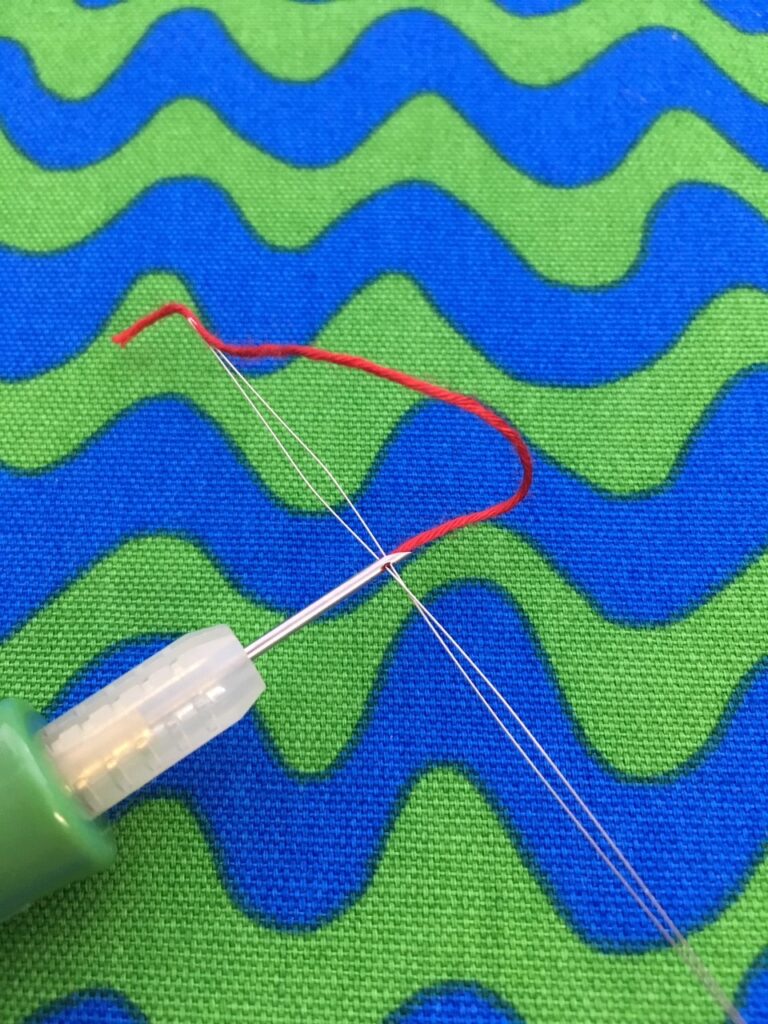
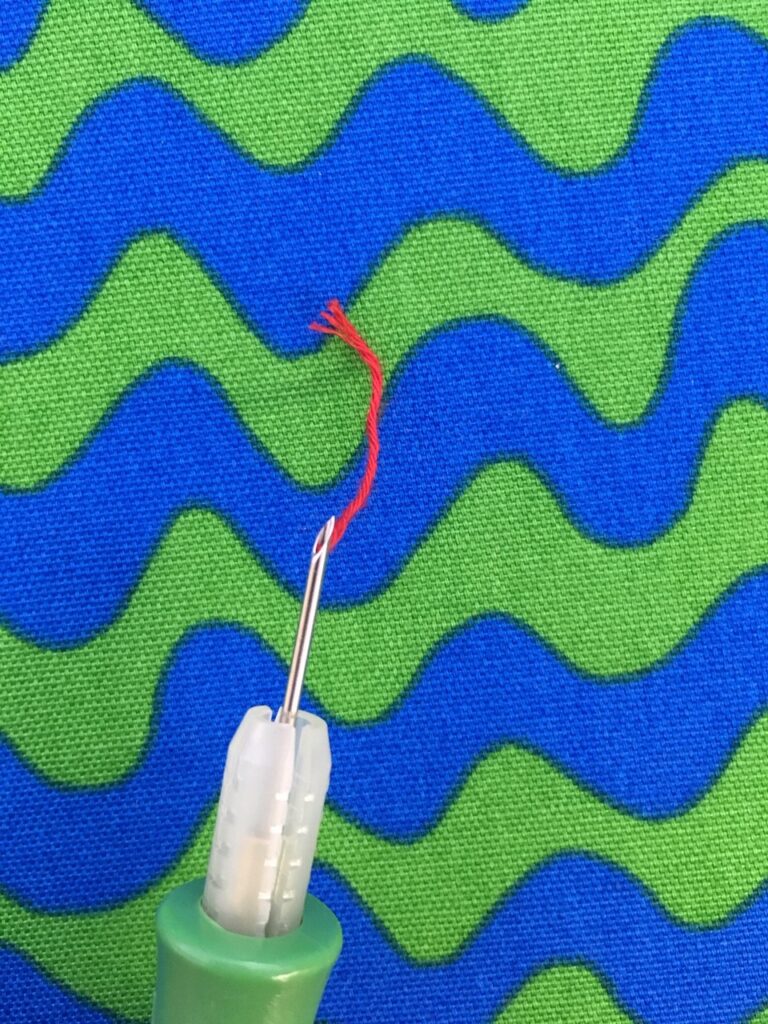
Run the threader through the eye of the needle.
Pass thread through the loop of the threader.
Slowly pull threader out of the eye.
Leave thread sticking out of the needle’s point.
How to stitch
Face the bevel in the direction you are stitching.
Align the stopper in the direction of the stitches.
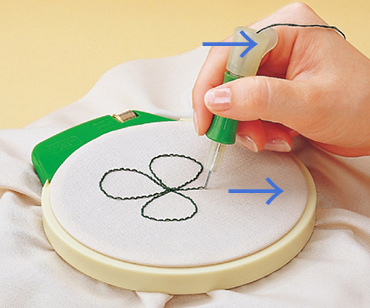
Thrust needle into the fabric to the base of the holder, and then pull it up just above the surface of fabric.
Pull needle up just above surface of the fabric.

Embroidery-Stitching-Tool_8800_feature
How to finish
You can finish the backside of the project with glue.
Interfacing fusible is also good to use.
Back